Natural Hair Flat Twist Ideas For Stunning, Effortless Styles
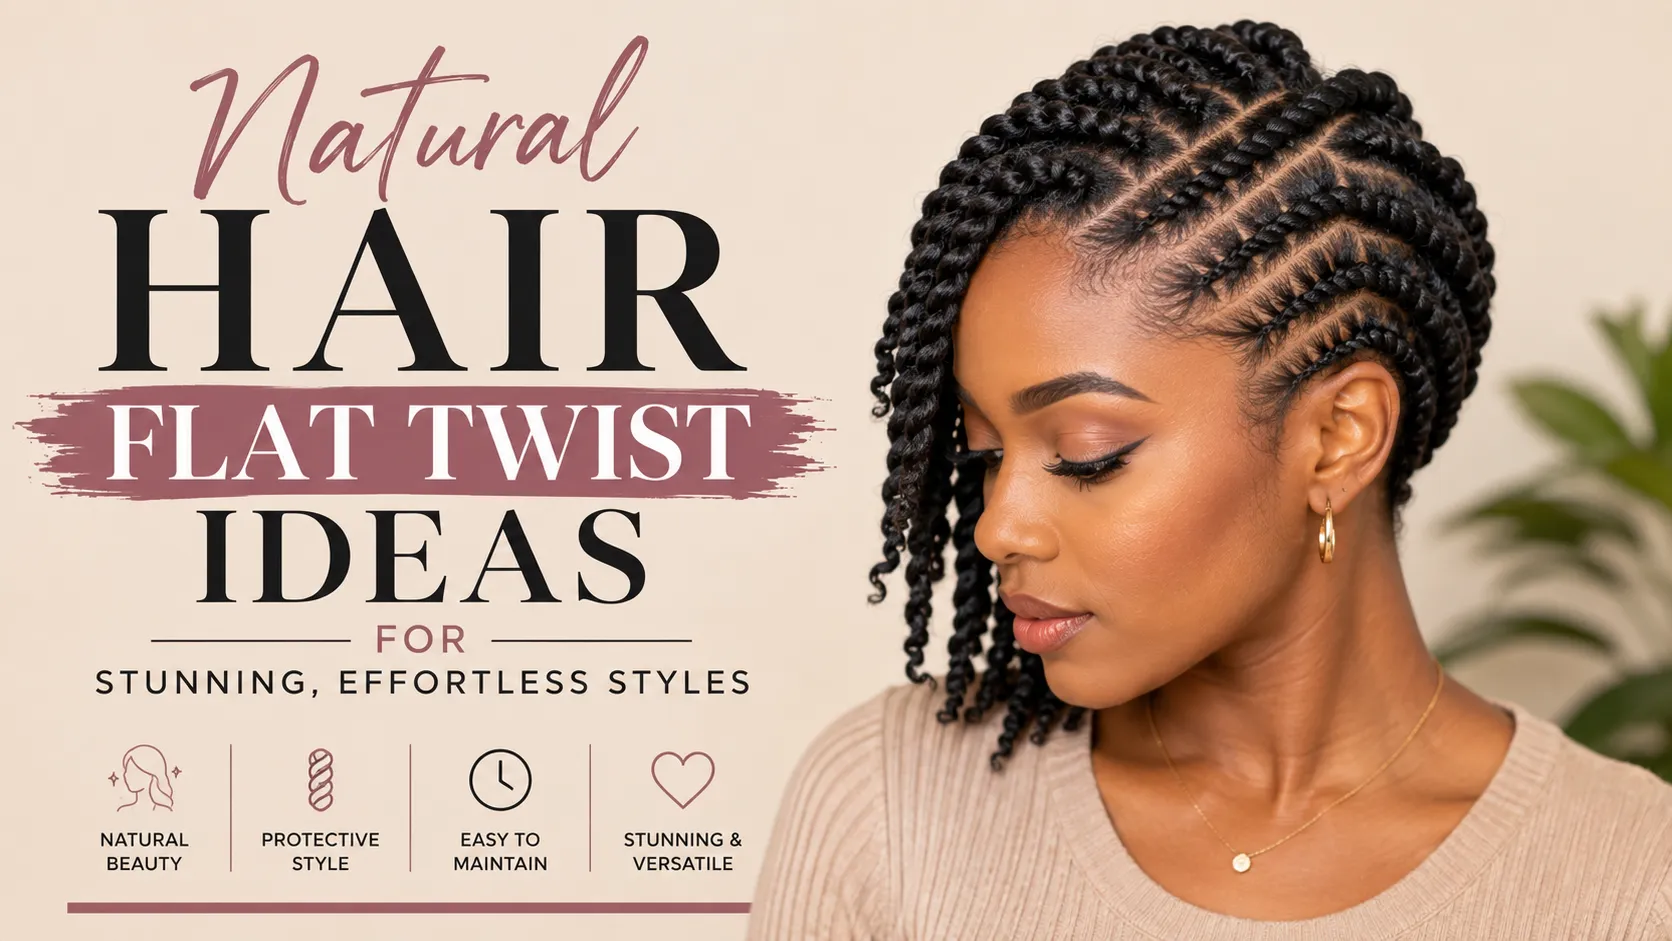
Flat twists give you a practical way to style natural hair without sacrificing versatility. They can be worn as a finished protective look, used as the base for an updo, or unraveled later for a defined twist-out. Because the technique keeps sections close to the scalp, flat twists can also make everyday styling feel more organized while still allowing your natural texture to remain part of the finished look.
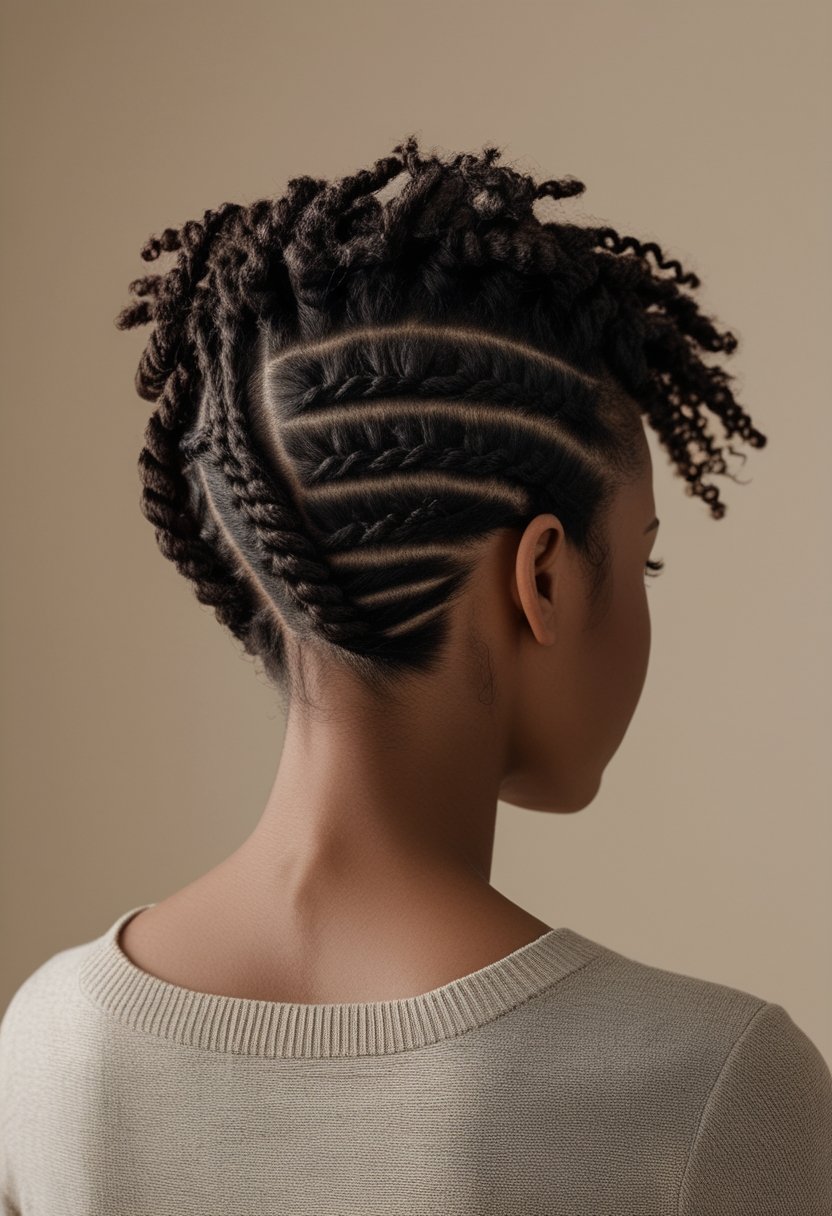
You’ll learn how to shape natural hair into sleek twists, textured sets, defined curls, and elegant updos. These ideas cover different lengths, hair densities, parting patterns, and finishes, while keeping comfort in mind. Clean sections, moisturized hair, smooth ends, and gentle tension can make a noticeable difference in how polished your flat twists look and how comfortable they feel.
1. Classic two-strand flat twists
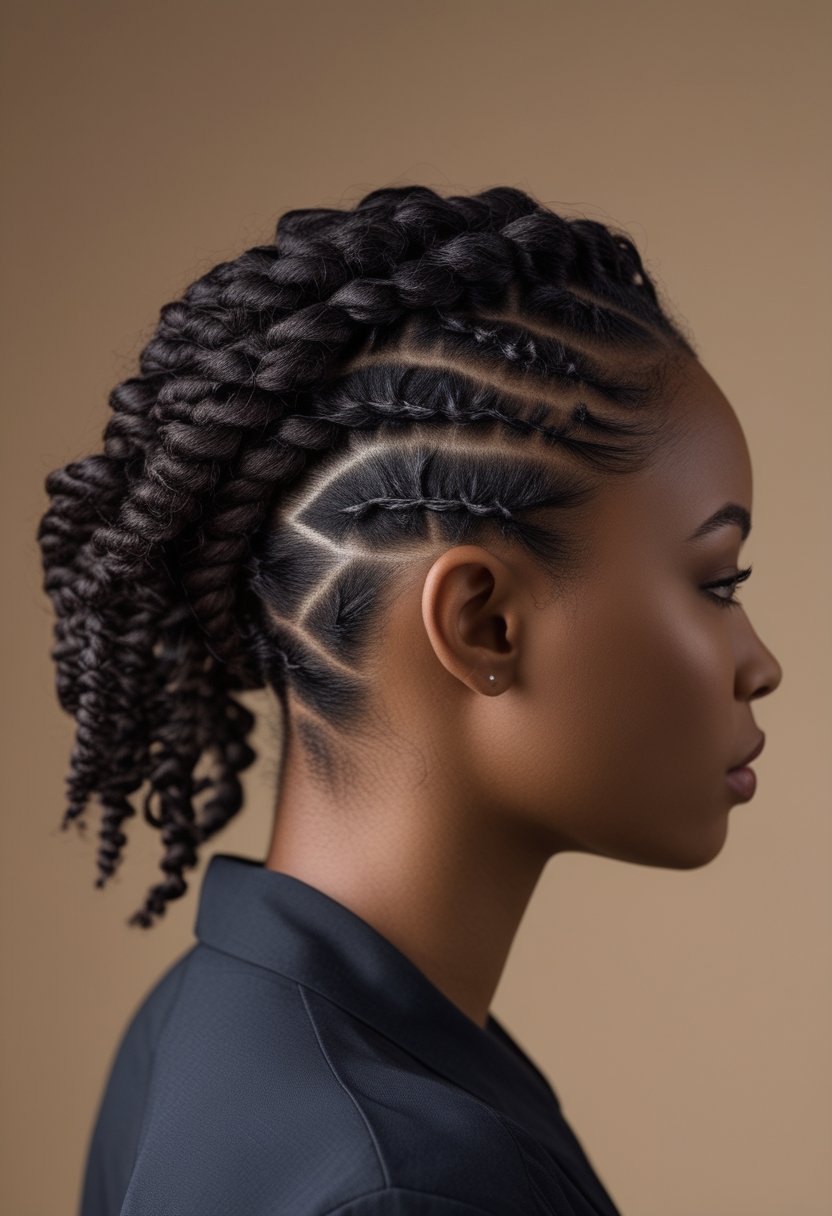
Classic two-strand flat twists are a simple starting point if you want a neat style that follows the shape of your head. Part clean, detangled hair into even rows, divide each section into two pieces, and twist while gradually adding hair as you move backward. Working on lightly stretched hair can make the sections easier to control, while a small amount of cream or twisting product can help keep flyaways smooth.
Try to keep the amount of hair added to each rotation consistent so the twist maintains an even thickness from front to back. The style should feel secure without pulling tightly around your temples or edges. You can leave the ends hanging, combine them into larger twists, or pin them into a bun depending on the length of your hair and how polished you want the finished look to feel.
2. Flat-Twist Crown Halo: Protective Styling Guide
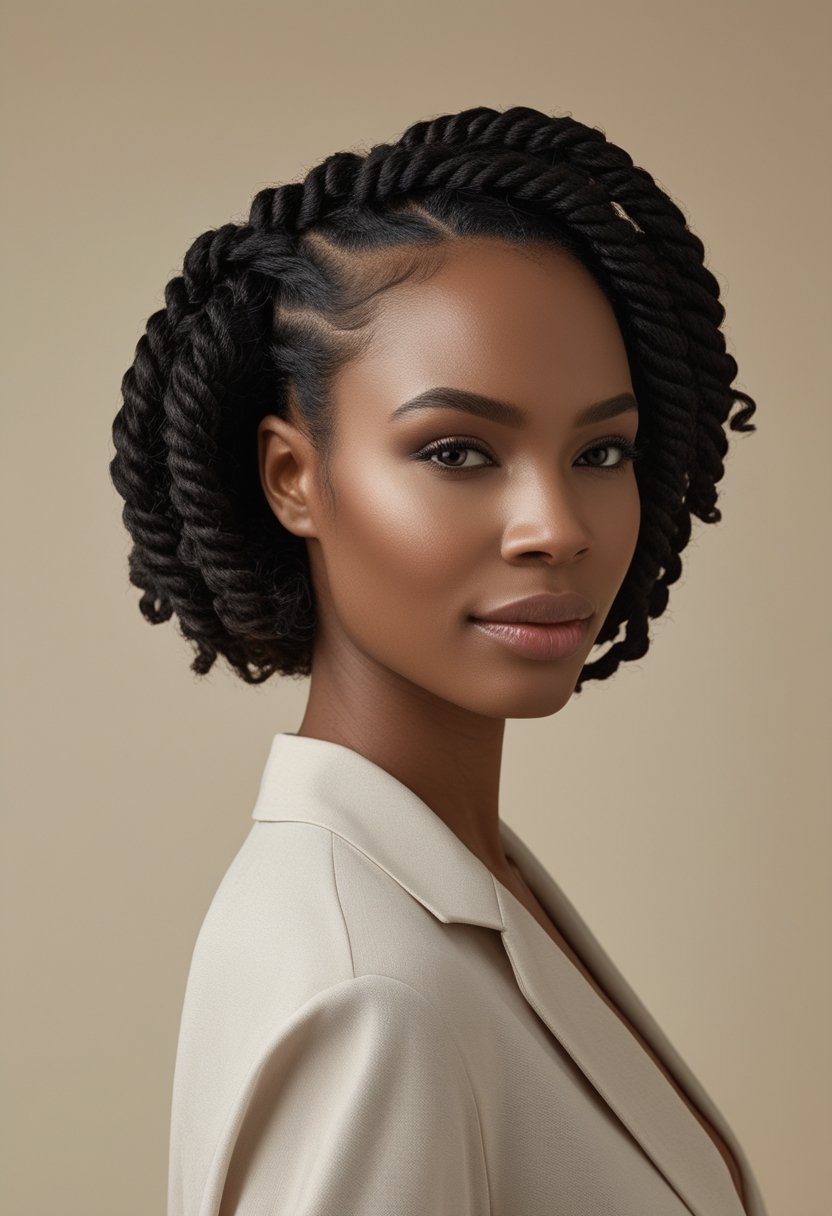
A flat-twist crown halo creates a soft circular shape that wraps around the head and keeps most of the hair tucked away. Begin by creating a curved parting that follows your head shape, then flat-twist the hair around the perimeter instead of directing every section straight backward. The circular placement gives the style an elegant finish that can work for everyday wear, dinners, or special occasions.
Secure the ends beneath the finished twist with discreet pins so the halo appears continuous from different angles. Keep the twist comfortable around the hairline, particularly near the ears and temples where excess tension can quickly become uncomfortable. A few softly laid baby hairs or loose curls near the front can be added if you want a less structured finish without disturbing the protective shape.
3. Flat-twist high puff: guide
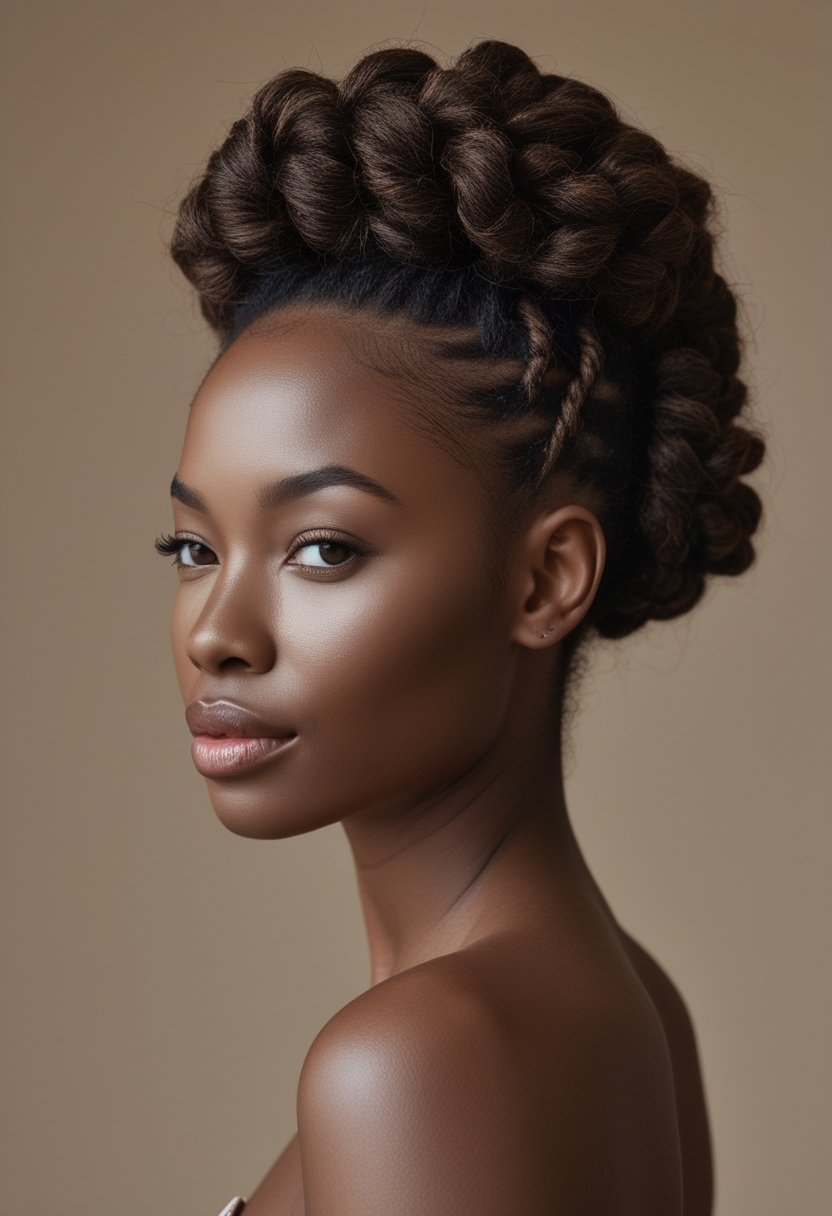
A flat-twist high puff combines neat sides with a full textured crown, making it a useful option when you want your natural volume to remain visible. Flat-twist sections from the sides and back upward toward the crown, stopping where you want the puff to begin. The contrast between smooth twists and loose curls creates definition without requiring you to braid or twist every strand.
Gather the remaining hair gently with a soft band, puff cuff, or adjustable tie rather than pulling the base excessively tight. Fluff the loose section with your fingers or a pick at the roots to create your preferred amount of height. If your puff needs more definition, refresh only the loose curls with a little water and styling product instead of disturbing the flat-twisted sections.
4. Flat-twist low bun: polished protective style

A flat-twist low bun gives natural hair a polished finish while keeping the ends tucked away. Part the hair in the center or slightly to one side, then create flat twists that travel backward toward the nape. Once both sides meet, gather the remaining length and wrap it into a low bun, using pins to secure the shape without flattening the twists.
This style works especially well when you want something neat enough for work, formal events, or busy days when you do not want to restyle your hair repeatedly. Keep the bun comfortably loose and distribute pins around the base instead of placing all the pressure in one spot. If your hair is shorter, you can tuck the twist ends inward rather than forcing them into a large bun.
5. Side-swept flat twists: a protective styling guide
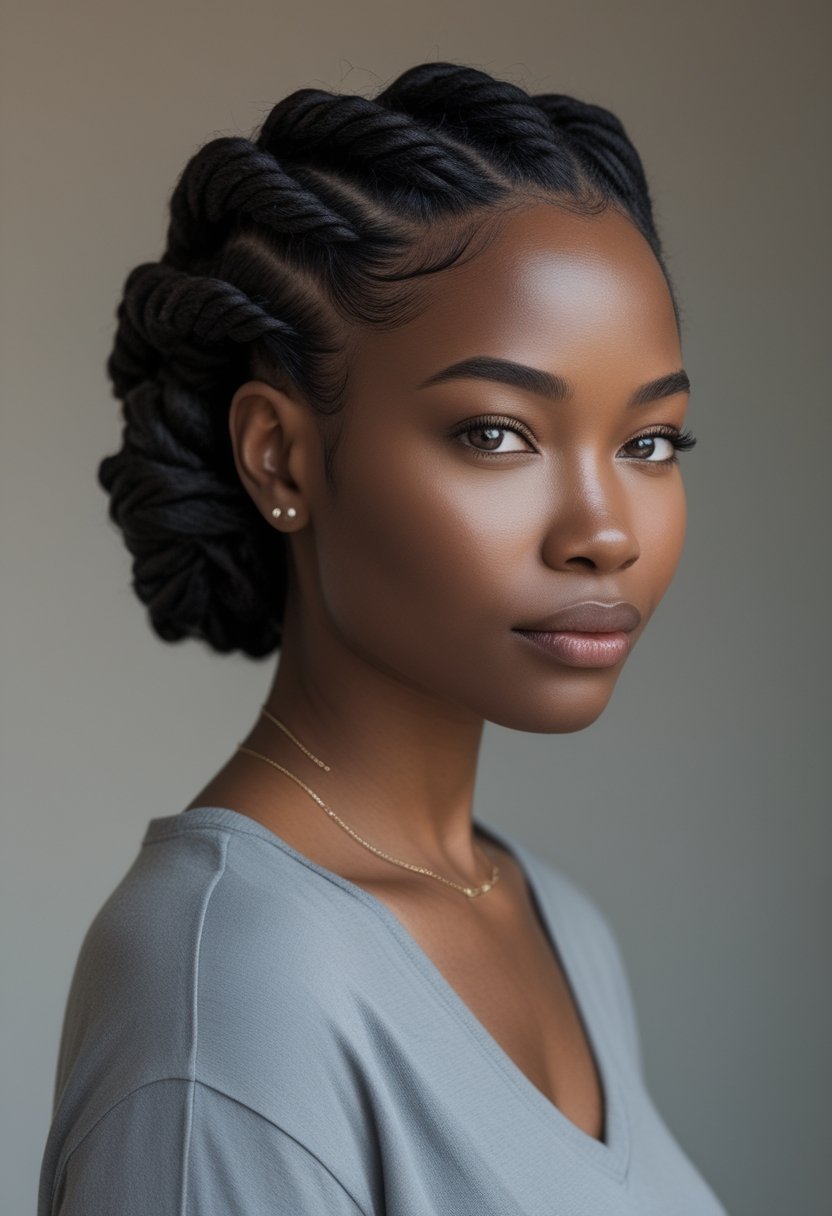
Side-swept flat twists create movement by directing the hair diagonally instead of following straight rows. Start with a deep or moderate side part, then guide each twist across the crown toward the opposite side. Curved partings can make the style look softer, while straighter diagonal sections create a more graphic and structured result.
Secure the ends beneath the back section or gather them into a low side bun, ponytail, or loose curls depending on your length. Keep each twist close enough to the scalp to maintain the sweeping shape without pulling tightly near the front. A little mousse or twisting cream can help keep the partings crisp while allowing the finished style to remain flexible.
6. Flat-twist faux hawk: Protective Style Guide
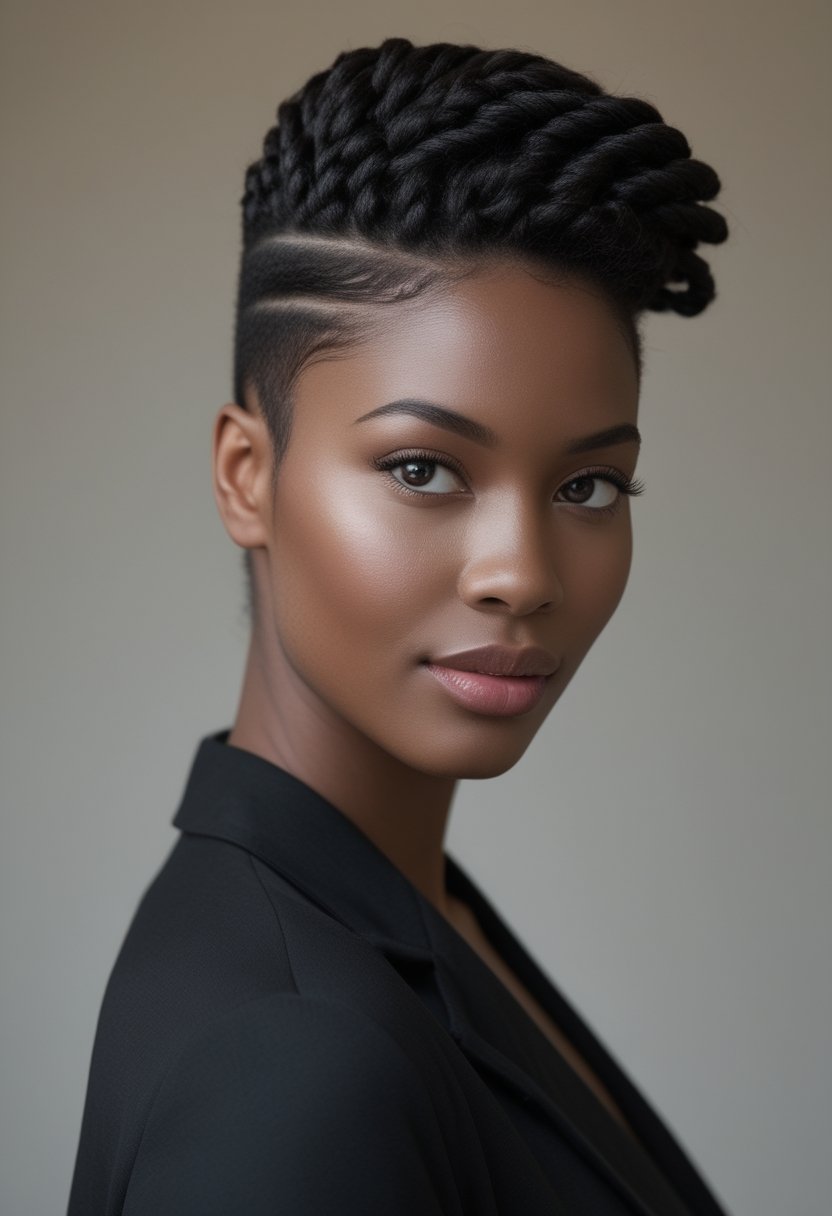
A flat-twist faux hawk creates the appearance of a mohawk without requiring shaved sides. Flat-twist both sides upward toward the center of the head, leaving a strip of textured hair through the crown. The center can be styled into loose curls, chunky twists, coils, or pinned sections depending on how dramatic you want the finished shape to be.
Keep the side twists secure but comfortable, especially near the temples where repeated upward tension can stress delicate edges. Use pins to build height through the center instead of tightening the twists excessively. This style can be adjusted from soft and wearable to bold and sculptural simply by changing how much volume you create along the crown.
7. Flat-Twist Mohawk Updo: Step-by-Step Styling Guide
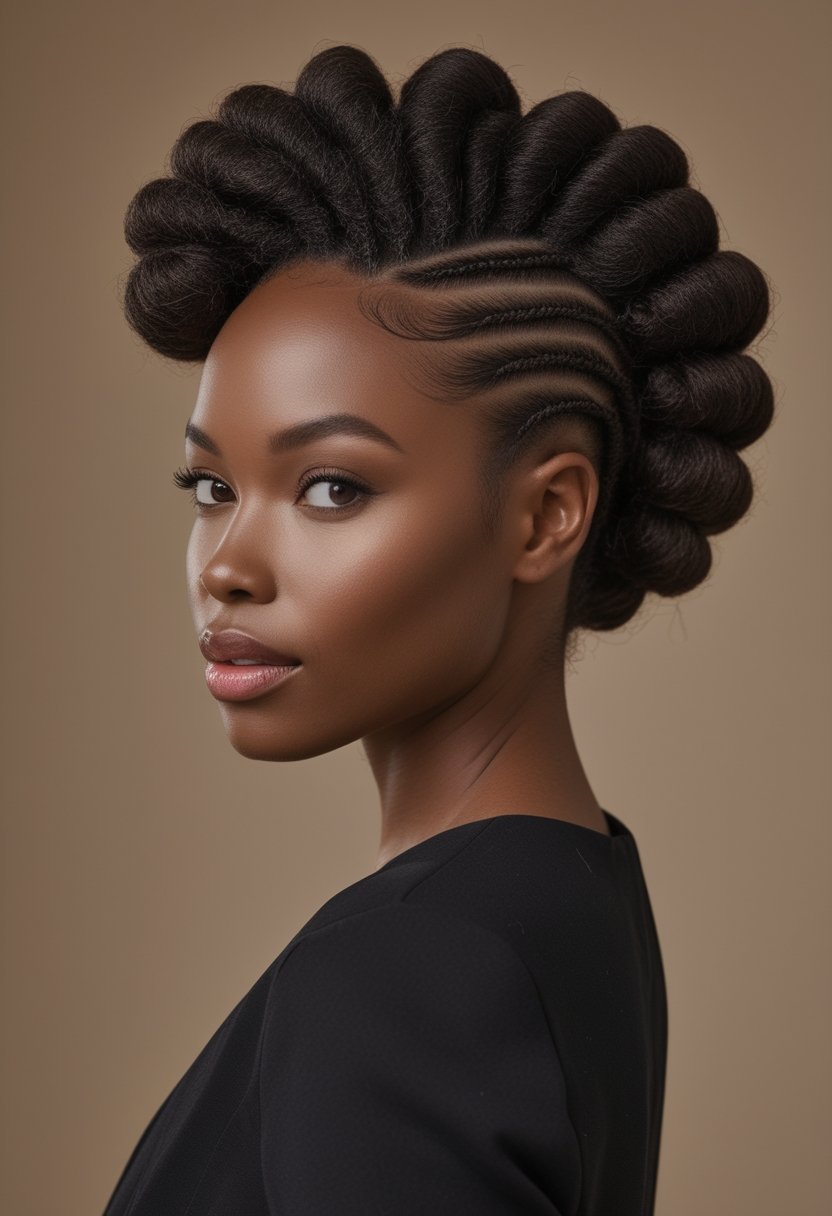
A flat-twist mohawk updo uses upward-directed twists to create a structured base with height through the middle. Divide the sides into clean horizontal or diagonal sections, then twist each one toward the crown. Leave the center loose until the sides are complete so you can control the final amount of volume and decide whether you want curls, twists, or a puff.
Once the side sections are secured, pin the center hair in stages rather than creating one tight bundle. Loose two-strand twists can be rolled and pinned for a more formal look, while defined curls create a softer finish. Distribute the pins evenly and check the style from the side so the height remains balanced from the forehead to the back of the head.
8. Flat twists with loose curly ends
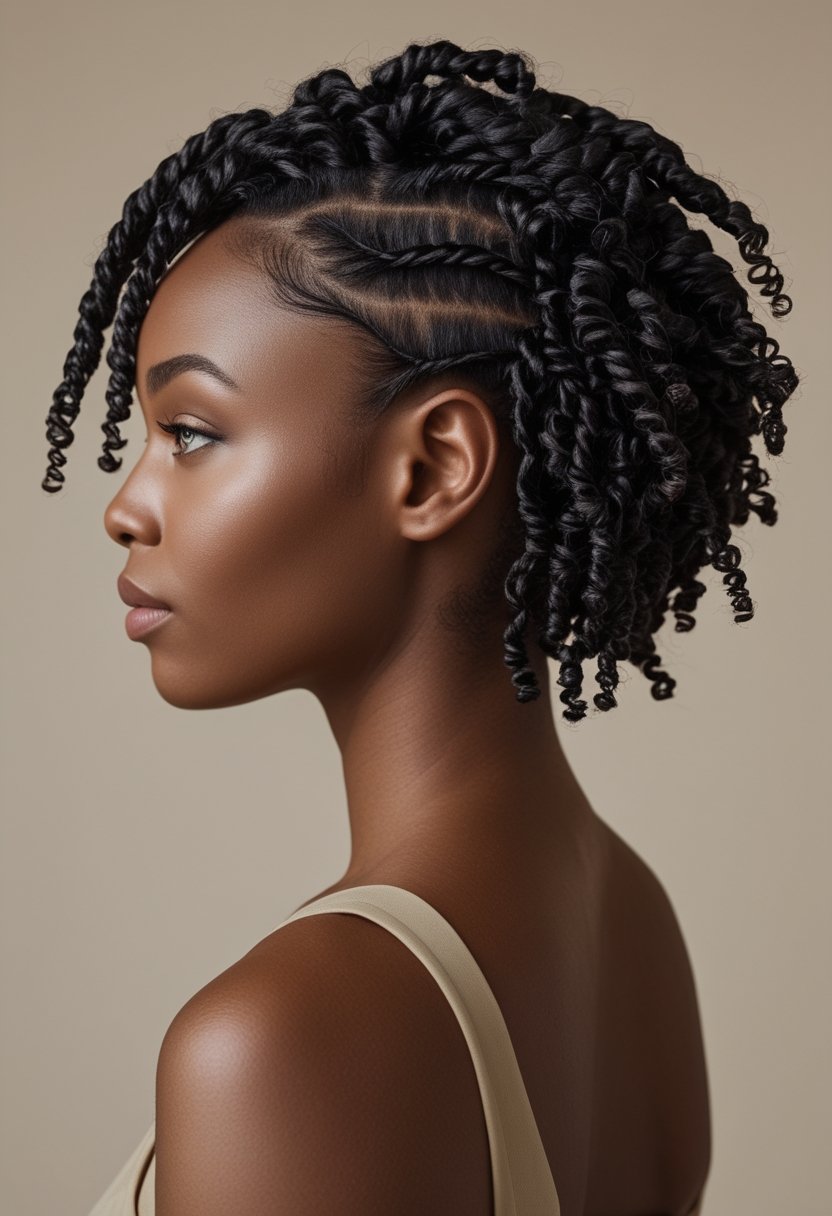
Flat twists with loose curly ends give you the neatness of scalp styling while keeping some of your natural length visible. Twist each section close to the head until you reach the point where you want the curls to begin, then leave the remaining hair free. You can define the ends with finger coils, rods, a curling mousse, or your natural curl pattern depending on the finish you prefer.
Keep the transition between the twisted and loose sections smooth so the style looks intentional rather than unfinished. Smaller curls create more definition, while larger curls add softness and movement. At night, protect the loose portion with a satin bonnet or scarf and refresh individual curls rather than redoing the entire flat-twist base.
9. Flat-twist ponytail: A protective, polished style guide
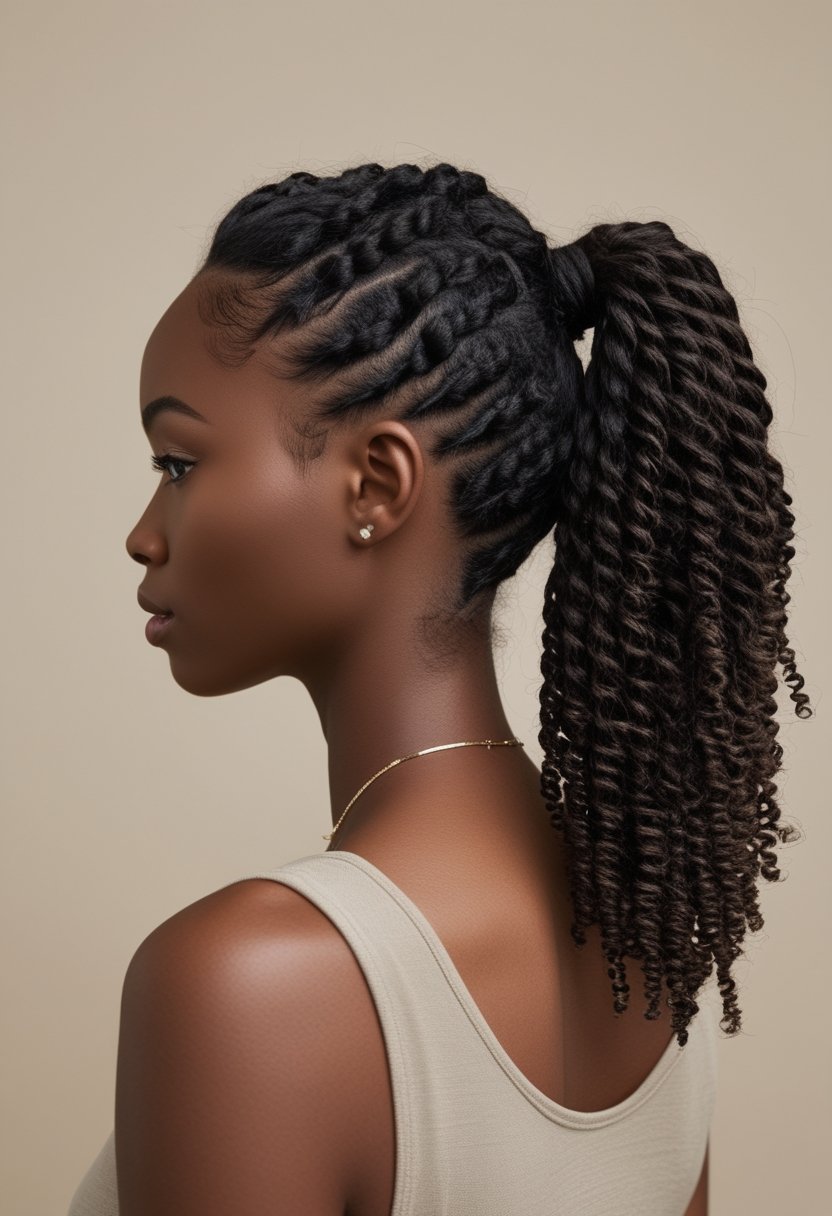
A flat-twist ponytail keeps the hairline and sides neat while concentrating volume at the back or crown. Create several flat twists that travel toward your chosen ponytail position, then secure the remaining hair with a soft tie. High placement creates a more playful look, while a lower ponytail feels slightly more polished and can be easier on the roots.
Keep the ponytail base secure without pulling every twist tightly toward one point. If your natural length is loose, fluff it for volume or define the curls with a light styling product. You can also continue the ends into twists or add a wrapped section around the base to conceal the elastic and give the hairstyle a cleaner finish.
10. Flat-Twist Braided Updo: Protective Styling Guide
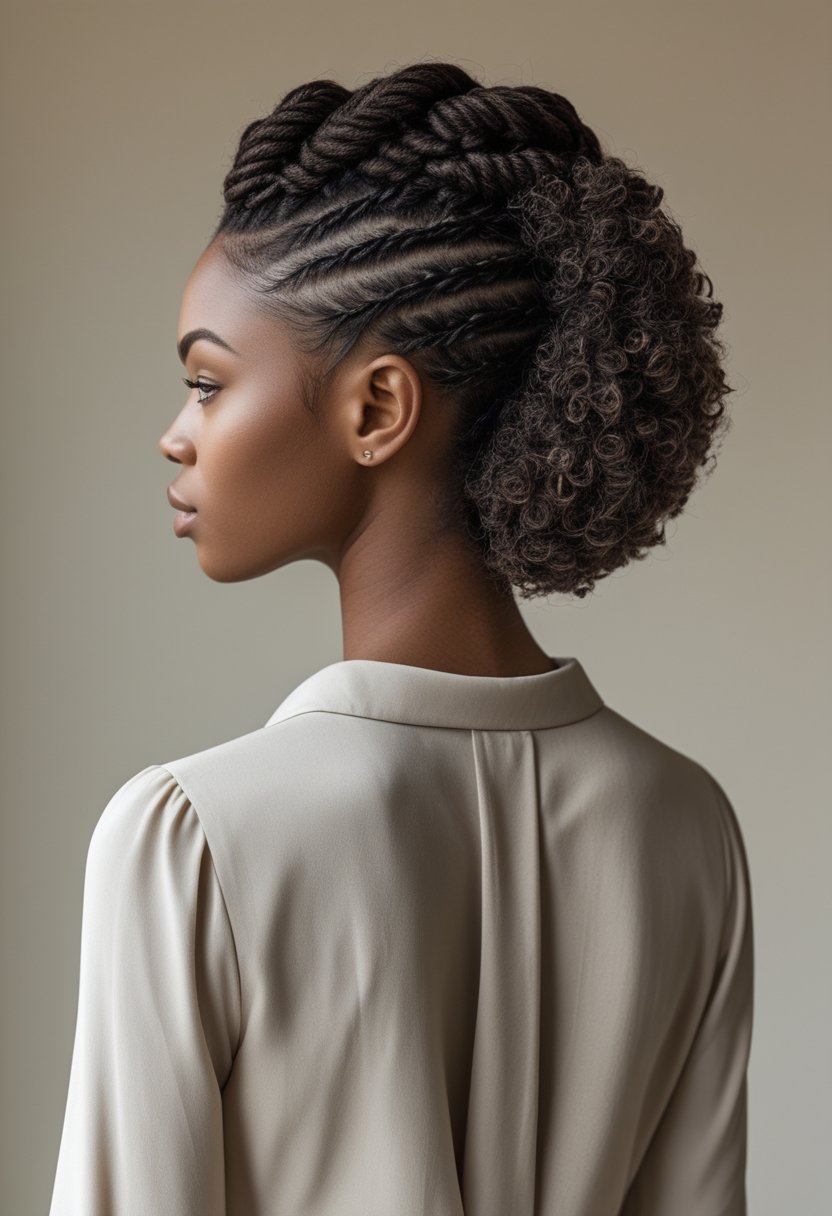
A flat-twist braided updo combines close-to-the-scalp twists with pinned braids or twisted ends for a more formal protective style. Begin by creating flat twists around the sides and back, guiding each section toward the crown or nape. Once the flat twists are complete, braid or two-strand twist the remaining length so the ends can be arranged more easily.
Pin the braided ends into a bun, roll, or overlapping pattern, keeping the fastening points hidden underneath the style. Building the updo from several smaller sections can make it easier to distribute the weight and maintain comfort. Decorative pins can be added for events, but keep them lightweight so they do not pull against the existing twists.
11. Flat-Twist Bantu-Knot Set
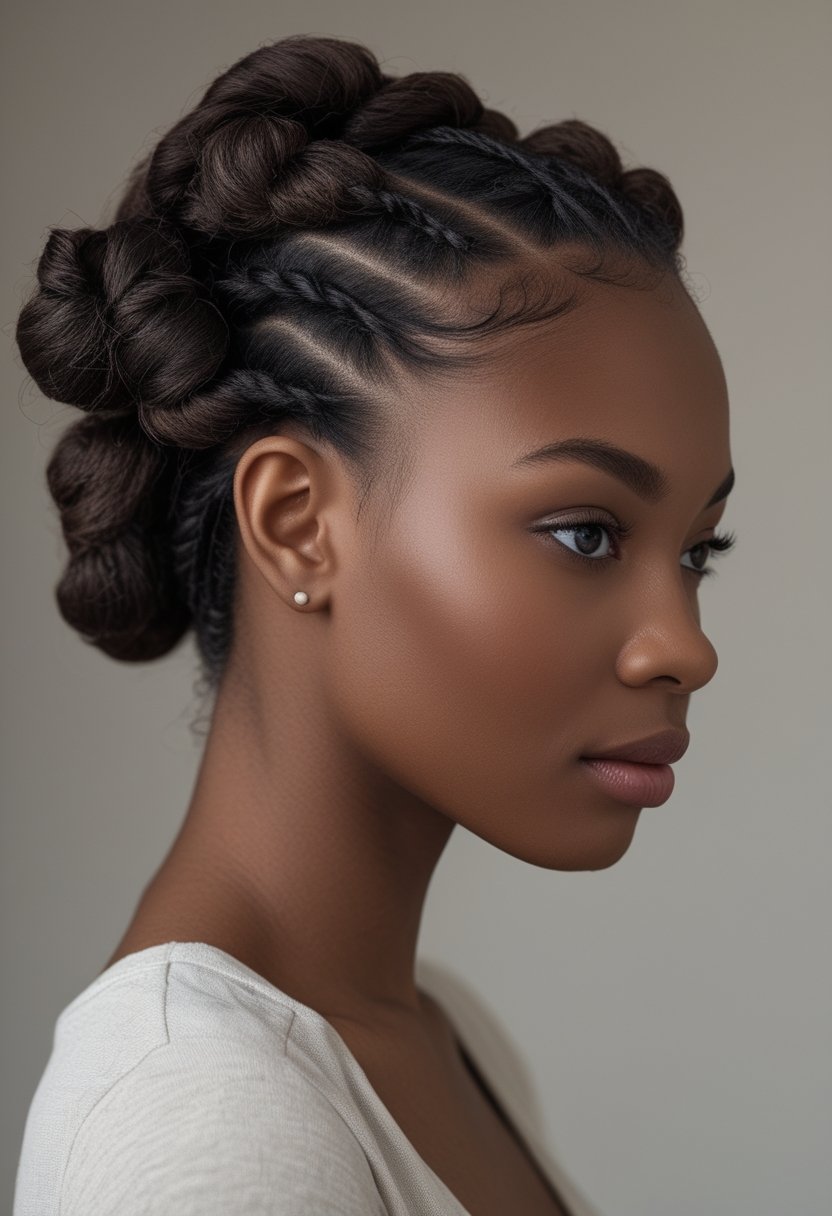
A flat-twist Bantu-knot set can be worn as a hairstyle overnight and then unraveled into defined curls the next day. Create flat twists from the roots through each section, then coil the remaining length around itself to form a small Bantu knot. Keep the knots snug enough to stay in place without twisting so tightly that the scalp feels pulled.
Allow the hair to dry completely before unraveling, since damp sections can quickly lose definition and create frizz. Coat your fingertips with a small amount of lightweight oil, undo each knot, then gently separate the twist pattern. Lift the roots for extra volume while leaving the ends defined, giving you a heatless style with both texture and movement.
12. Flat twists with perm rods
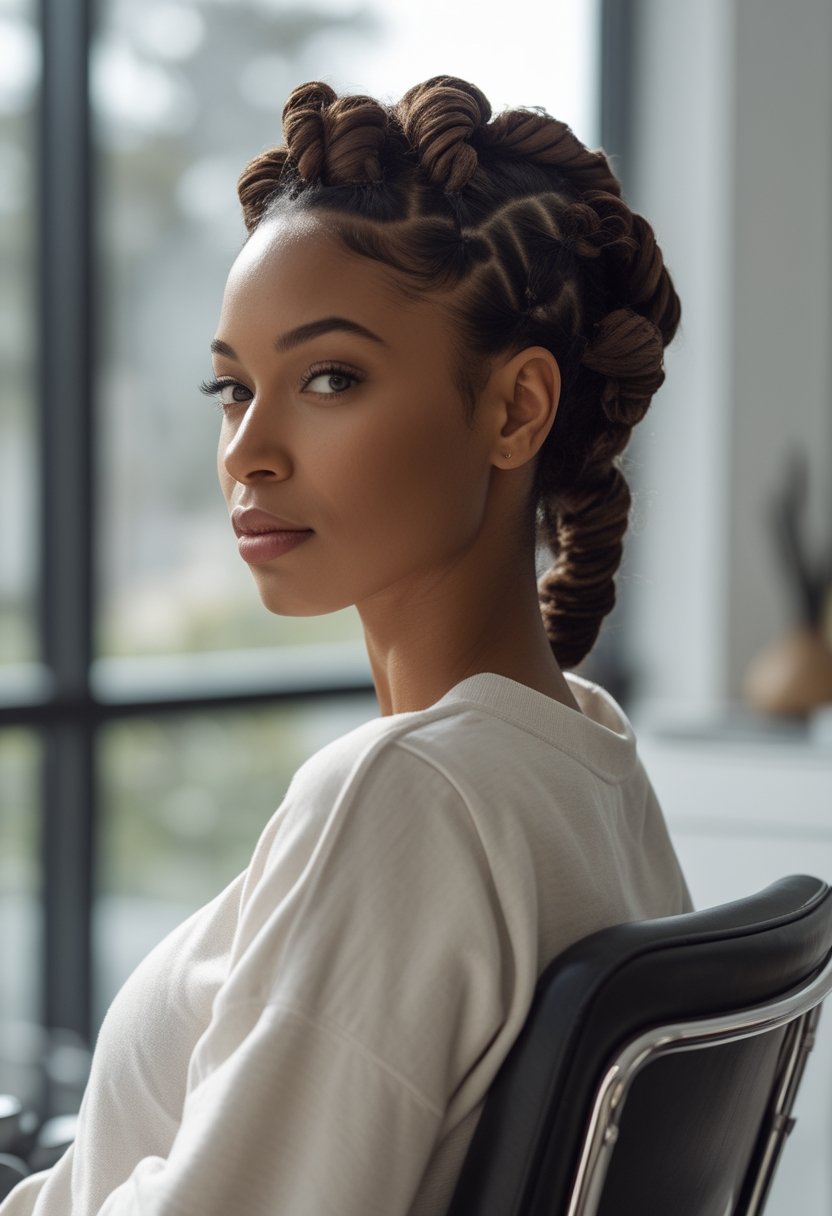
Flat twists with perm rods are useful when you want the roots stretched and controlled while creating rounded curls through the ends. Flat-twist each section down toward the lower lengths, then wrap the ends around appropriately sized perm rods. Smaller rods create tighter curls, while larger rods give you broader bends and softer movement.
Make sure the ends lie smoothly around the rod so they do not dry with frayed or bent tips. The hair should also be completely dry before removing both the rods and twists. Once unraveled, separate gently and blend the curled ends with the textured roots so the finished look feels consistent from scalp to tip.
13. Flat-twist bob on short natural hair
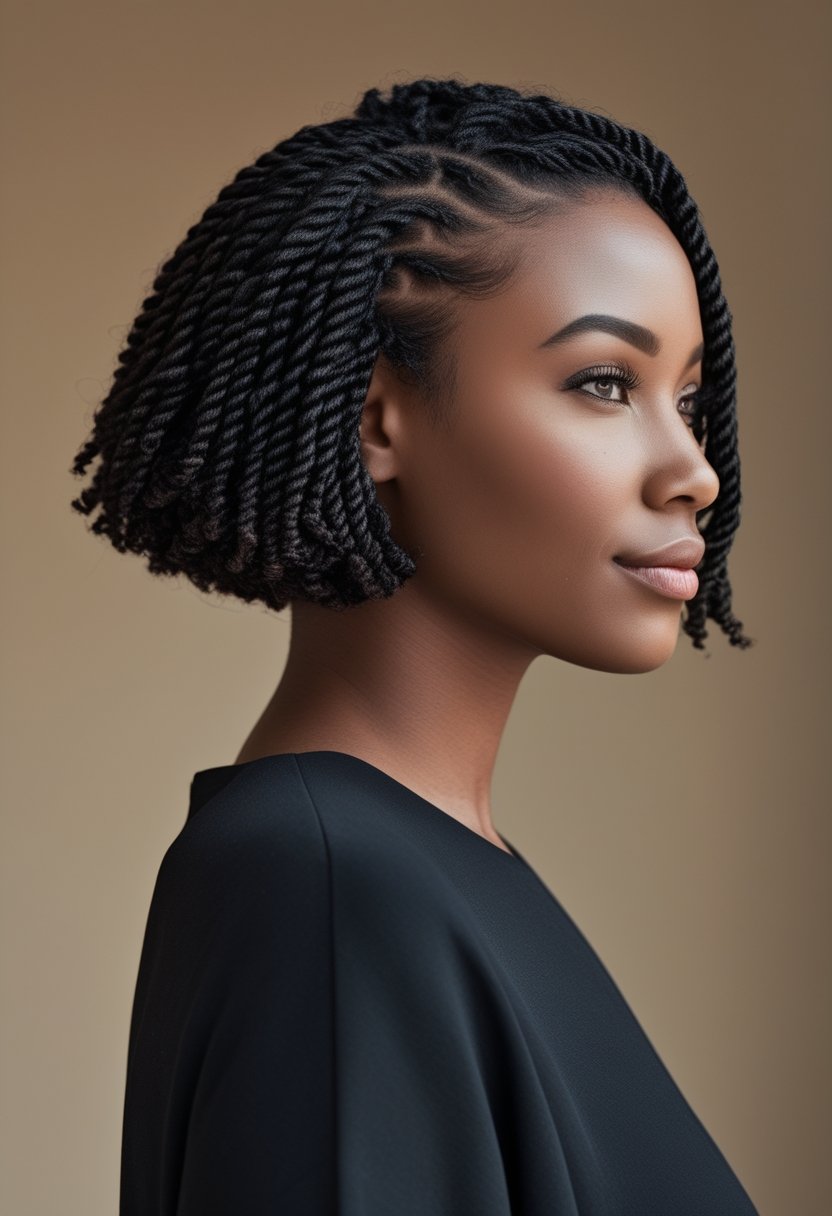
Short natural hair can be shaped into a flat-twist bob by directing the twists downward and slightly forward around the head. Angled partings can create the impression of a rounded bob even when the twists themselves remain close to the scalp. Keeping the sections consistent helps the hairstyle look balanced on both sides.
Moisturize the ends before twisting and avoid pulling shorter sections too tightly just to keep them in place. If some pieces are too short to join the main twist cleanly, allow them to follow their natural shape or secure them gently with a small amount of styling product. A defined side part or curved front twist can add extra shape without requiring additional length.
14. Chunky flat twists for thick hair
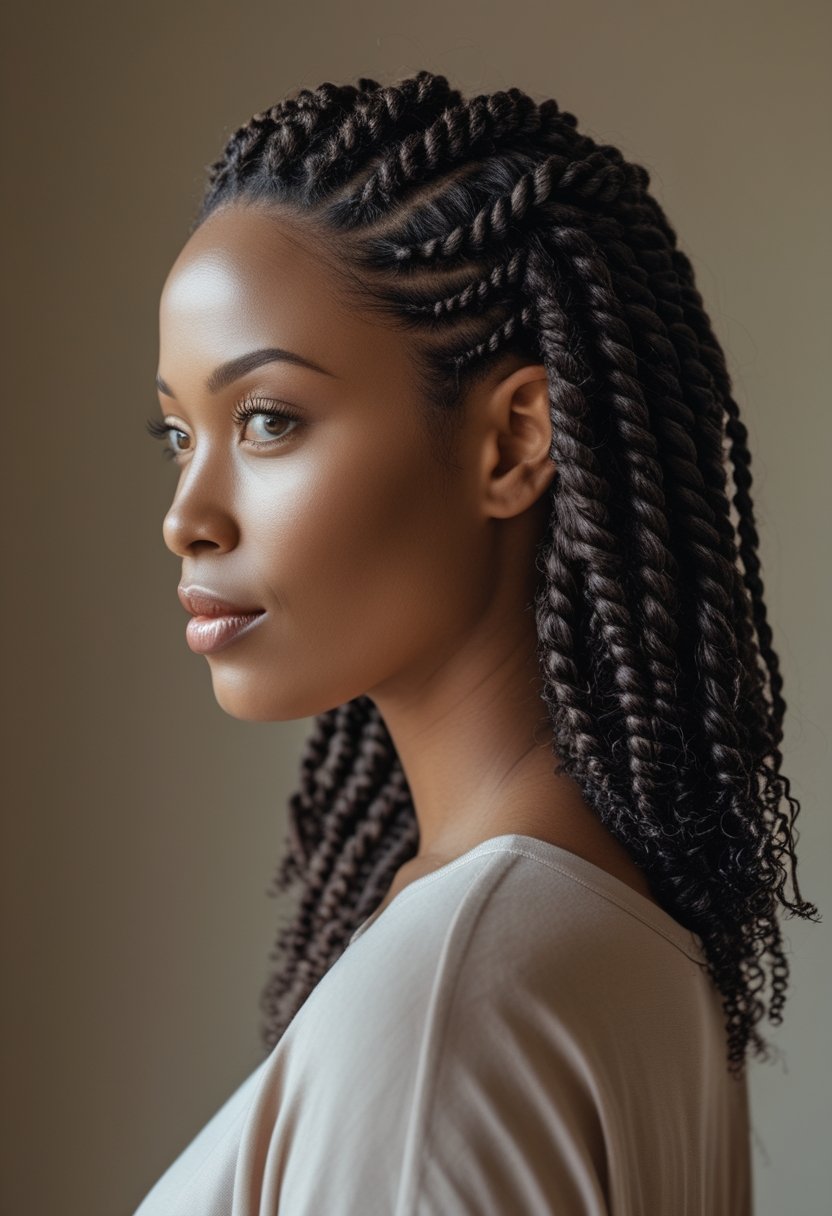
Chunky flat twists are a practical option for thick hair because the larger sections showcase density while reducing installation time. Divide the hair into fewer, wider rows and twist each section close to the scalp, keeping the amount of hair added consistent. The finished twists look bold and textured, making them suitable as a standalone style or a base for a twist-out.
Because thick sections can place extra pressure on the roots, focus on smooth technique rather than tight tension. Apply moisturizer and twisting cream evenly through the full section so the center of each twist does not remain dry. Larger twists may also take longer to dry if the hair is damp, so avoid over-saturating the sections when you plan to unravel them later.
15. Mini flat twists for defined texture
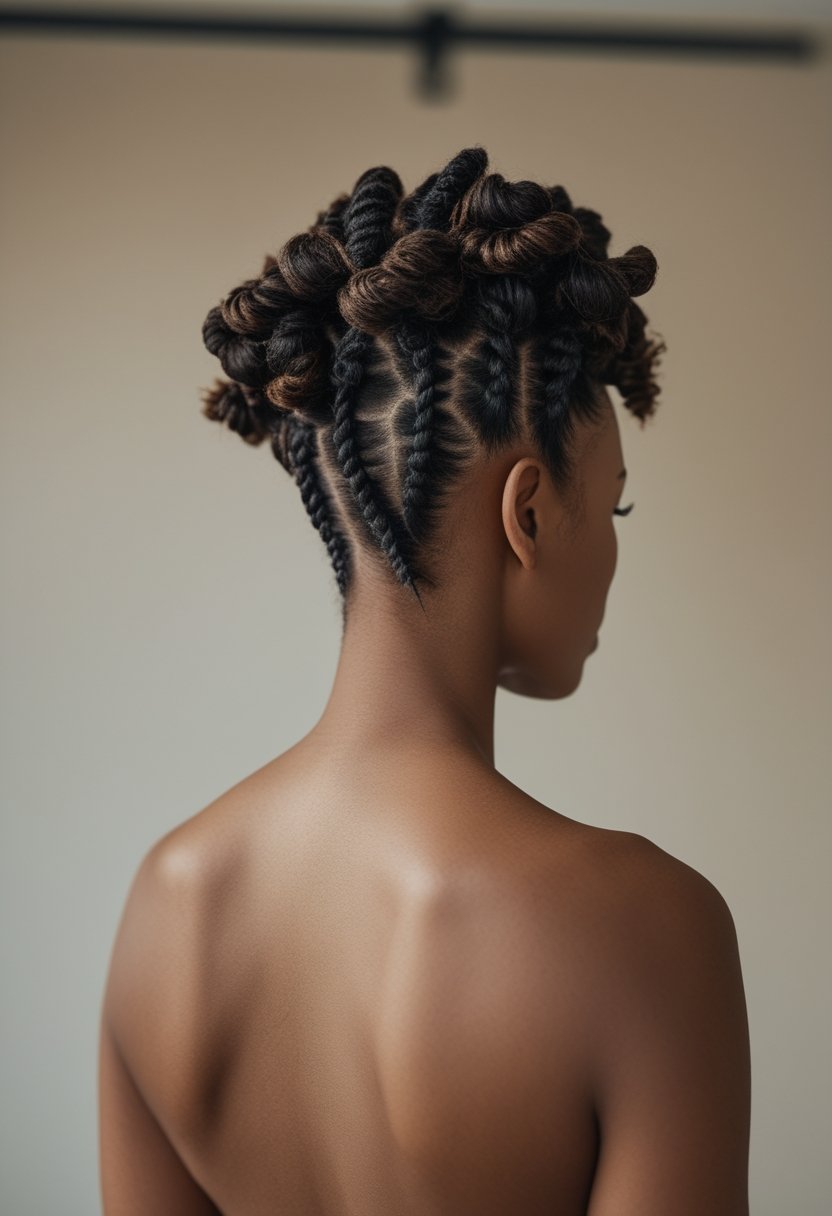
Mini flat twists create a detailed, highly defined look by using many small sections across the scalp. They can be worn for several days as a protective style or unraveled later for a smaller, more textured twist-out. Working on stretched hair often makes the partings easier to control and helps the tiny twists stay neat without requiring excessive pulling.
Keep the scalp lightly moisturized and avoid loading the roots with heavy creams that can create buildup between the small sections. Since mini twists take more time to install, comfort is especially important around the hairline. When removing them, work slowly and separate the hair gently so you preserve the definition created by the smaller twist pattern.
16. Flat twists with a deep side part
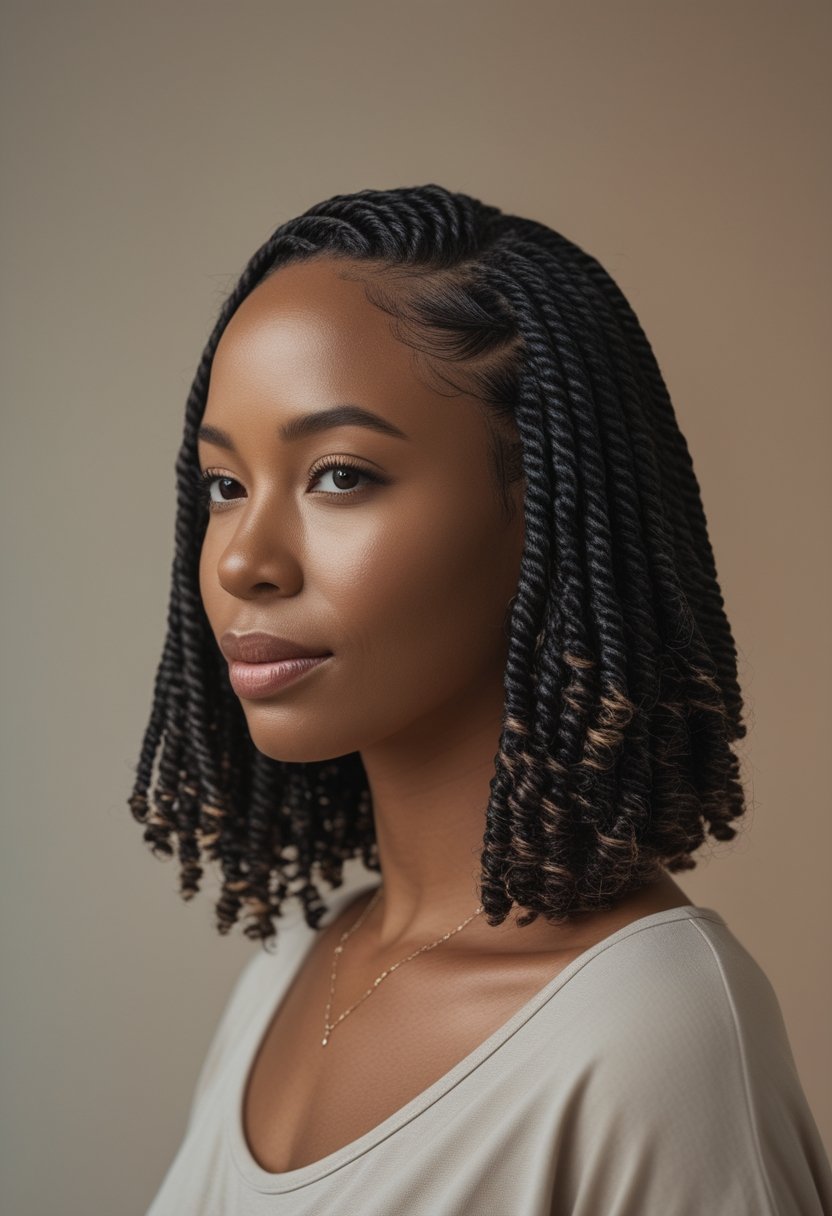
A deep side part gives flat twists an asymmetrical shape and adds instant drama without requiring complicated accessories. Create the part before sectioning the rest of the hair, then direct the twists away from it and toward the back or crown. The fuller side can contain more or larger twists, while the smaller side can remain sleek and close to the scalp.
Keep the part clean enough to stay visible after the twists are installed, since it becomes an important part of the finished design. Avoid pulling the hair tightly along the part line or temple just to make the section appear sharper. A small amount of mousse or gel can smooth flyaways while maintaining flexibility and comfort around the edges.
17. Flat-twist headband style
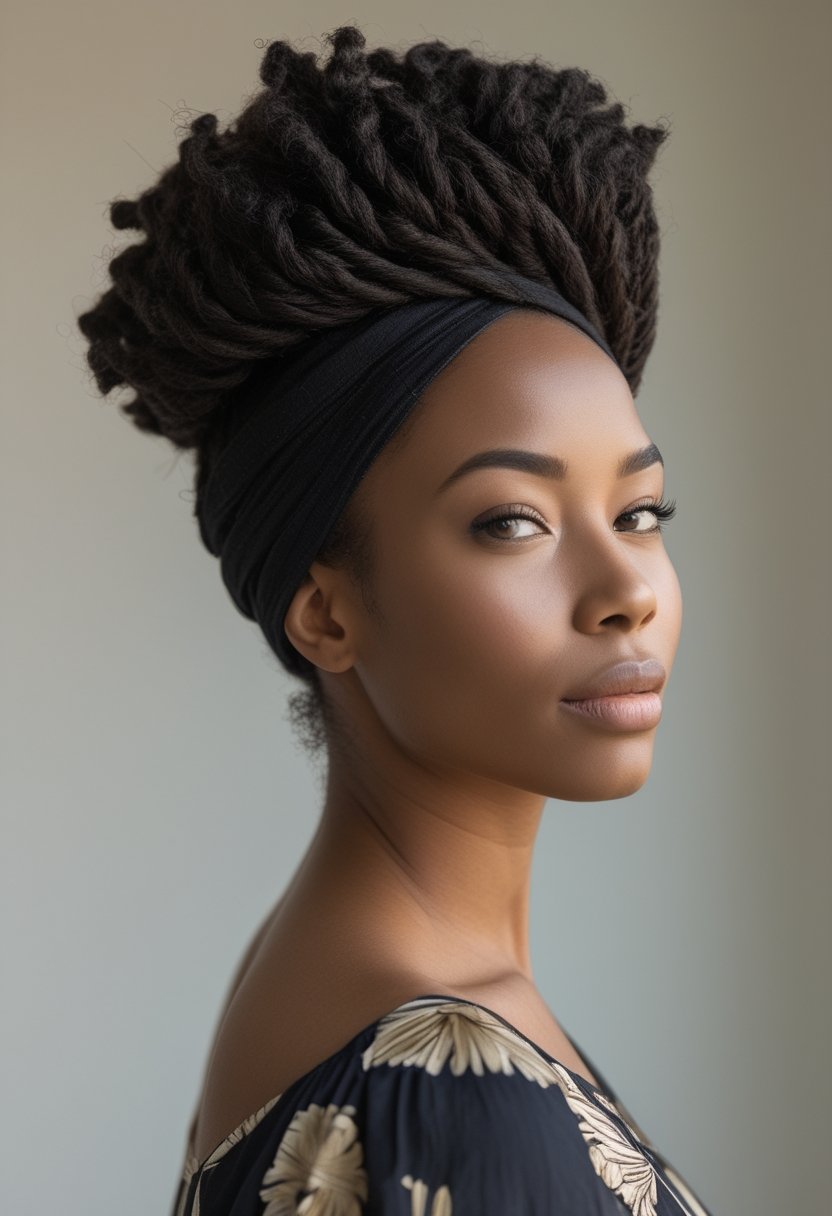
A flat-twist headband style uses one or more twists across the front of the head to create the appearance of a natural hair accessory. Part off a section from one temple to the other, then flat-twist it across the hairline while leaving the rest of your hair loose. The back can be worn in curls, a puff, a bun, or a twist-out, making this style easy to adapt to different lengths and occasions.
Pin the end of the front twist beneath the loose hair or into the back section so the fastening remains hidden. Keep the twist slightly behind the delicate edge hairs rather than pulling every fine strand into the section. This gives the style a neat framed effect while allowing you to preserve volume and texture throughout the rest of your natural hair.