Curly Bridal Hair With Veil: 15 Stunning Wedding Looks
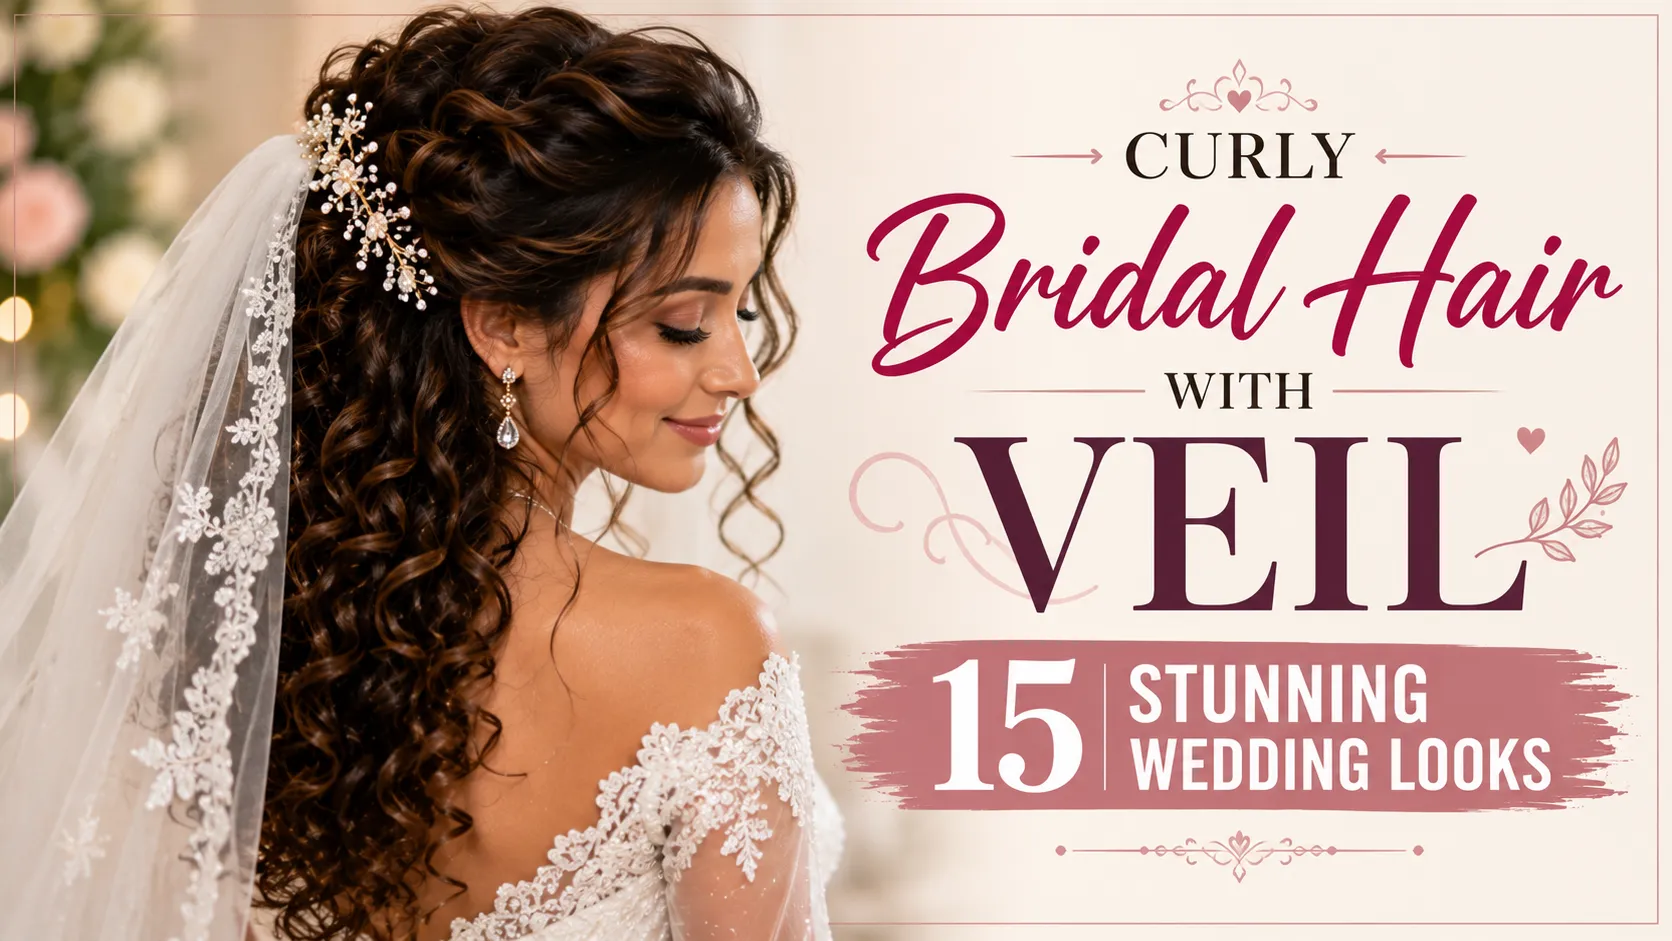
Curly bridal hair paired with a veil gives you texture, movement, and timeless ceremony appeal—but choosing a style that stays secure without hiding your natural pattern can feel challenging. The right hairstyle should give your veil a stable place to sit while still allowing your curls to look soft, defined, and natural from every angle.
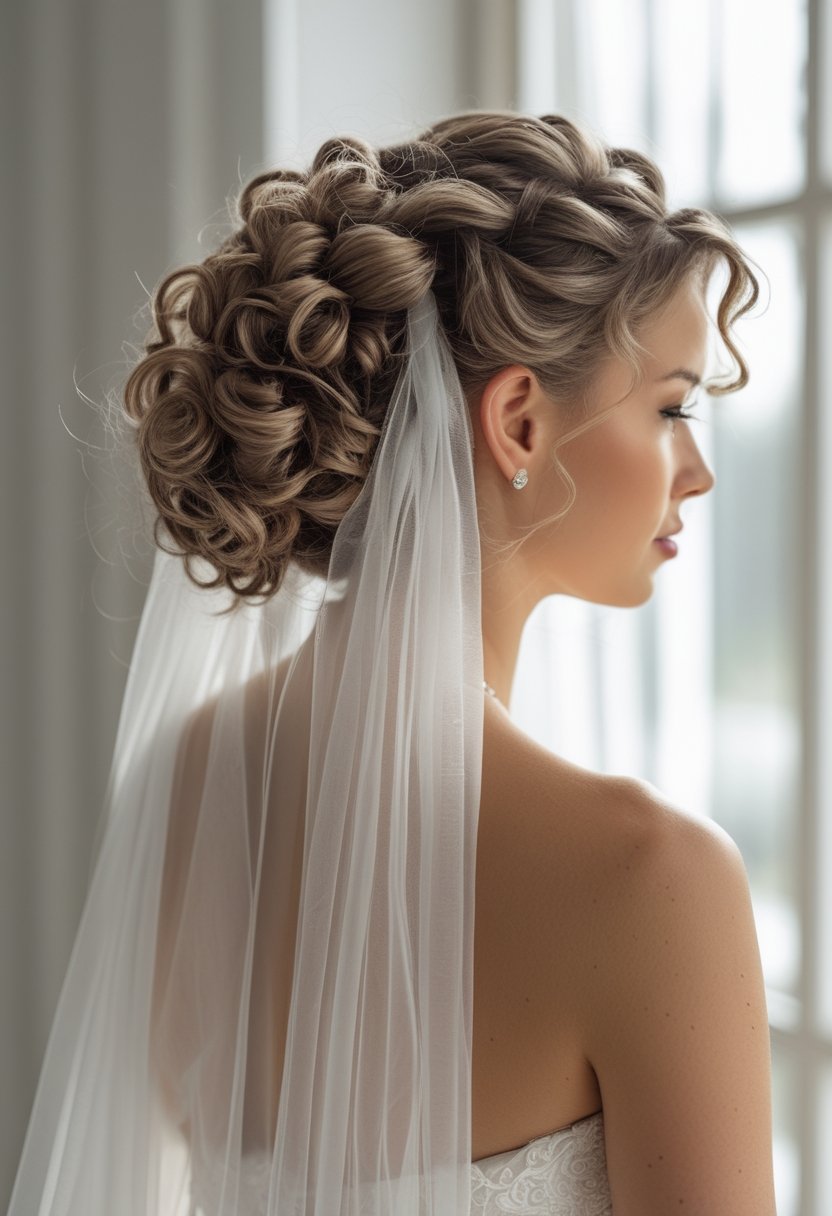
You’ll discover veil-ready curly hairstyles for every length, texture, and bridal style. From cascading curls and polished chignons to braided crowns, ponytails, and vintage-inspired looks, these ideas can help you choose a style that complements your veil without sacrificing comfort or curl definition.
1. Loose cascading curls with a cathedral veil
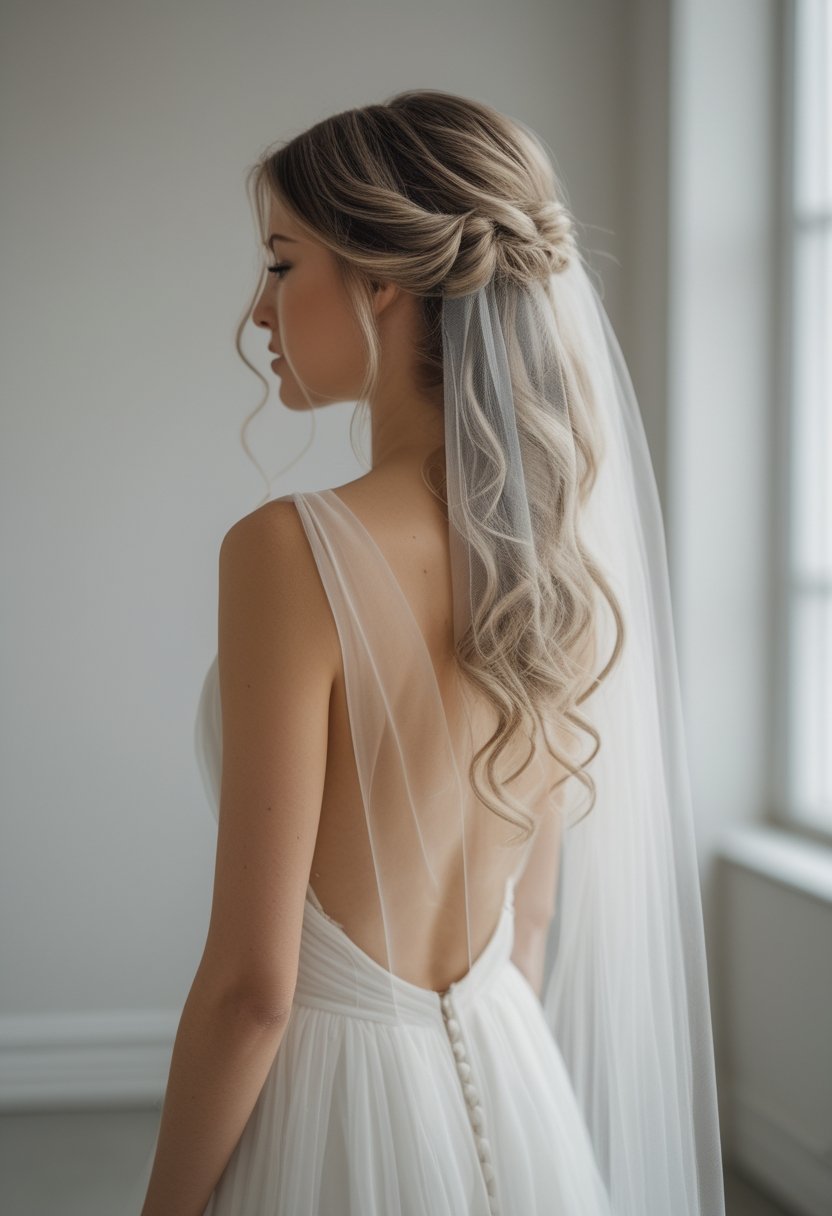
Loose cascading curls are ideal if you want your natural length and texture to remain a major part of your bridal look. Define the curls carefully from roots to ends, then create a small hidden anchor point near the crown or upper back of the head for the veil comb. This gives a cathedral veil enough support without requiring you to flatten the entire crown or pull your curls into an updo.
Because cathedral veils extend well beyond the dress, test how the fabric moves against your curls before the wedding day. Lightweight veils are generally easier to manage with loose hair, while heavier lace or embellished designs may need additional hidden pins. Keep the veil attachment slightly separated from your most delicate curls to reduce snagging when the veil is removed after the ceremony.
2. Half-up curly hair with a fingertip veil
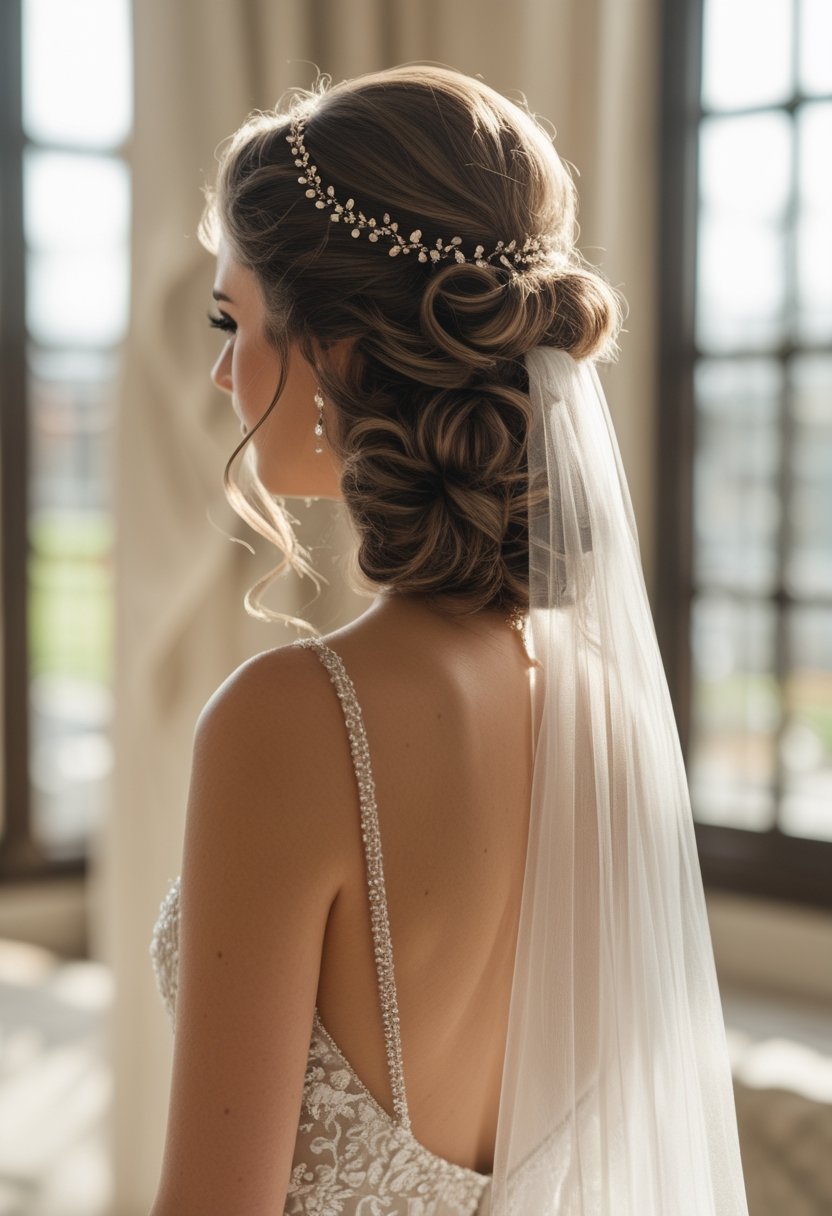
A half-up style creates one of the easiest attachment points for a fingertip veil while still allowing most of your curls to remain loose. Gather small sections from each side and secure them near the back of the crown, preserving natural lift instead of pulling the hair tightly. The veil comb can then slide beneath the pinned section so the attachment stays discreet.
Leave a few face-framing tendrils loose to soften the hairstyle and highlight your natural curl pattern around the cheeks and temples. During your hair trial, walk, turn your head, and gently move the veil to make sure the comb does not shift. A secure base is especially important if you plan to wear the veil through photographs, the ceremony, and part of the reception.
3. Curly low chignon with a cathedral veil
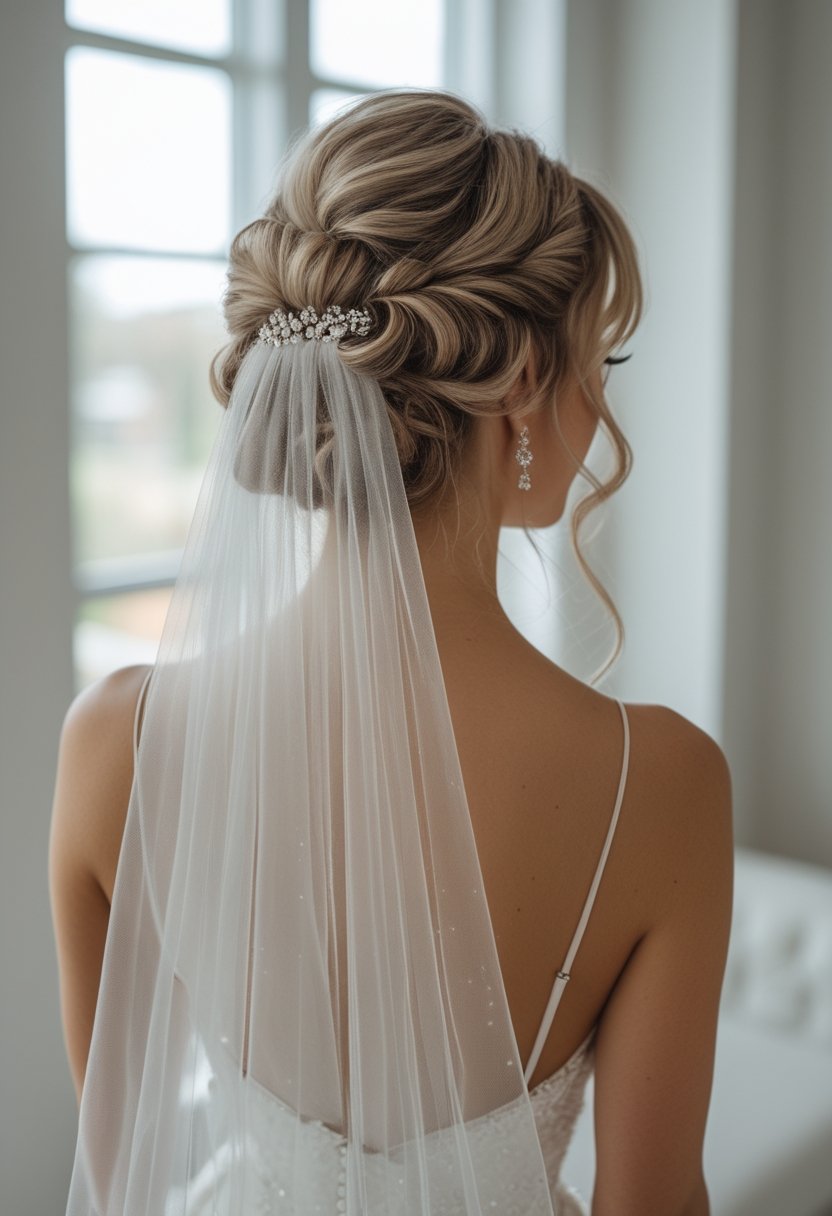
A curly low chignon gives a cathedral veil a strong foundation while allowing the natural texture of your hair to remain visible. Instead of smoothing every curl into a rigid bun, your stylist can twist and pin individual sections into a softly structured chignon at the nape. This creates a romantic shape that looks beautiful from the back as you walk down the aisle.
The cathedral veil can be positioned just above the chignon so it falls cleanly behind the hairstyle without covering all of the curl detail. If the veil is heavily embellished, ask your stylist to reinforce the comb with discreet pins or a hidden anchor. Keeping the bun low also distributes the visual weight of the veil more evenly and can make the style feel comfortable for a long ceremony.
4. Voluminous curly updo with a drop veil
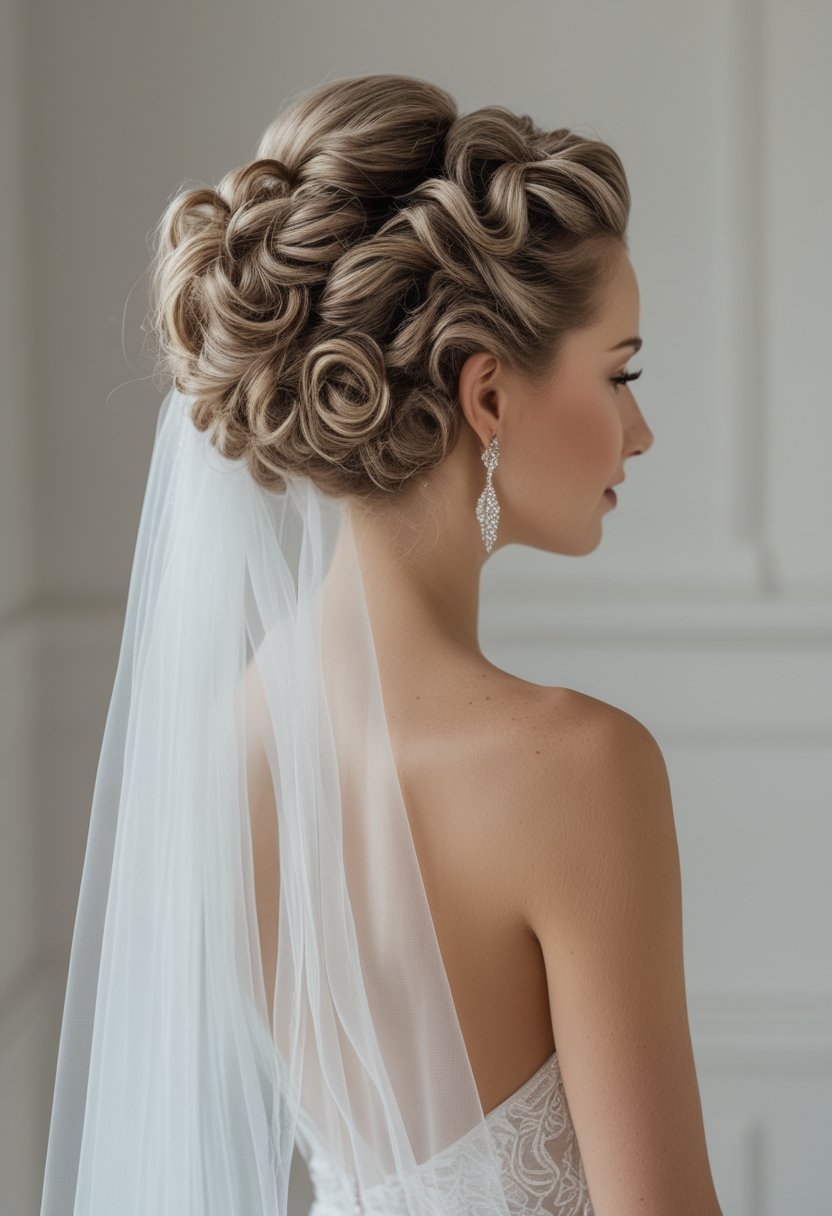
A voluminous curly updo creates a dramatic bridal silhouette while keeping the neck and shoulders open. Rather than brushing out your texture, build the updo by pinning defined curls individually around the crown and back of the head. This allows the hairstyle to maintain dimension and softness instead of turning into one solid, smooth shape.
A drop veil looks especially elegant when secured beneath or just behind the updo, where the sheer fabric can fall without covering the hairstyle completely. Make sure the pins holding the curls are separate from the pins supporting the veil so removing one does not disturb the other. A light finishing product can help control flyaways while preserving the movement that makes curly updos so beautiful.
5. Curly side-swept style with a chapel veil
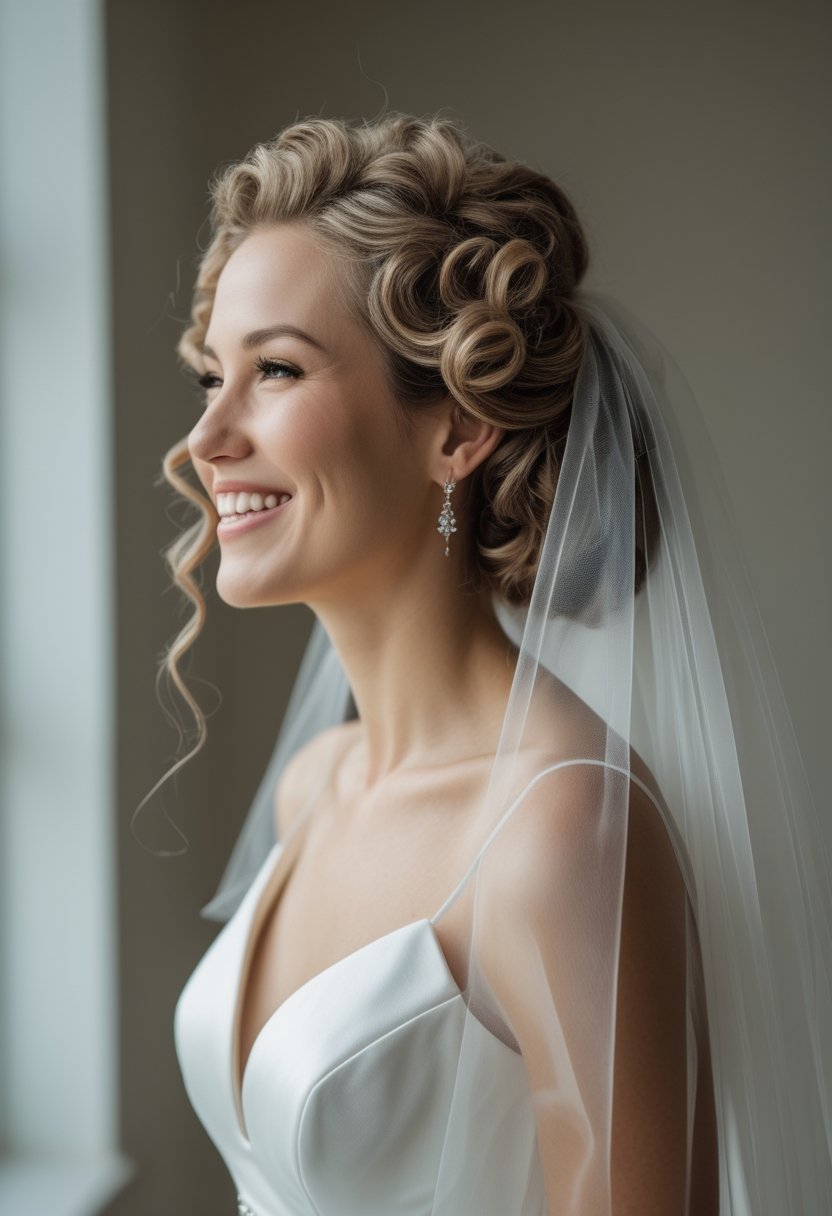
A side-swept curly style creates an elegant asymmetrical look that photographs beautifully from the front and profile. Guide most of your curls over one shoulder and use hidden pins near the opposite side to keep the arrangement secure. Leaving the curls full rather than tightly gathered helps the hairstyle feel romantic and soft.
Attach the chapel veil behind the pinned section so it falls down the back without interfering with the curls over your shoulder. During your trial, test how the hairstyle responds when you turn your head and hug people, since side-swept styles can shift with movement. A few strategically placed pins beneath the visible curls can provide support without making the style look stiff.
6. Natural curls with a fingertip veil pinned at the crown
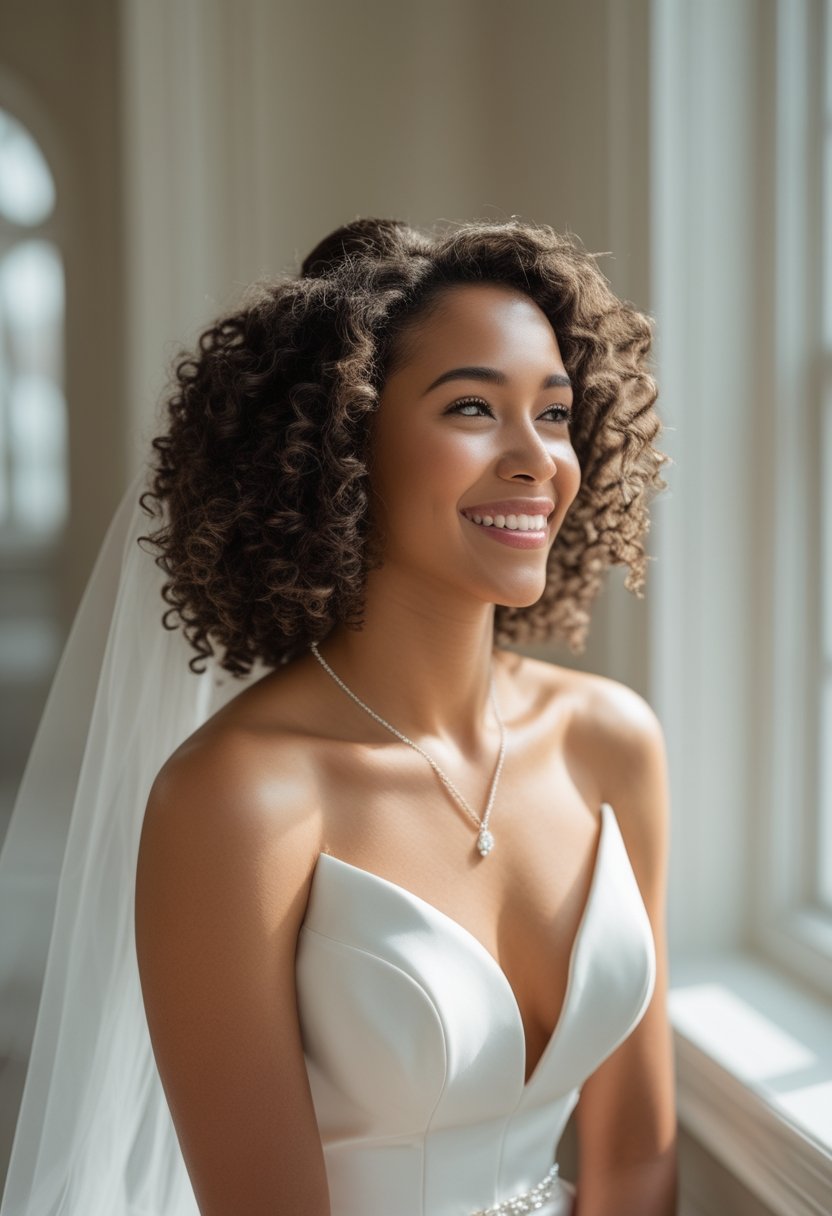
Wearing your natural curls fully visible can create a confident, beautifully textured bridal look. Define the curls according to your usual routine, then shape the crown so there is enough structure for the veil comb without compressing the overall volume. A small hidden braid or crossed pins beneath the top layer can provide an anchor while remaining invisible.
A fingertip veil is a practical match because it provides traditional bridal movement without adding as much weight as a longer cathedral style. Position it slightly behind the highest point of your crown so your curls remain visible around the face and sides. Ask your stylist to test the placement before finalizing the shape, since moving the veil repeatedly can disturb carefully defined curls.
7. Curly Braided Crown With a Mantilla Veil
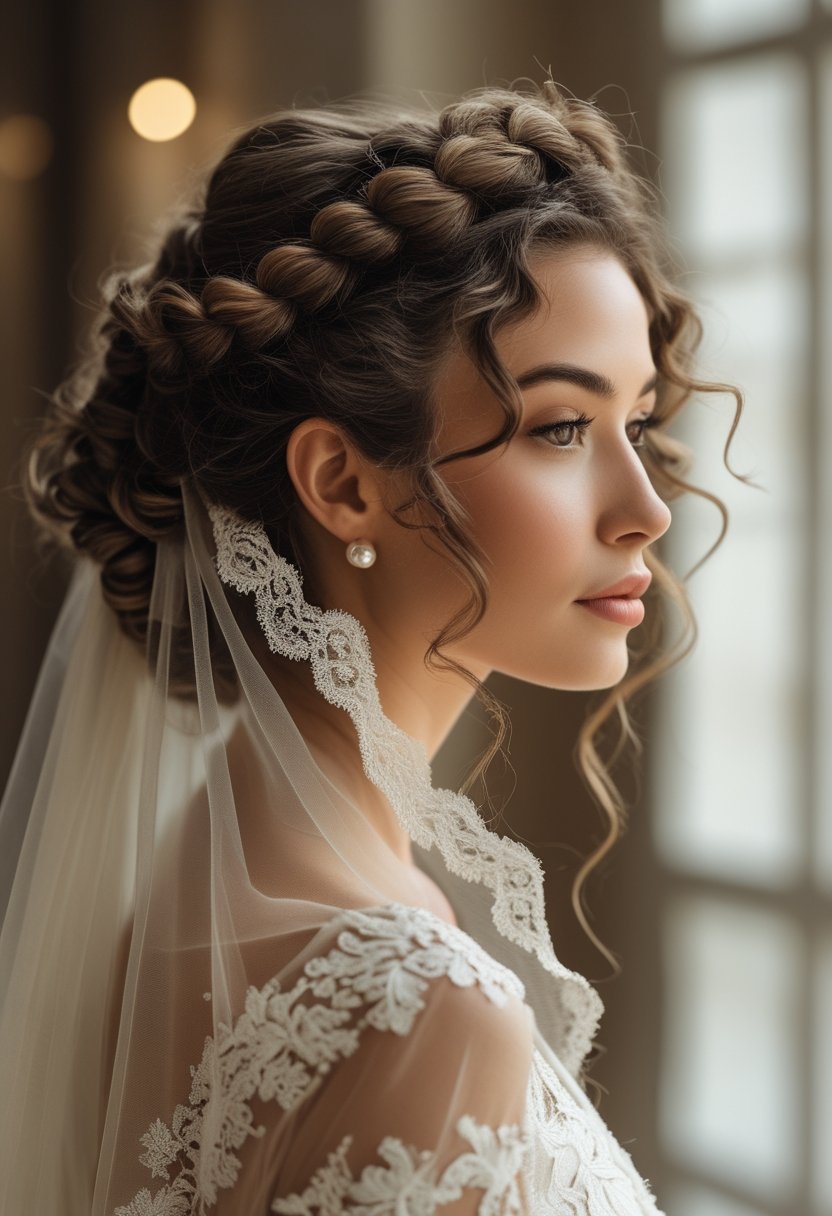
A braided crown gives curly bridal hair structure while creating a natural frame for a lace-edged mantilla veil. Sections near the front can be braided around the head while the remaining curls are tucked, pinned, or left partially loose. Keep the braid slightly relaxed so the hairstyle retains softness and does not flatten your natural texture.
Pin the mantilla beneath or just behind the braided section, depending on how much lace you want visible around the face. Because mantilla veils often feature decorative borders, keep other hair accessories minimal so the lace and braid do not compete. Use discreet pins and comfortable tension throughout the crown, especially around the temples and ears.
8. Half-up curls with pearl hairpins and a chapel veil
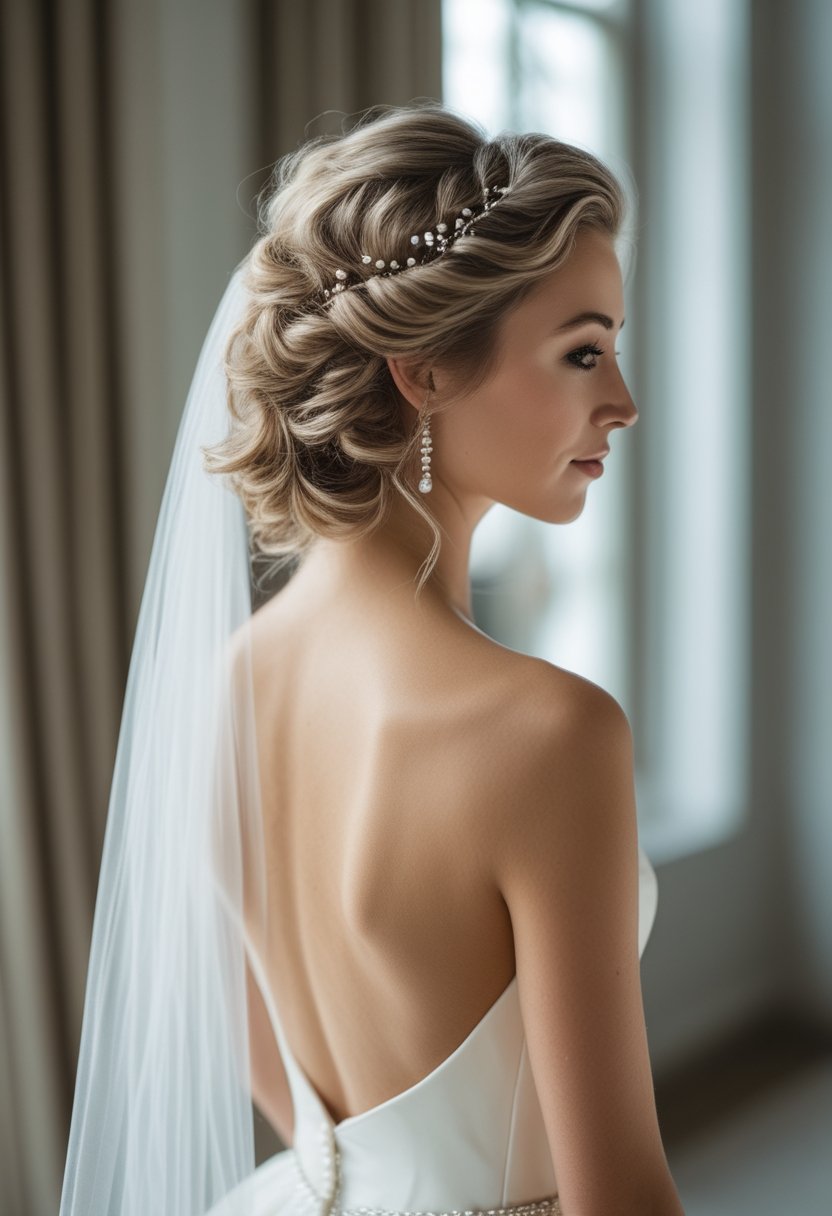
Half-up curls with pearl accents offer a classic bridal look that still feels soft and modern. Secure the upper section of your curls at the back, keeping enough height through the crown to avoid a flat silhouette. Pearl pins can then be scattered just above the gathering point, creating delicate detail that remains visible even when the veil is worn.
Place the chapel veil comb beneath the pinned section rather than directly through the decorative pearl arrangement. This keeps the veil attachment hidden and makes it easier to remove later without disturbing your accessories. Choose pearls that complement the tone and details of your dress, especially if your gown already features pearl buttons, beading, or jewelry.
9. Curly ponytail with a cathedral veil
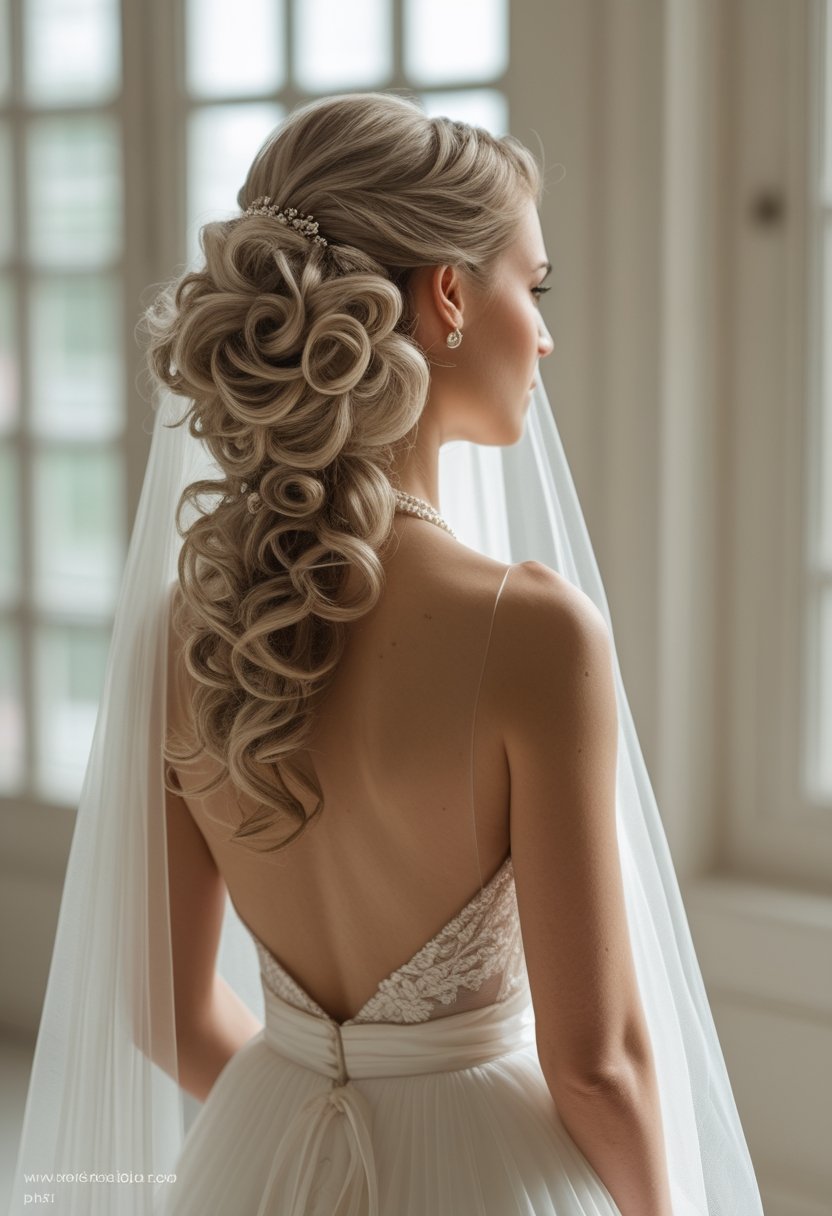
A curly ponytail can look surprisingly formal when the crown is polished and the curls remain full through the length. Secure the ponytail at a low or mid-height position, then wrap a small section of hair around the elastic to create a cleaner finish. Shape individual curls afterward so the ponytail has balanced volume and movement.
A cathedral veil can be attached above the ponytail, where the secured base provides a useful anchor. If the veil is heavy, additional hidden pins may be needed to prevent the comb from sliding downward. Test the style with the actual veil during your trial because the combined weight of a full ponytail and long veil can feel different from styling either element separately.
10. Romantic curly bun with a birdcage veil
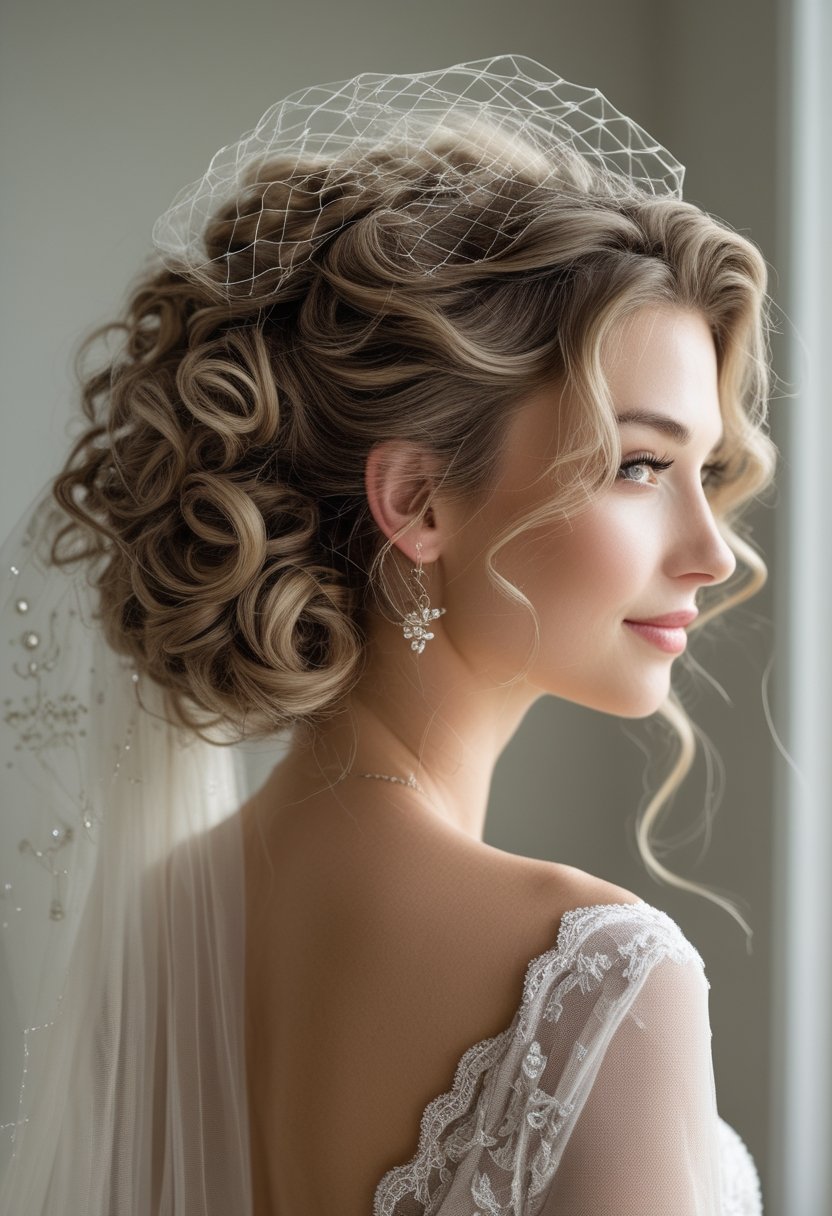
A curly bun paired with a birdcage veil creates a chic vintage-inspired bridal look without covering your hairstyle completely. Form a low or side bun by pinning curls individually, allowing a little texture and softness around the edges. The finished bun should feel secure but not overly smooth, so your natural curl pattern remains part of the design.
Position the birdcage veil above the bun or slightly to one side, depending on how you want the netting to frame your face. Because this veil style is relatively compact, a decorative comb or small bridal clip can often secure it comfortably. Keep loose curls around the hairline deliberate and controlled so the look feels romantic rather than unfinished.
11. Curly bob with a birdcage veil
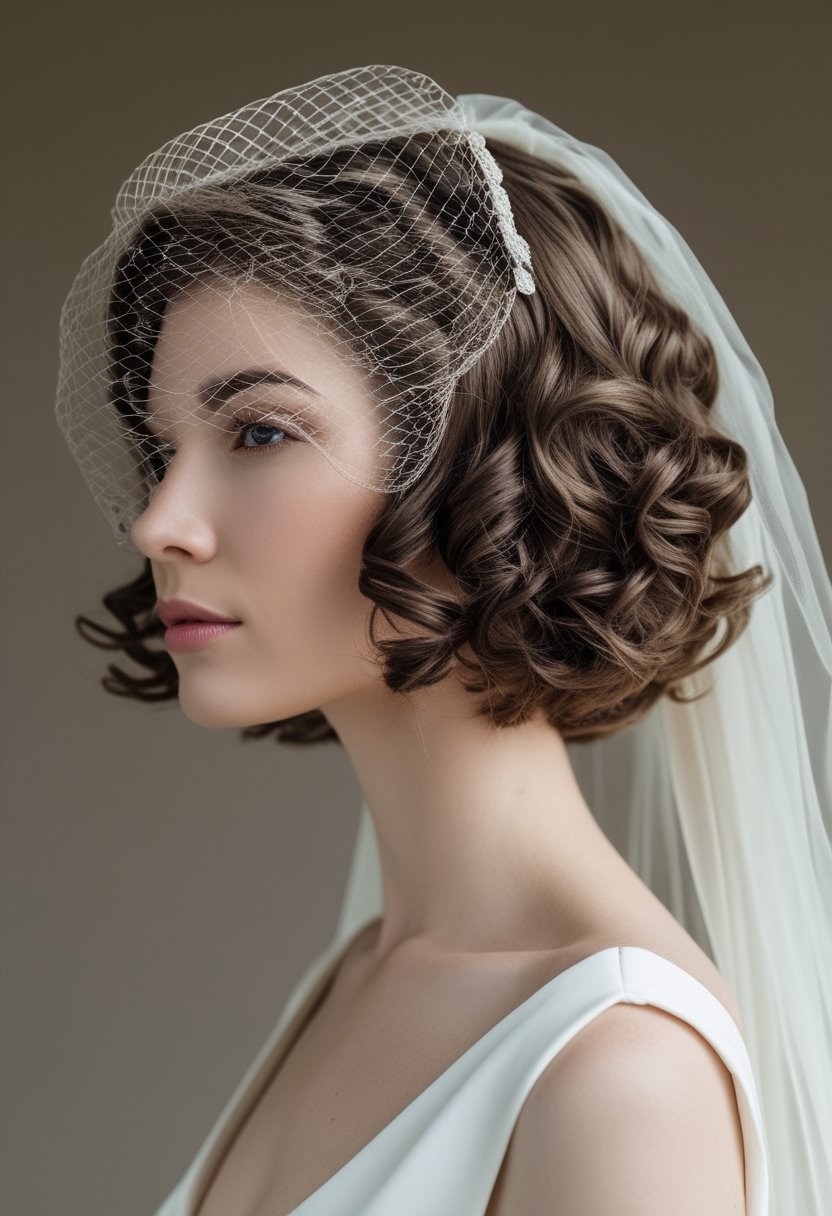
A curly bob works beautifully with a birdcage veil because neither element requires long hair or a large updo. Define your curls and create a flattering side or center part, then shape the overall silhouette before adding the veil. Keeping the curls full around the sides prevents the netting from visually flattening shorter hair.
Secure the birdcage veil near the crown or just above one ear so it sits securely without pressing directly into the curls. A small comb, decorative clip, or discreet pins can work depending on the veil design. If you plan to remove the veil after the ceremony, make sure the attachment can slide out without pulling apart the curls underneath.
12. Curly lob with a shoulder-length veil
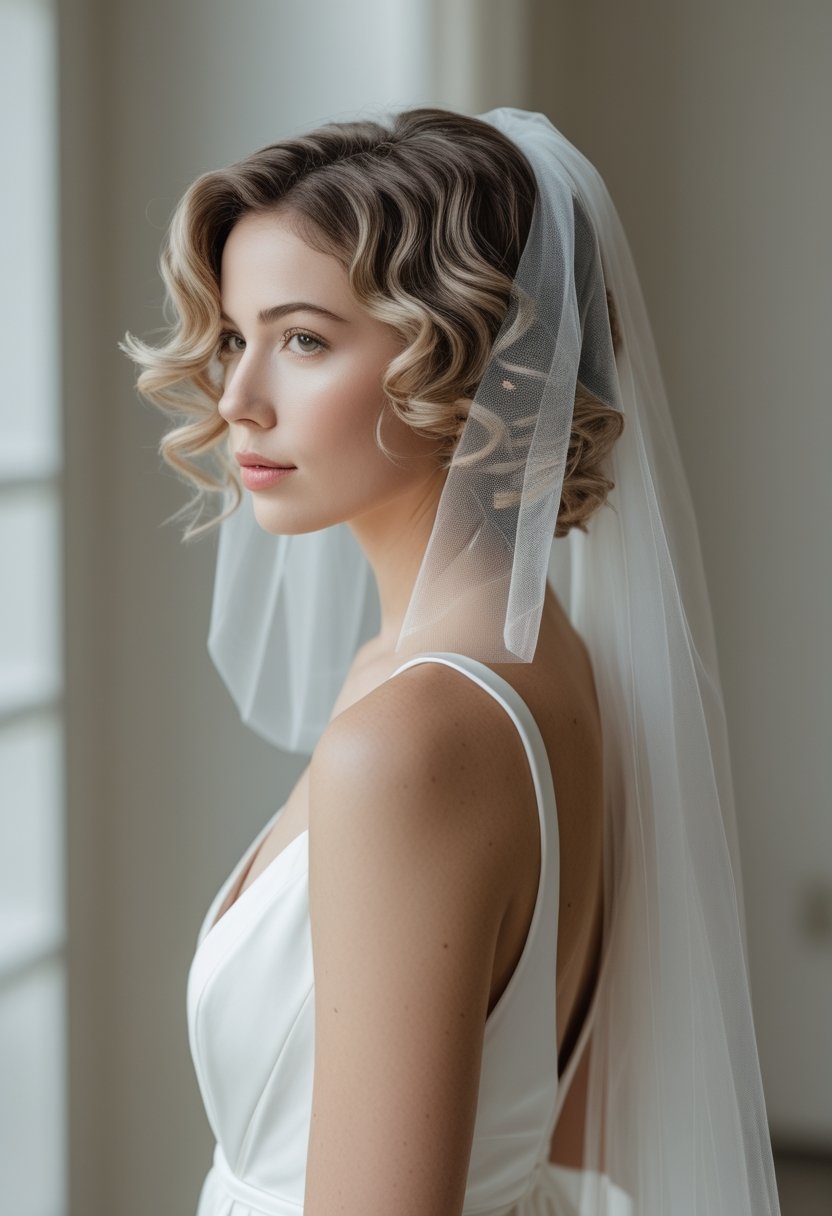
A curly lob paired with a shoulder-length veil offers a light, modern alternative to longer bridal styles. Define the curls so they fall naturally around the shoulders, then create subtle support at the crown using crossed pins or a small hidden braid. This allows the veil to sit securely while preserving the movement of the hair underneath.
Because the veil ends near the same area as the hair, pay attention to how the fabric and curls overlap. A slightly sheer veil can keep the texture visible rather than hiding it completely. During your trial, check the hairstyle from the back and sides to make sure the veil hem does not repeatedly catch on the ends of your curls.
13. Cascading curls with a blusher veil
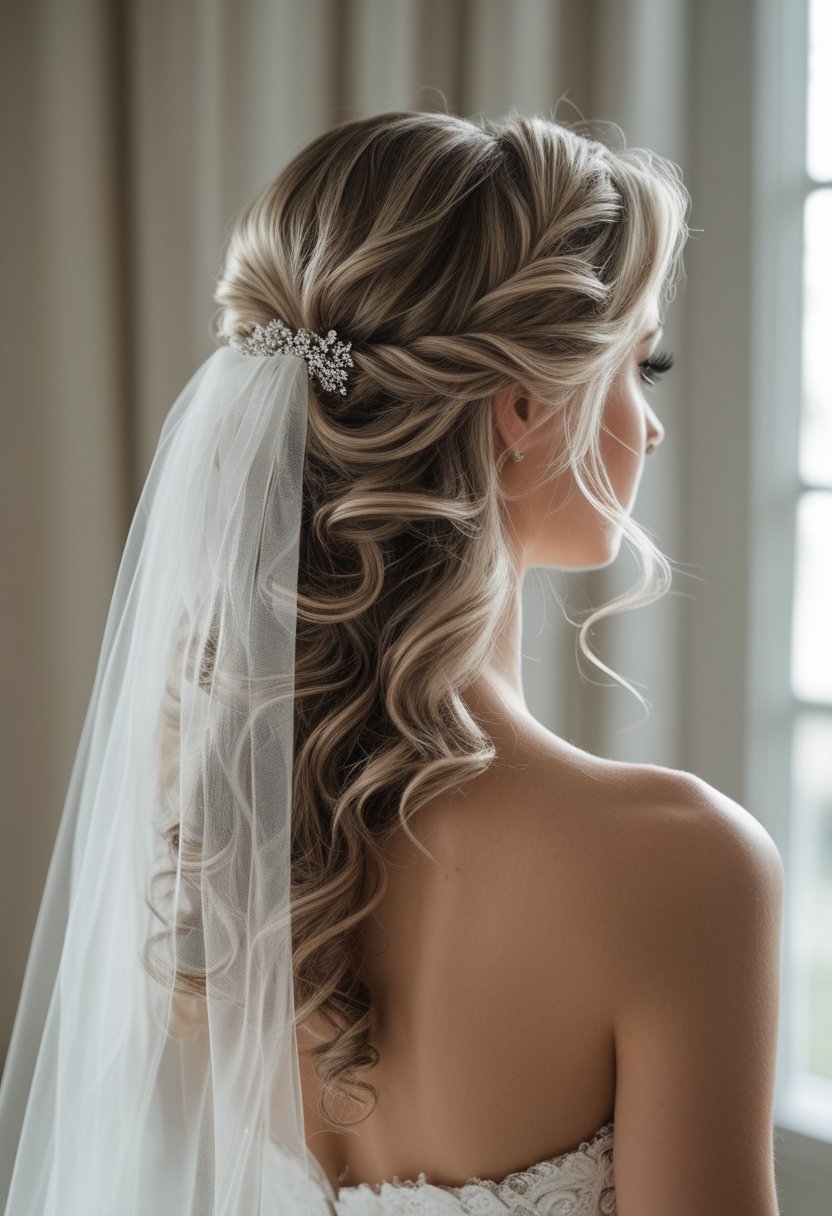
Cascading curls create a soft foundation for a blusher veil, especially if you want a traditional moment when the veil is lifted during the ceremony. Keep the curls defined through the lengths while maintaining enough structure near the crown for secure attachment. The hairstyle itself can remain relatively simple because the blusher creates an additional layer of visual interest around the face.
Place the veil so the front layer falls comfortably without catching in curls around your forehead or temples. Test lifting and lowering the blusher several times during your hair trial, since this movement can disturb loosely pinned sections if the comb is not stable. A stylist can also position a few hidden pins near the attachment point to keep everything secure while preserving natural volume.
14. Curly French Twist With a Cathedral Veil
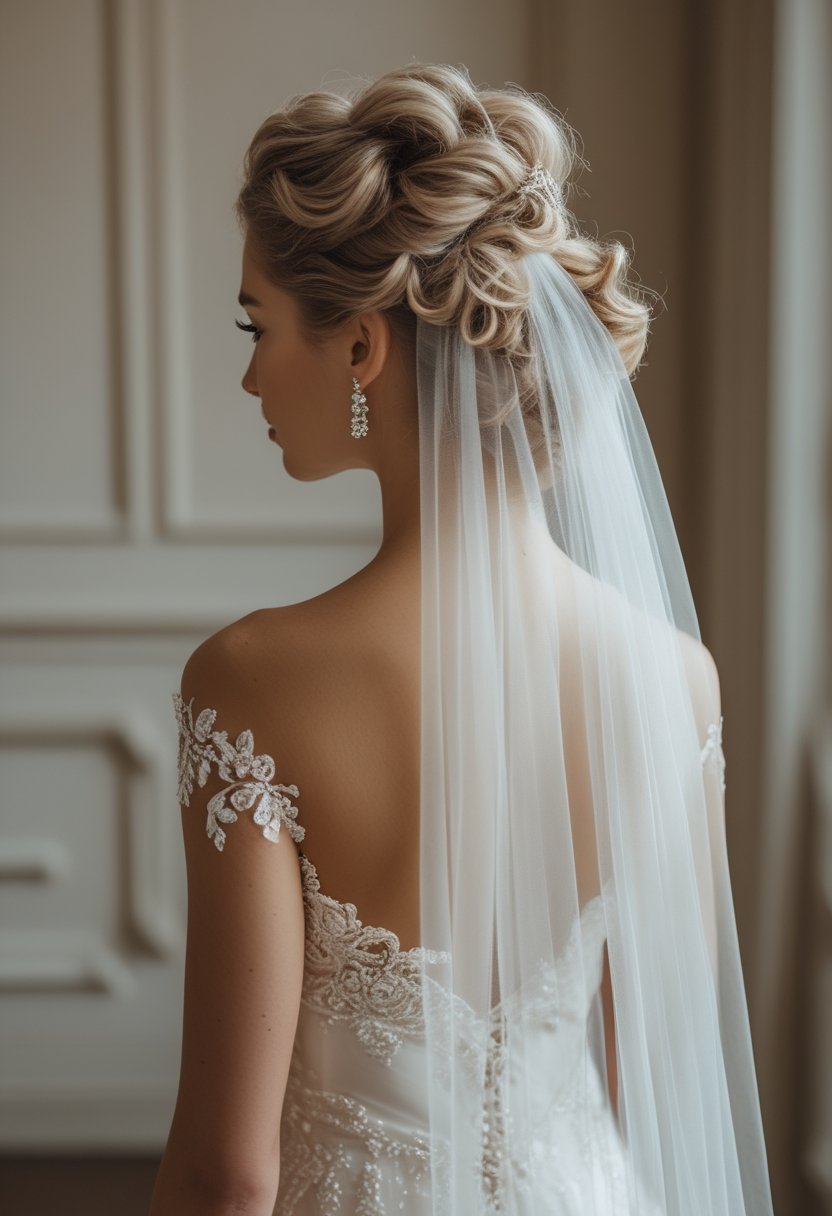
A curly French twist combines classic bridal structure with the softness of natural texture. Instead of smoothing every strand tightly, allow some curls to remain visible along the twist while pinning the main structure securely up the back of the head. This creates an elegant vertical shape that works particularly well with formal gowns and dramatic ceremony settings.
Slide the cathedral veil comb beneath the lower or middle section of the twist, depending on where the veil falls most naturally. Heavier veils may need reinforcing pins hidden inside the updo so their weight does not pull against a single comb. Keep the veil support separate from the pins holding the twist itself, making removal easier later in the celebration.
15. Defined curls with a Juliet cap veil
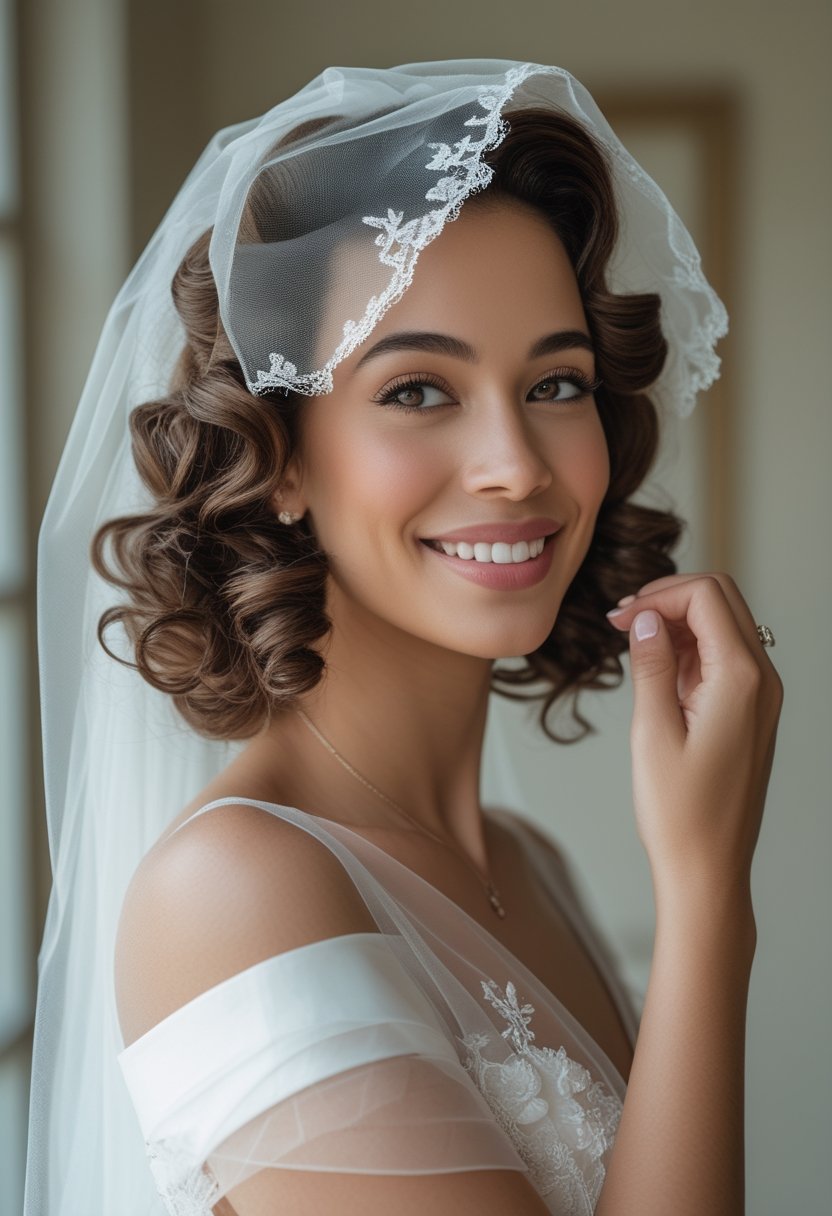
A Juliet cap veil creates a romantic, vintage-inspired effect that works beautifully with defined curls. Style your curls first and shape the hair around your face before placing the veil, since the cap-like design sits closer to the head than many traditional comb veils. Keeping some volume around the crown and sides helps your natural texture remain visible beneath the fabric.
Secure the Juliet cap just behind the hairline or according to the veil’s construction, using discreet pins that do not flatten the curls. If the veil includes lace, beading, or decorative edging, keep additional hair accessories minimal. Test the full combination with your earrings and dress neckline so the finished look feels balanced rather than overly detailed.