Flexi Rods on Natural Hair: 17 Stunning Styles That Turn Heads
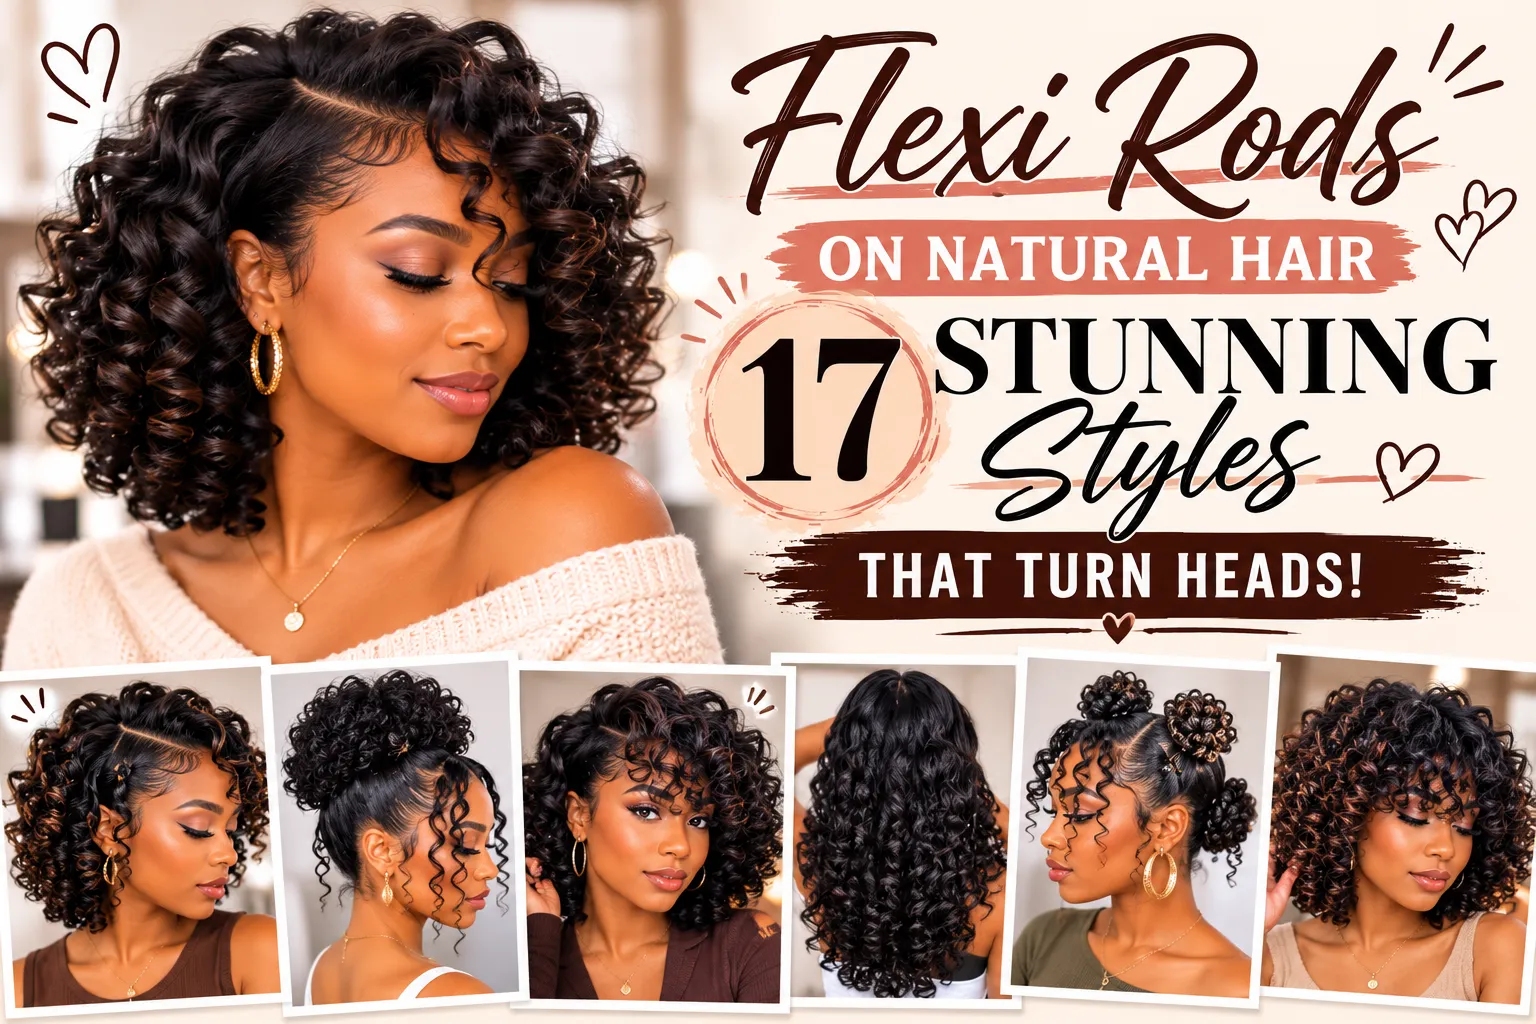
Flexi rods give you a practical way to reshape natural hair without relying on direct heat. Whether you want defined spirals, loose waves, stretched curls, or a fuller rounded finish, changing the rod size, section size, and wrapping method can completely transform the final result.
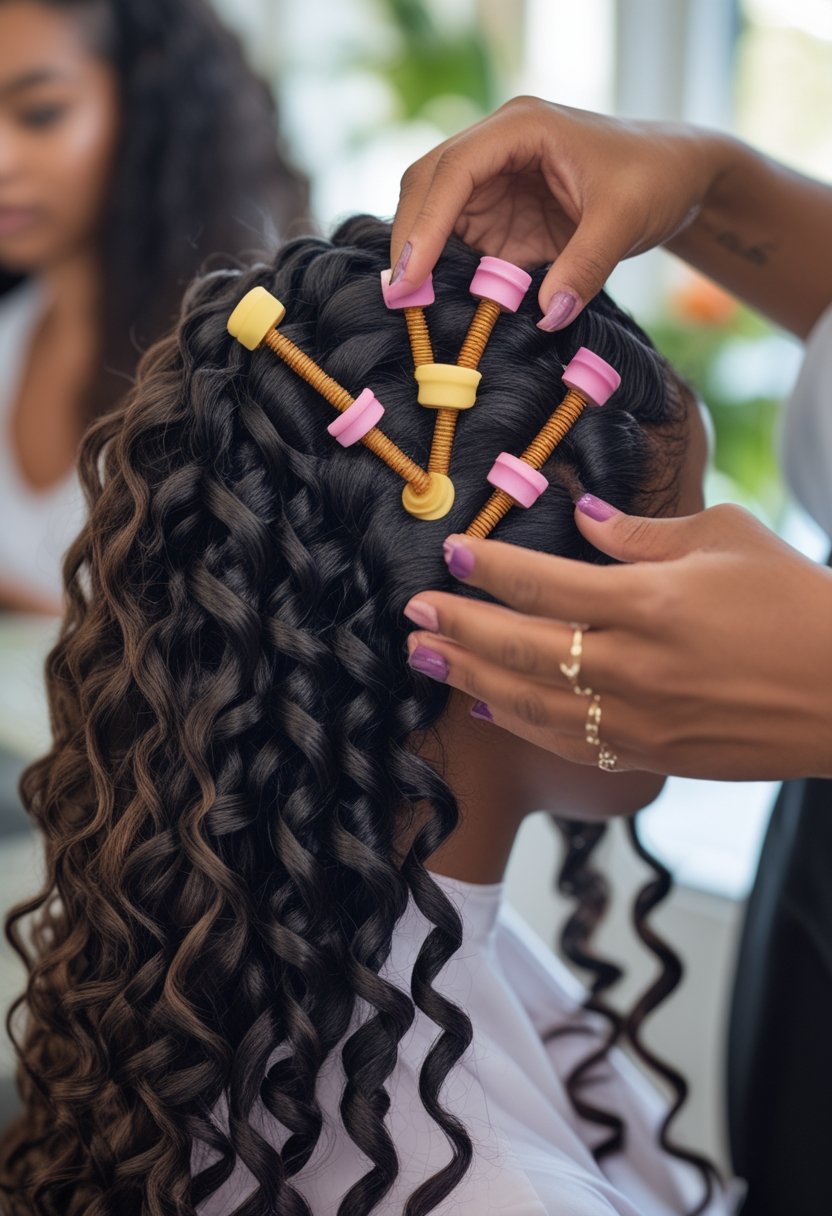
You can choose flexi-rod sizes and techniques to create curls that suit your hair. Explore styling ideas for short, stretched, blown-out, 3C, and 4C hair, along with overnight sets, parting options, second-day styling, and pinned updos that help you get more variety from the same heatless technique.
1. Defined spiral curls with orange flexi rods

Orange flexi rods can create neat medium-to-tight spirals when you work with small, evenly sized sections. Start with clean, moisturized hair that is damp rather than soaking wet, then smooth each section from roots to ends before wrapping it around the rod. Keeping the hair flat against the rod instead of twisting it randomly helps produce a more polished spiral once the set is removed.
Use a lightweight mousse or styling foam for hold without coating the curls too heavily. After the hair is completely dry, unwind each rod in the opposite direction of the wrap and separate the curl only once or twice at first. You can create additional volume later by gently lifting the roots with your fingers while leaving the spiral ends intact.
2. Loose, bouncy curls with jumbo flexi rods

Jumbo flexi rods are useful when you want larger, softer curls with more movement than a tight spiral set. Work with medium-to-large sections and wrap the hair smoothly around each rod, keeping enough tension to create shape without pulling at the roots. Stretched or previously detangled hair often produces the smoothest result because there is less shrinkage working against the larger curl pattern.
Avoid making the sections so large that the inner layers stay damp for hours. A small amount of mousse can provide hold, but too much product combined with oversized sections may leave the curls limp or sticky. Once dry, separate each curl gently and shake the roots with your fingers to create soft volume while preserving the larger shape.
3. Short natural hair styled with blue flexi rods

Short natural hair can hold a beautiful flexi-rod set when the rods are small enough to grip the available length. Blue rods or similarly sized small-to-medium rods can create visible curl definition without requiring long hair. Work in compact sections, apply a light styling cream or mousse, and make sure the ends are wrapped smoothly so they do not dry frizzy or stick out.
Because shorter sections can loosen more easily, bend the ends of each rod securely without placing unnecessary pressure on the scalp. After the set dries, unwind carefully and use your fingers to position the curls around the crown and sides. A side part, tapered shape, or softly lifted front can make the style look more intentional while keeping daily styling simple.
4. Flexi-rod set on stretched 4C hair
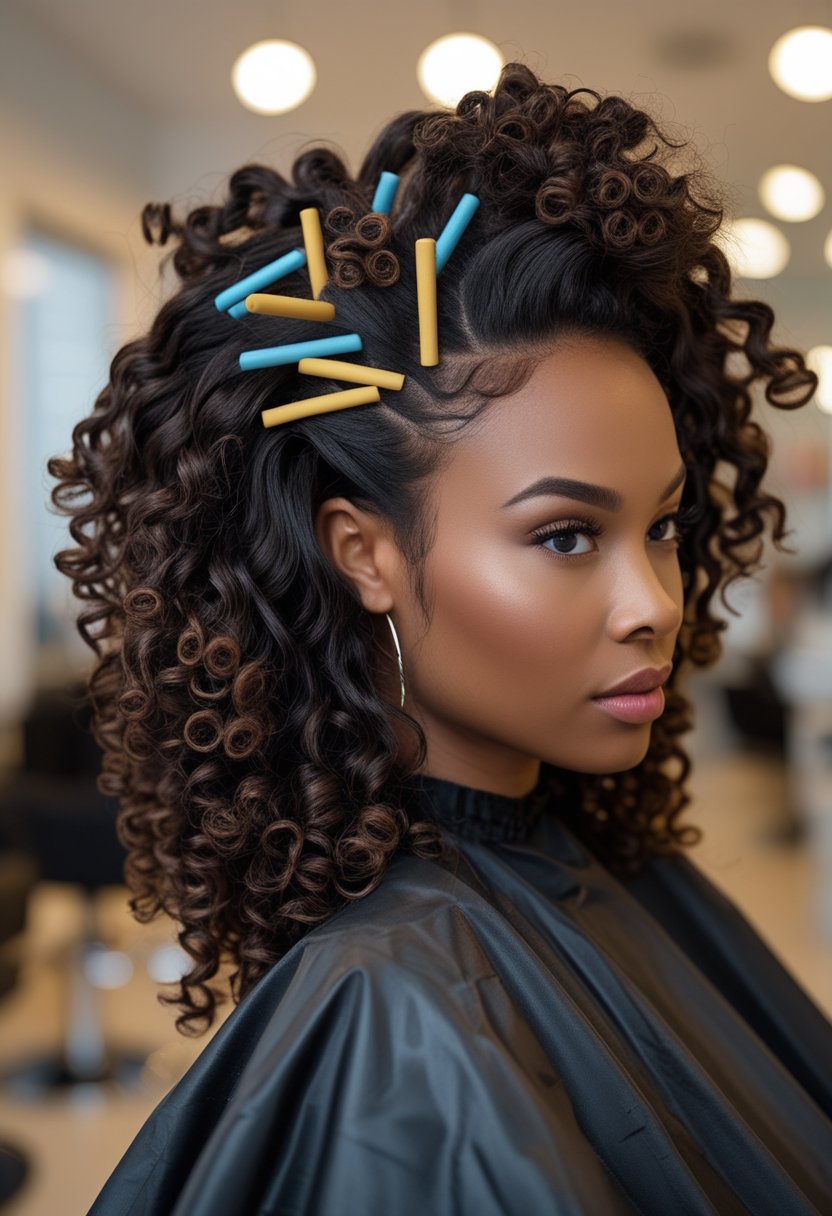
Stretching 4C hair before setting it on flexi rods can create more visible length and make the final curls easier to separate. You can stretch the hair with braids, twists, bands, or another gentle method, then work in small sections once the hair is moisturized and manageable. Smooth each piece thoroughly before wrapping so the finished curl has a more uniform surface.
Use enough styling product to encourage hold without soaking the hair again and causing it to shrink dramatically. Make sure every section dries completely before removing the rods, since even slightly damp 4C hair can quickly lose the set and return to tighter shrinkage. Separate with lightly coated fingertips and fluff only at the roots if you want fuller volume.
5. Heatless Flexi-Rod Curls on 3C Hair: Tutorial

Flexi rods can reshape 3C curls into more uniform spirals while preserving the natural bounce of the hair. Begin with damp, detangled sections and apply a lightweight mousse or foam from root to end. Wrap each section smoothly around the rod in the same direction if you want a consistent pattern, or alternate directions for a fuller, less uniform finish.
Drying completely is one of the most important steps because 3C hair can spring back quickly when moisture remains inside the section. Once dry, unwind the rods gently and avoid immediately pulling apart every curl. Start with minimal separation, then increase volume gradually until the style looks full without becoming excessively frizzy.
6. Shoulder-length flexi-rod twist-out: define curls without heat
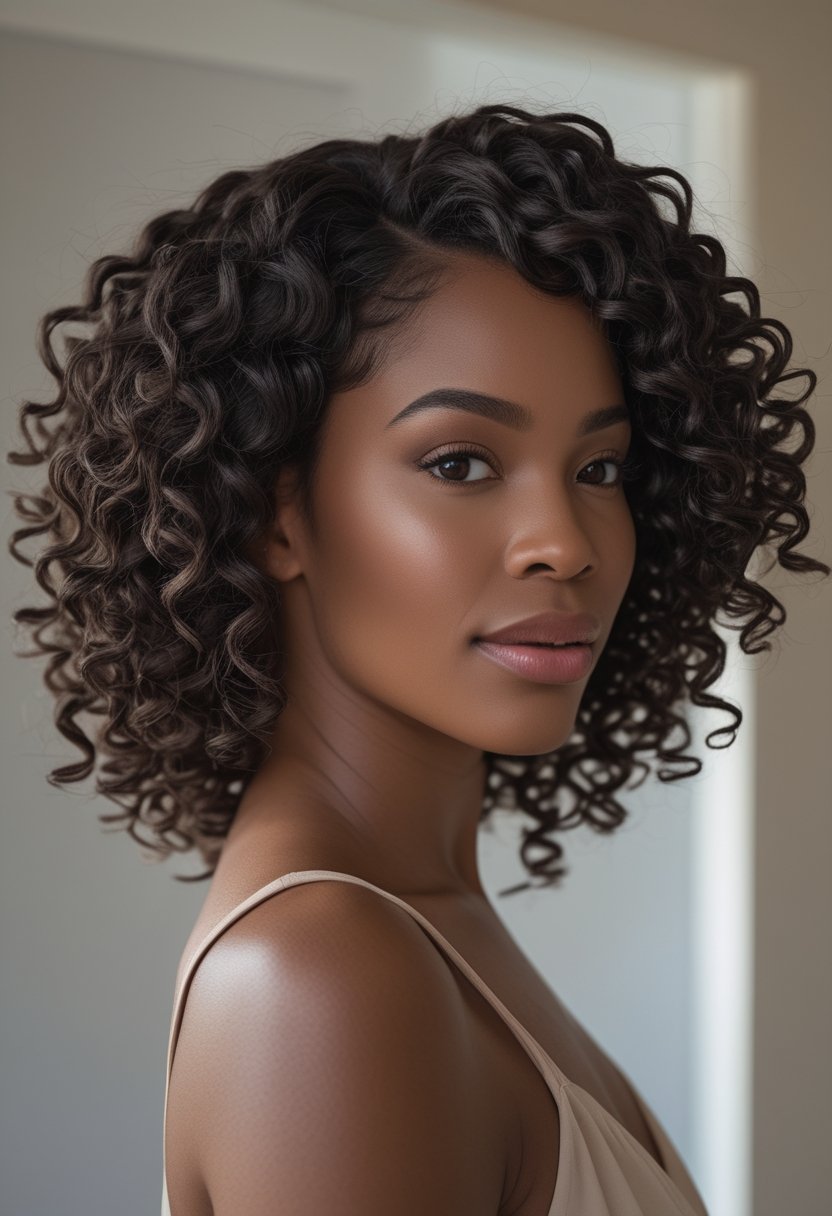
A flexi-rod twist-out combines the texture of a two-strand twist with the rounded ends created by rods. Apply mousse or a light styling cream, divide the hair into small sections, and twist each section before wrapping the lower portion around a flexi rod. This method can create extra definition through the length while preventing the ends from drying straight or frizzy.
Allow the twists and rods to dry fully before taking them down. Unwrap the rod first, then separate the twist carefully without disturbing the pattern too much. Shoulder-length hair can gain plenty of shape from this method, especially when the roots are lightly fluffed and the ends remain more defined.
7. Side-parted flexi-rod curls: Create balanced, face-framing definition

Creating your side part before setting the rods makes it much easier to control how the curls will fall after takedown. Divide the hair along the finished part, then wrap the front sections away from your face to keep the curls open around your features. Smaller rods near the part can provide extra definition and prevent the front from looking flatter than the rest of the style.
Once the rods are removed, avoid repeatedly moving the part from one side to another because too much manipulation can create frizz at the roots. Arrange the front curls with your fingers, then lift only the sections that need more height. This technique works especially well when you want a polished look that frames one side of the face more dramatically.
8. Half-Up Flexi-Rod Style: Easy Tutorial
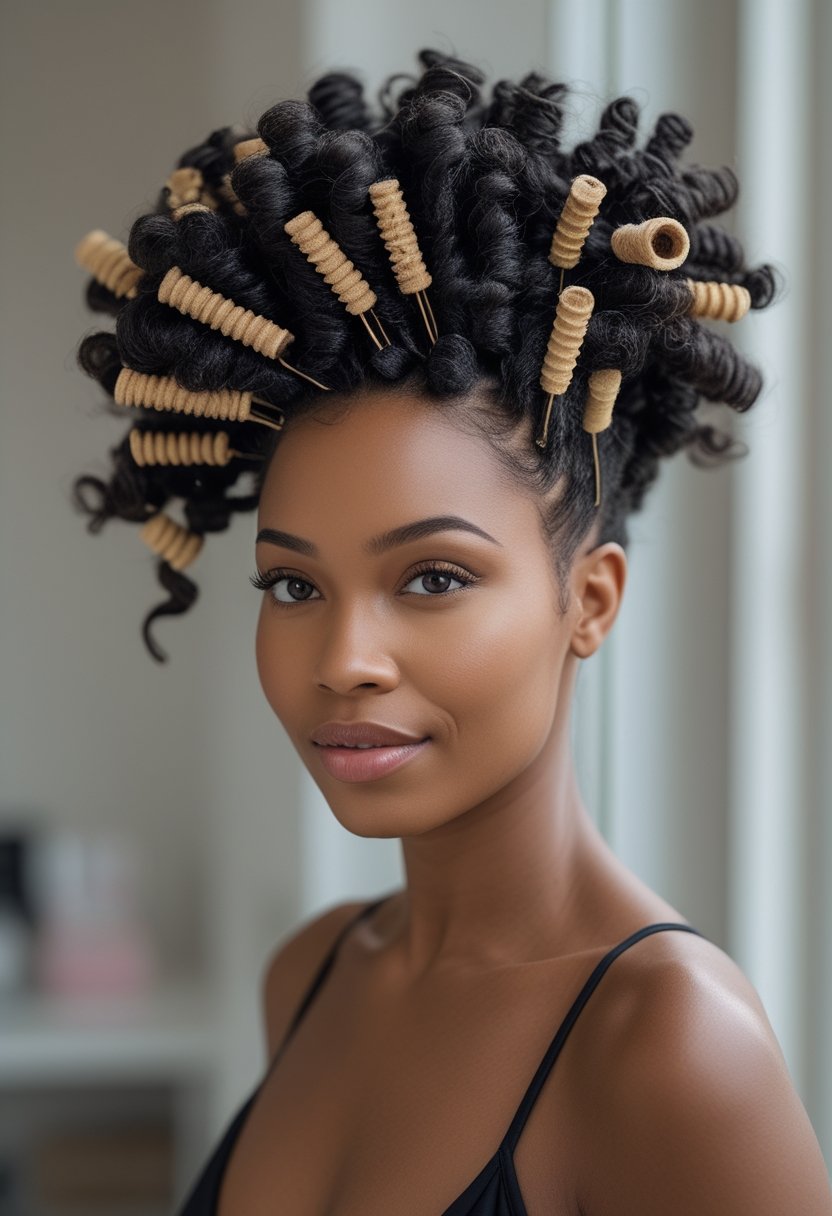
A half-up flexi-rod style gives you a way to show off the curls while keeping the front and crown away from your face. You can either set all of your hair first or separate the top section before installing the rods. After drying, release and separate the curls carefully, then gather the upper portion toward the crown without pulling too tightly.
Secure the top with a soft scrunchie, small elastic, or discreet pins depending on the amount of hair you have. Leave several curls loose around the temples if you want a softer face-framing effect. The lower curls can remain defined and full, making this a useful second-day option when the roots need a little reshaping but the lengths still look good.
9. Voluminous flexi-rod afro curls
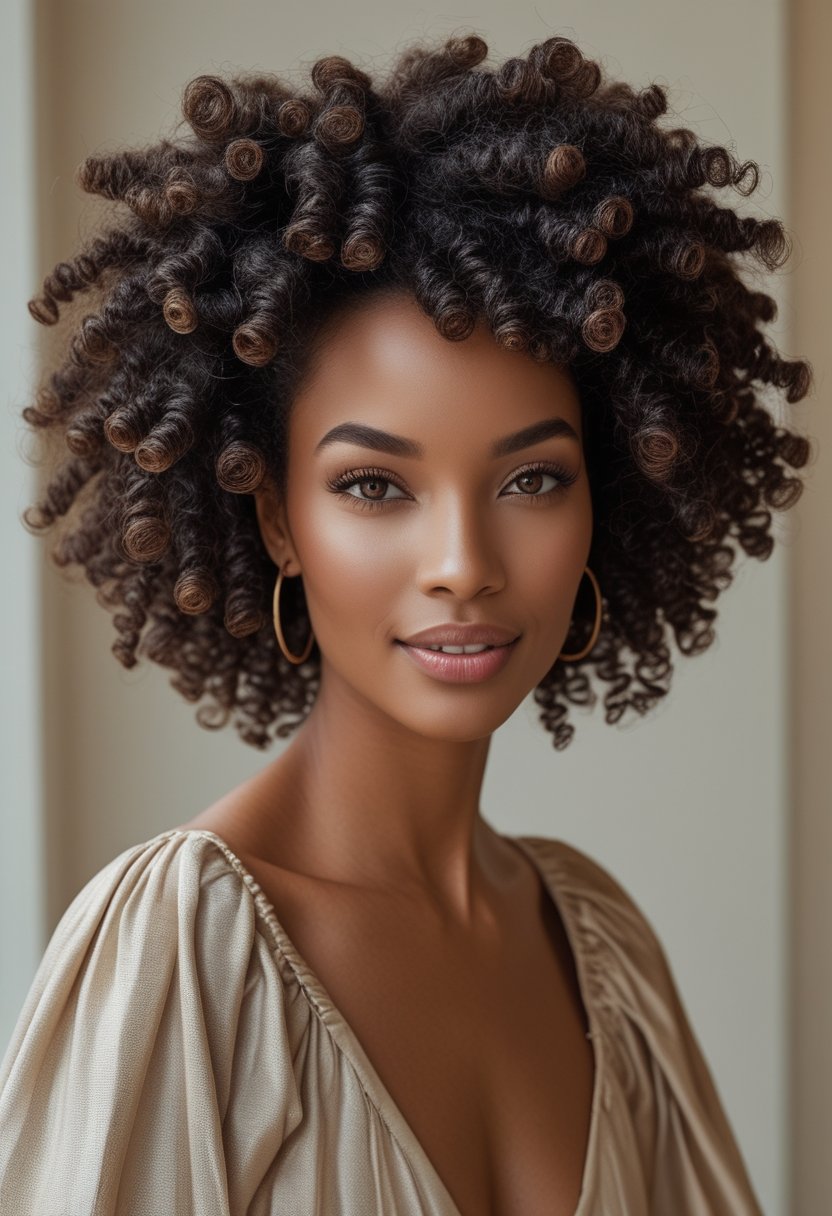
For a fuller flexi-rod result, use relatively small sections so you create plenty of individual curls across the head. Apply a mousse with enough hold to maintain definition, then wrap each damp section carefully from the ends toward the roots. Smaller sections generally create more opportunities for separation later, which helps build a rounded, voluminous shape.
After the set dries, separate each curl several times only if the hair can handle the extra manipulation without becoming overly frizzy. Use your fingertips or a pick at the roots to expand the silhouette while leaving the ends mostly untouched. Shaping the sides and crown gradually allows you to create afro-inspired fullness without completely losing the flexi-rod pattern.
10. Overnight flexi-rod set on damp hair
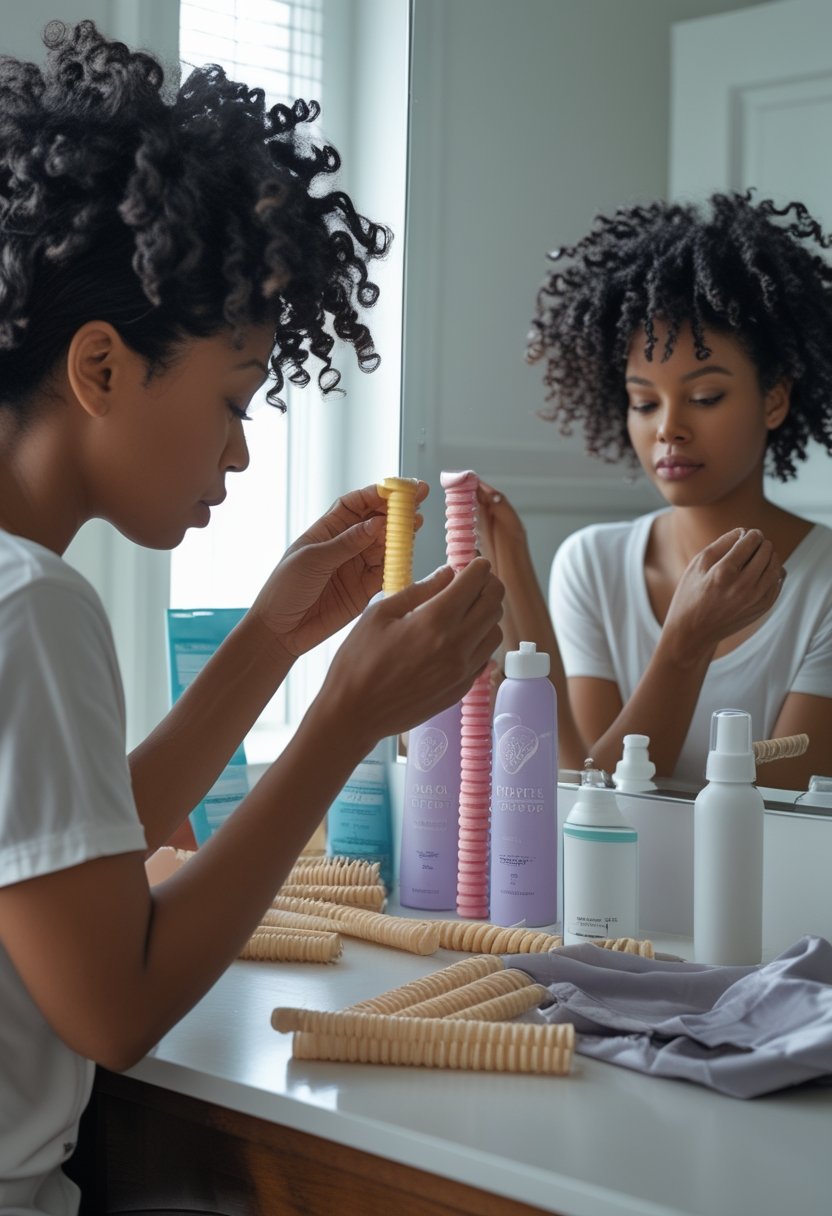
An overnight flexi-rod set can save time in the morning, but the hair needs to be only lightly damp if you expect it to dry while you sleep. Apply a lightweight leave-in followed by mousse or another styling product, then wrap small sections around the rods. Smaller, evenly distributed sections usually dry more reliably than thick pieces wrapped while soaking wet.
Arrange the rods so they do not press uncomfortably against your scalp or face while you sleep, and cover the set with a satin bonnet or scarf if possible. In the morning, check several sections before removing everything. If the roots or inner layers still feel cool or damp, give the hair more drying time rather than taking down the set too early.
11. Flexi-Rod Curls on Blown-Out Natural Hair
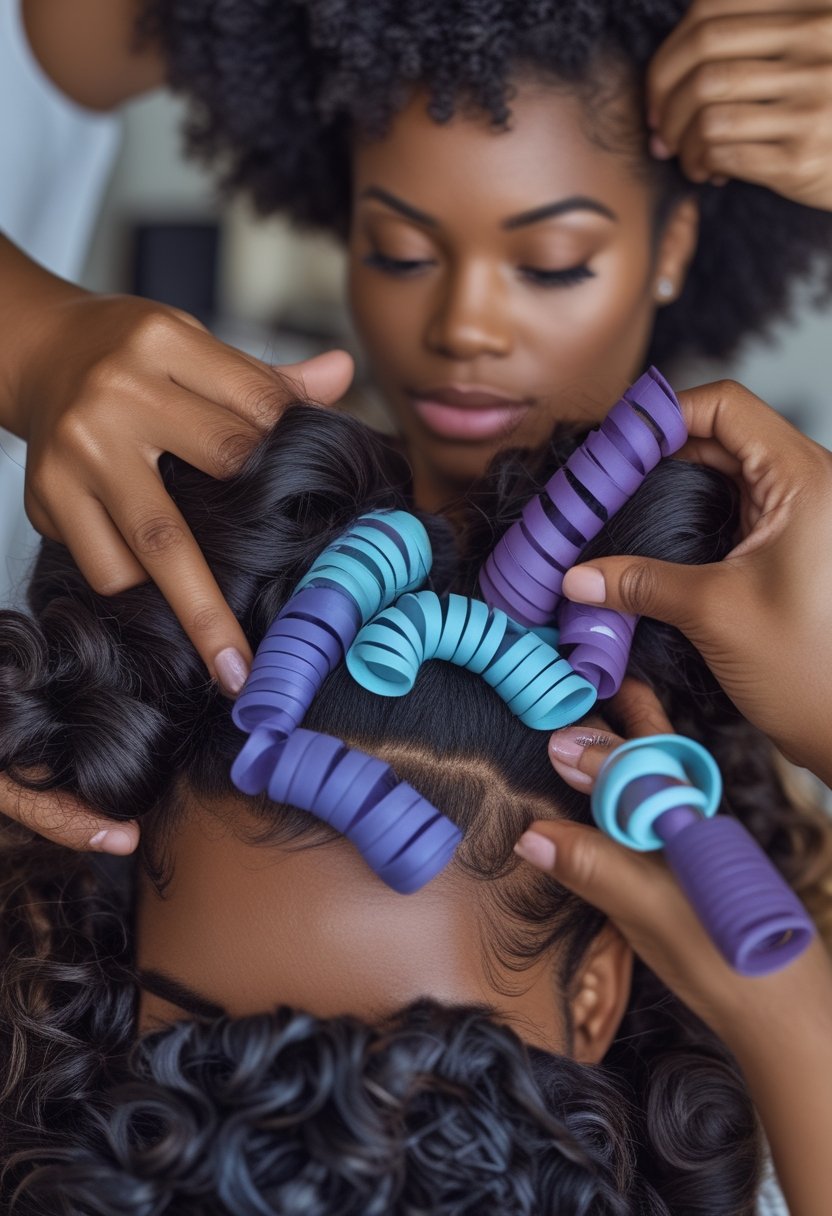
Blown-out natural hair can create smoother, more elongated flexi-rod curls because the hair begins in a stretched state. Work in small or medium sections and use mousse rather than saturating the hair with water, which could cause it to shrink before you finish the set. Smooth each section with your hands or a gentle brush before wrapping it around the rod.
Bend the rod ends securely after wrapping, then allow the hair to dry fully before takedown. Because the hair is already stretched, you may need less separation to achieve volume than you would with a set on tightly shrunken hair. A small amount of lightweight oil on your fingertips can help reduce friction while you separate the finished curls.
12. Tight spiral curls with small flexi rods
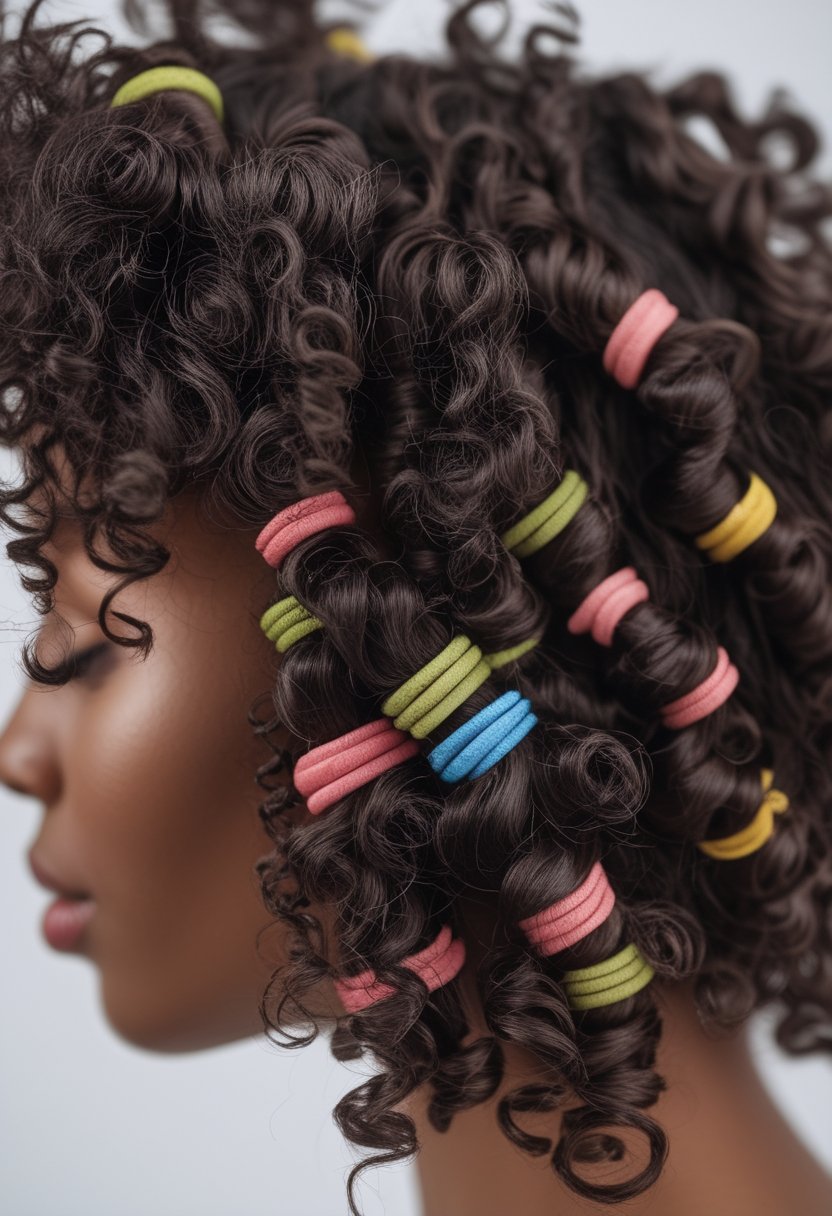
Small flexi rods are ideal when you want tighter, springier spirals and longer-lasting definition. Divide damp hair into small, consistent sections and apply a styling product that provides enough hold for your texture. Start by wrapping the ends smoothly around the rod, then continue upward while keeping the hair evenly distributed instead of allowing it to overlap in a thick bundle.
Consistent section size helps the curls dry at roughly the same rate and gives the final set a more uniform shape. Larger pieces may stay wet longer and produce looser curls than the rest of the style. Once dry, separate minimally for defined spirals or divide each curl several times if you prefer a softer, fuller finish.
13. Soft waves with large flexi rods

Large rods can create relaxed waves rather than tight curls, especially when used on stretched or longer natural hair. Work with medium sections and wrap each one smoothly around the rod with enough space to form a broader curve. This technique is useful if you want movement and body without a highly defined spiral pattern.
Avoid starting with soaking-wet hair because the larger wrapped sections can take much longer to dry. Damp or lightly misted hair usually gives you enough moisture to reshape the strand without extending drying time unnecessarily. After removing the rods, use your fingers to blend the waves together instead of separating every section into smaller curls.
14. Flexi-Rod Set With a Deep Side Part

A deep side part can make a flexi-rod set feel more dramatic by concentrating volume on one side of the face. Create the part before applying the rods so the root direction is already established. Wrap the front sections away from your face and use slightly smaller rods near the part if you want more control and definition.
After takedown, place the curls where they naturally fall instead of combing aggressively through the root area. You can pin the lighter side discreetly behind the ear or let it remain soft and close to the head. Lift the fuller side gently at the roots to emphasize the asymmetry without disturbing the curl pattern through the ends.
15. Defined flexi-rod curls with a middle part

A middle-part flexi-rod set creates a balanced shape that frames both sides of the face evenly. Establish your part before setting the rods, then divide each side into sections of similar size. Wrapping the front pieces away from the face can help keep curls from constantly falling forward while creating a more open silhouette.
Make sure both sides are equally dry before takedown so one does not become frizzier or flatter than the other. Once the rods are removed, separate the curls gradually and compare the volume on each side as you work. A little root lifting around the crown can keep the center part from looking too flat while preserving the symmetry.
16. Pineappled flexi-rod curls for second-day hair

A pineapple can help preserve flexi-rod curls overnight and can also become a quick second-day hairstyle. Gather the curls loosely toward the crown without brushing through them, then secure with a satin scrunchie or loose hair tie. The goal is to lift the curls away from areas that would otherwise be compressed against your pillow.
When you release the pineapple, shake the roots gently and allow the curls a few minutes to settle back into place. If the front sections have lost definition, rewrap only those pieces on a rod instead of resetting your entire head. You can also leave the pineapple in place as an updo, arranging several curls around the forehead for a soft, voluminous finish.
17. Flexi-rod updo with pinned curls
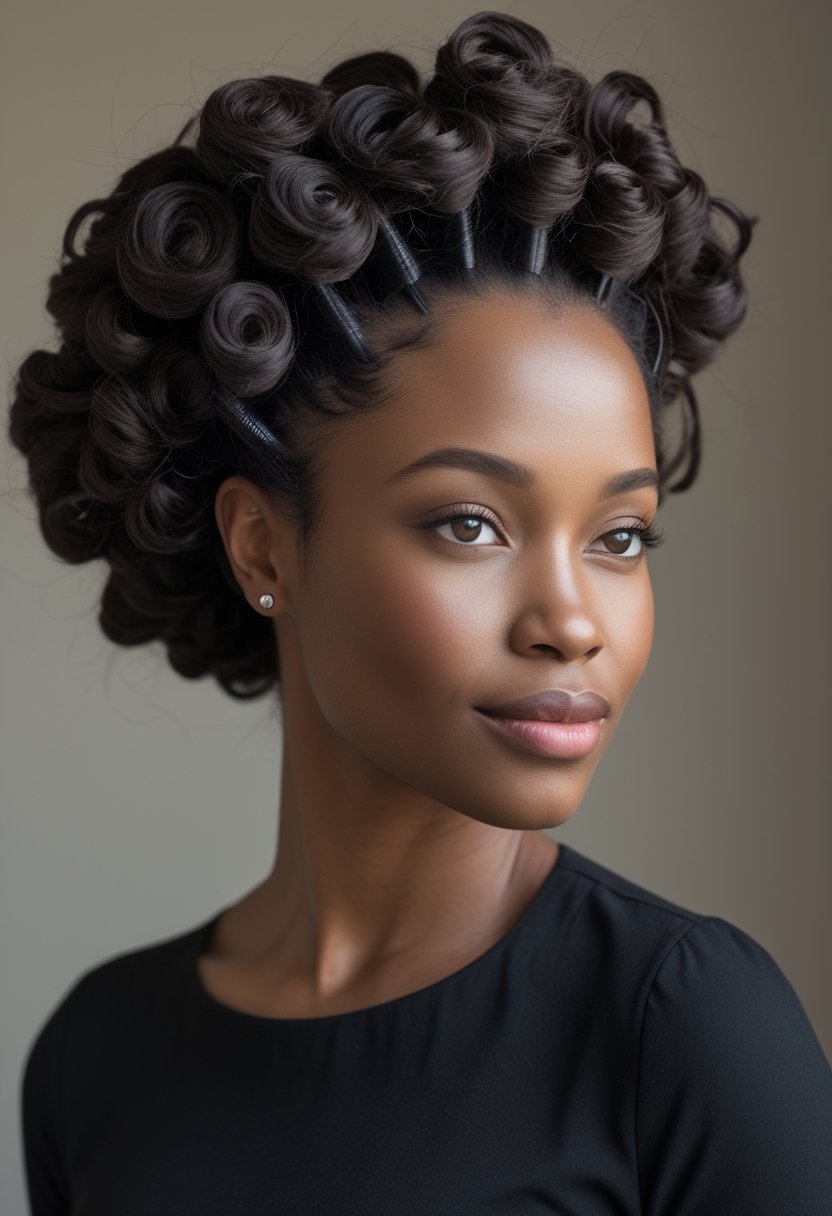
A pinned flexi-rod updo turns a defined curl set into a more elevated style for dinners, events, weddings, or days when you want your hair off your shoulders. Begin with medium sections and allow the flexi-rod set to dry completely before separating the curls. Once you have the desired volume, gather selected pieces toward the crown or back of the head and pin them in place one section at a time.
Avoid brushing the finished curls into a smooth bun, since the texture is what gives this updo its dimension. Leave a few curls loose around the front or sides for softness, and hide the pins beneath overlapping sections whenever possible. Building the updo gradually also helps distribute the weight evenly so the style remains comfortable while still looking full and structured.