Easter Nail Ideas: 17 Stunning Designs To Try Now
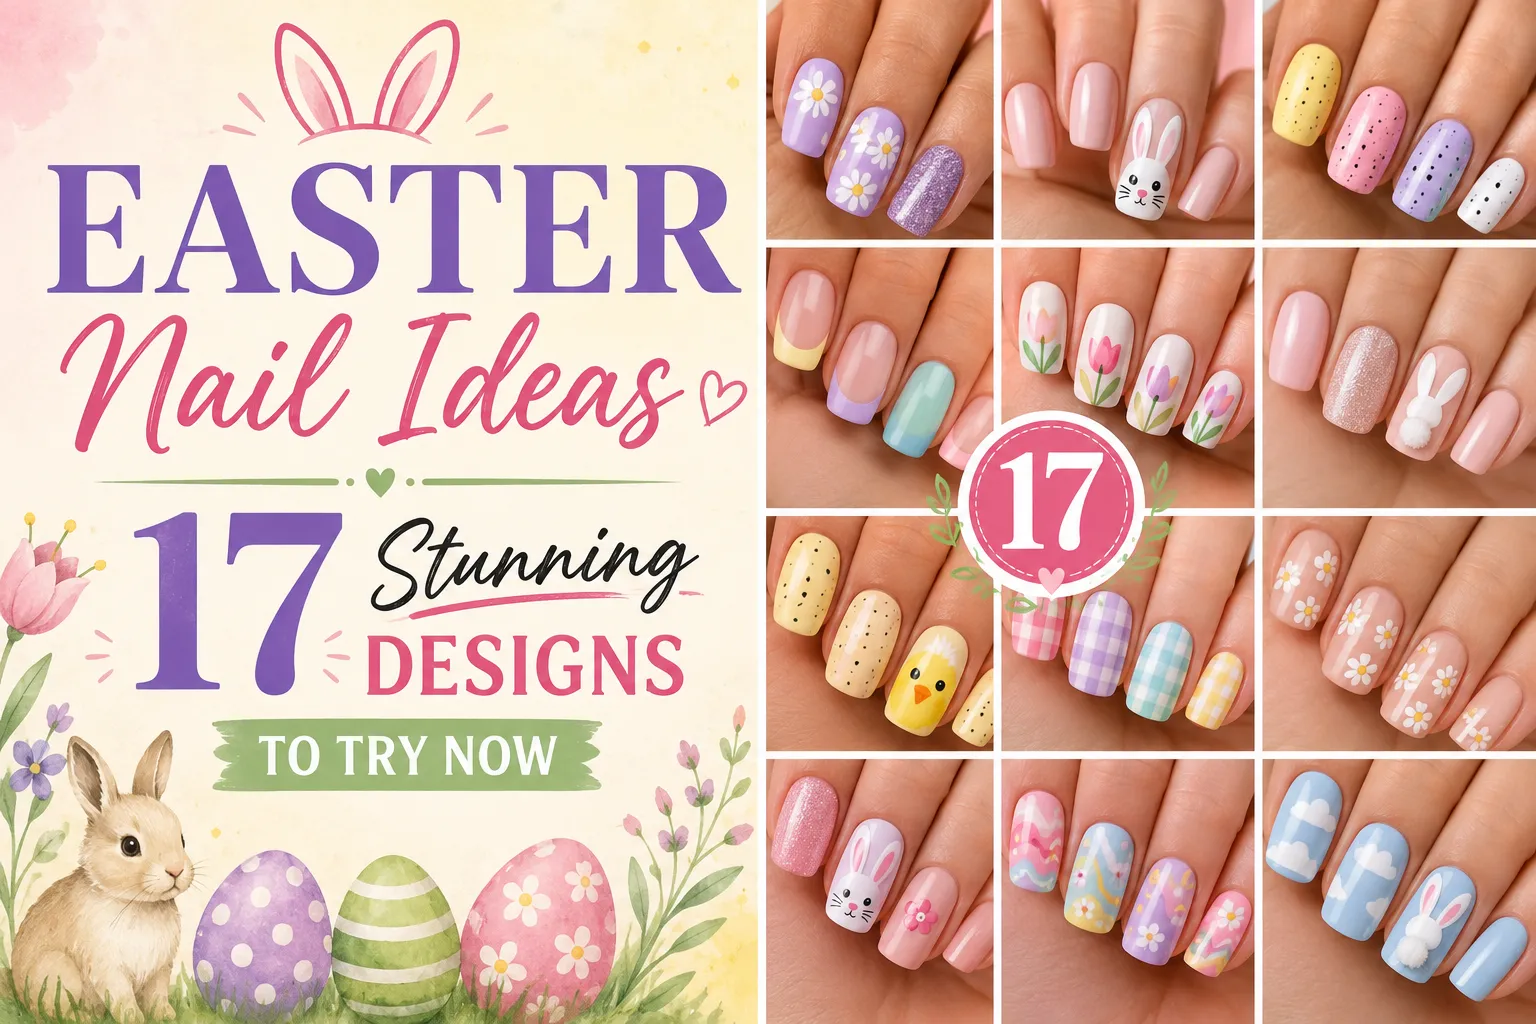
Easter gives you a chance to refresh your manicure with soft color, playful details, or a polished seasonal look. From subtle pastel tips to cheerful bunny art, spring-inspired nails can feel festive without becoming difficult to wear with your everyday wardrobe. The best designs balance color, shape, and decoration so the manicure still feels intentional once the holiday is over.
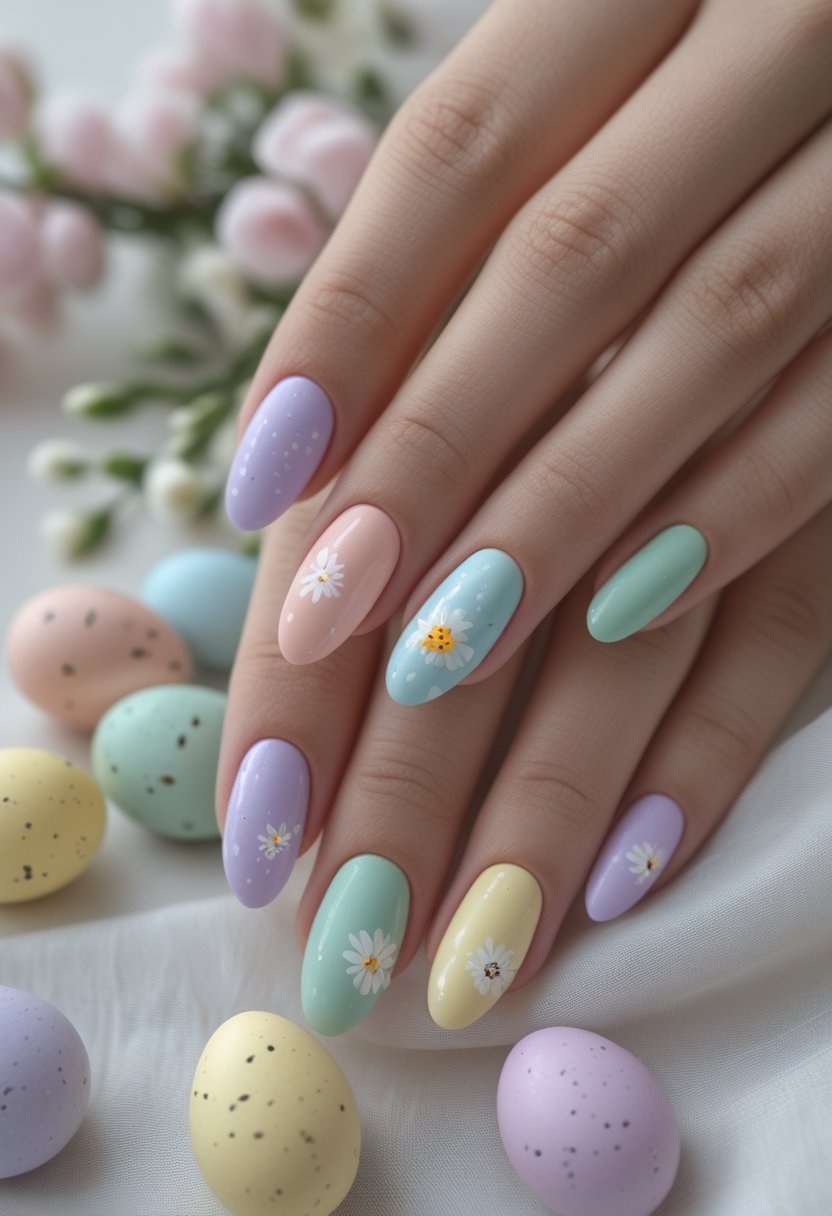
You’ll find Easter nail ideas that help you choose colors, patterns, finishes, and accents for a manicure that feels personal and wearable. Explore delicate pastels, spring florals, charming characters, subtle shimmer, and creative holiday-inspired details that can be adapted for short, medium, almond, square, or rounded nails.
1. Pastel French Tips
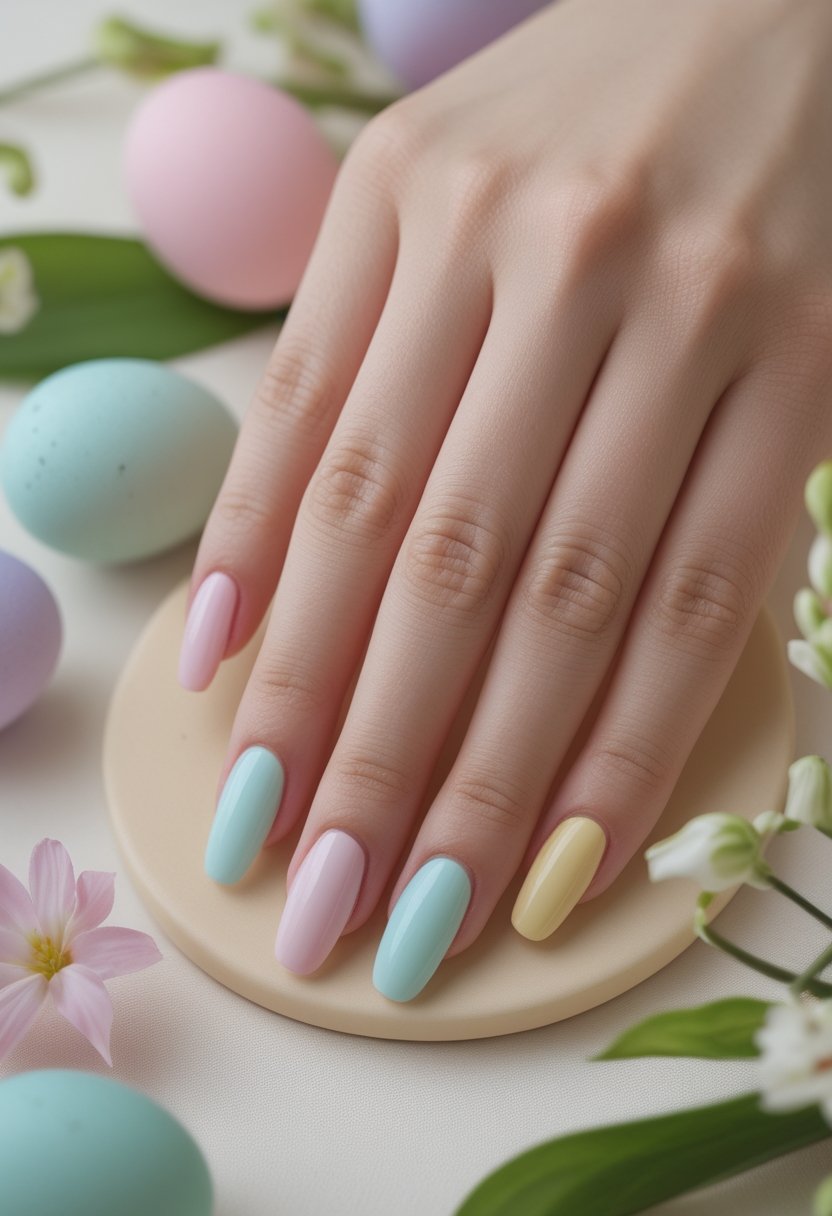
Pastel French tips are an easy way to bring Easter color into your manicure without covering every nail in a bold shade. Start with a sheer nude, pale pink, or milky base, then alternate lavender, mint, butter yellow, baby blue, and blush across the tips. Using several colors keeps the design playful while the neutral base gives it a clean, polished finish.
Keep the tip lines relatively thin if your nails are short, since thick curves can visually shorten or widen the nail plate. Almond and oval shapes look especially soft with rounded pastel tips, while square nails can handle a slightly straighter line. Finish with a glossy topcoat to smooth the edges and make each pastel shade look crisp.
2. Speckled Easter Egg Nails: Easy Pastel Manicure Ideas
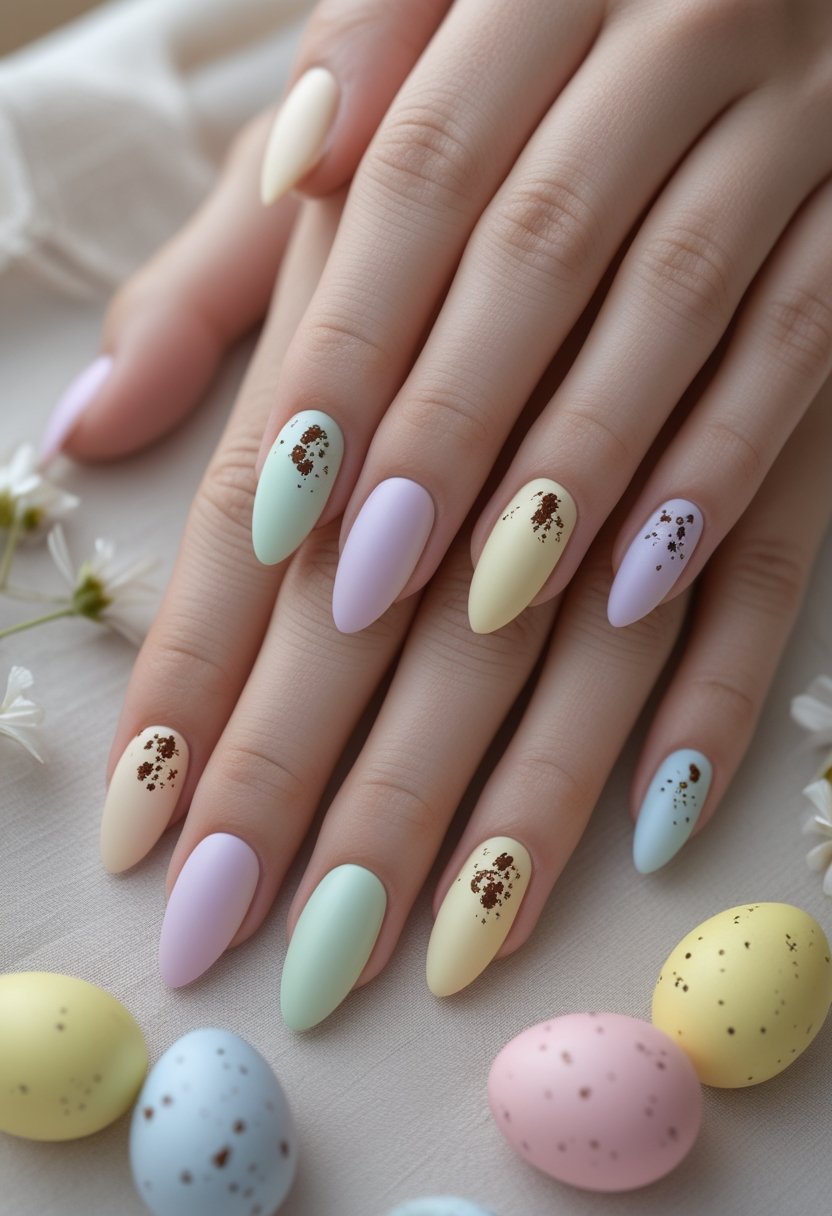
Speckled Easter egg nails recreate the look of miniature candy or painted eggs using a simple pastel base and scattered dark flecks. Choose shades such as pale blue, mint, lavender, peach, or creamy yellow, then add fine brown or charcoal speckles with a detail brush or lightly loaded nail-art tool. The irregular placement is part of the charm, so the dots do not need to be perfectly matched.
You can use the speckled finish on every nail or limit it to two or three accent nails for a more understated manicure. A glossy topcoat creates a smooth candy-like surface, while a matte finish can make the design look more like natural eggshell. Keep the speckles small and varied so they create texture without turning into large polka dots.
3. Bunny Accent Nails

Bunny accent nails make an Easter manicure instantly recognizable without requiring detailed artwork on every finger. Choose one accent nail and paint a simple white bunny face, silhouette, or pair of ears over a soft pastel background. Keep the remaining nails in one or two coordinating colors so the character remains the clear focal point.
For a more sophisticated result, use minimal facial details and avoid filling every nail with additional Easter motifs. A blush-pink nose, tiny black eyes, or small ear details are enough to make the bunny recognizable. This design works especially well on medium almond or rounded nails, but a simple ear motif can also fit comfortably on shorter nails.
4. Daisy Meadow Nails
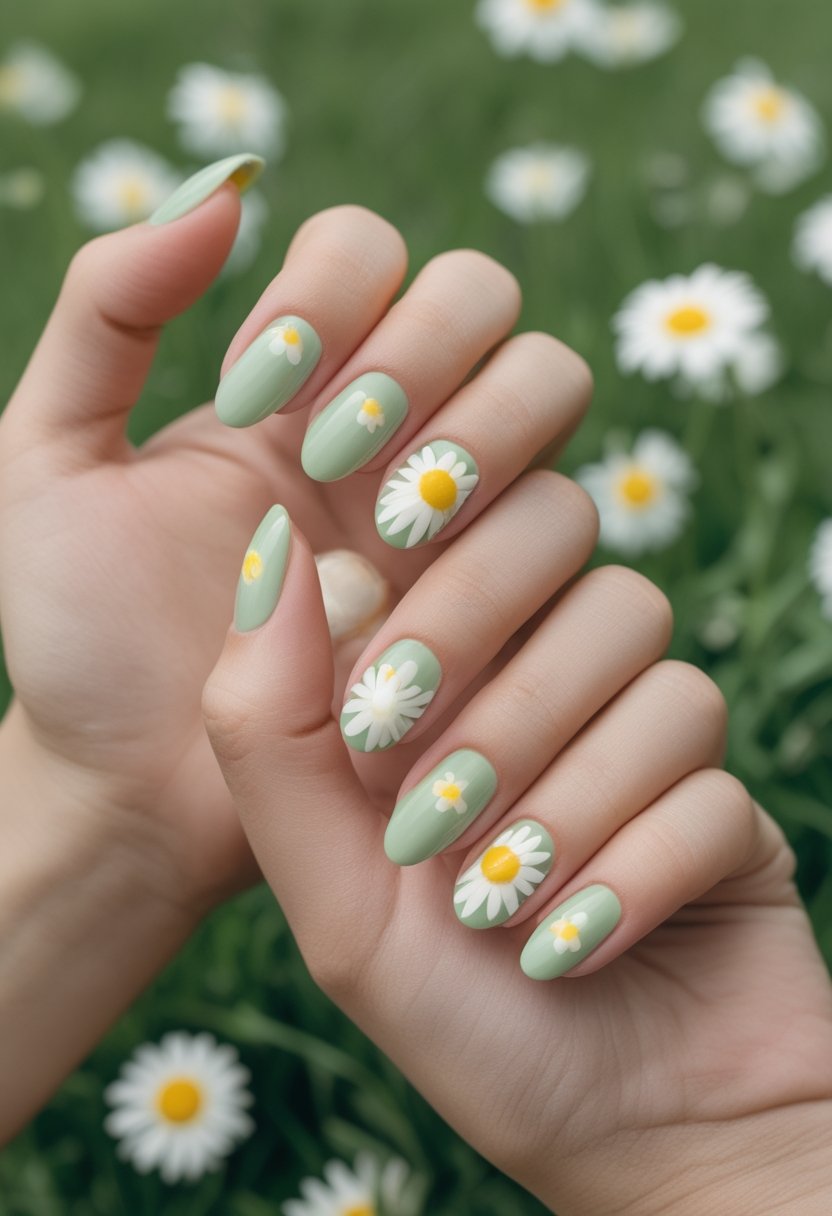
Daisy meadow nails bring a fresh spring feeling to an Easter manicure without relying on obvious holiday characters. Start with pastel green, pale blue, creamy nude, or sheer pink, then add tiny white daisies with yellow centers. A few fine green stems or leaves can make the flowers look as though they are growing naturally across the nail.
Vary the size and placement of the flowers so the manicure feels organic rather than stamped or repetitive. Some nails can feature one small daisy near the cuticle while others include several blooms toward the tip. Leaving visible negative space between the flowers keeps the overall effect light and works particularly well with shorter nails.
5. Lavender Chrome Nails
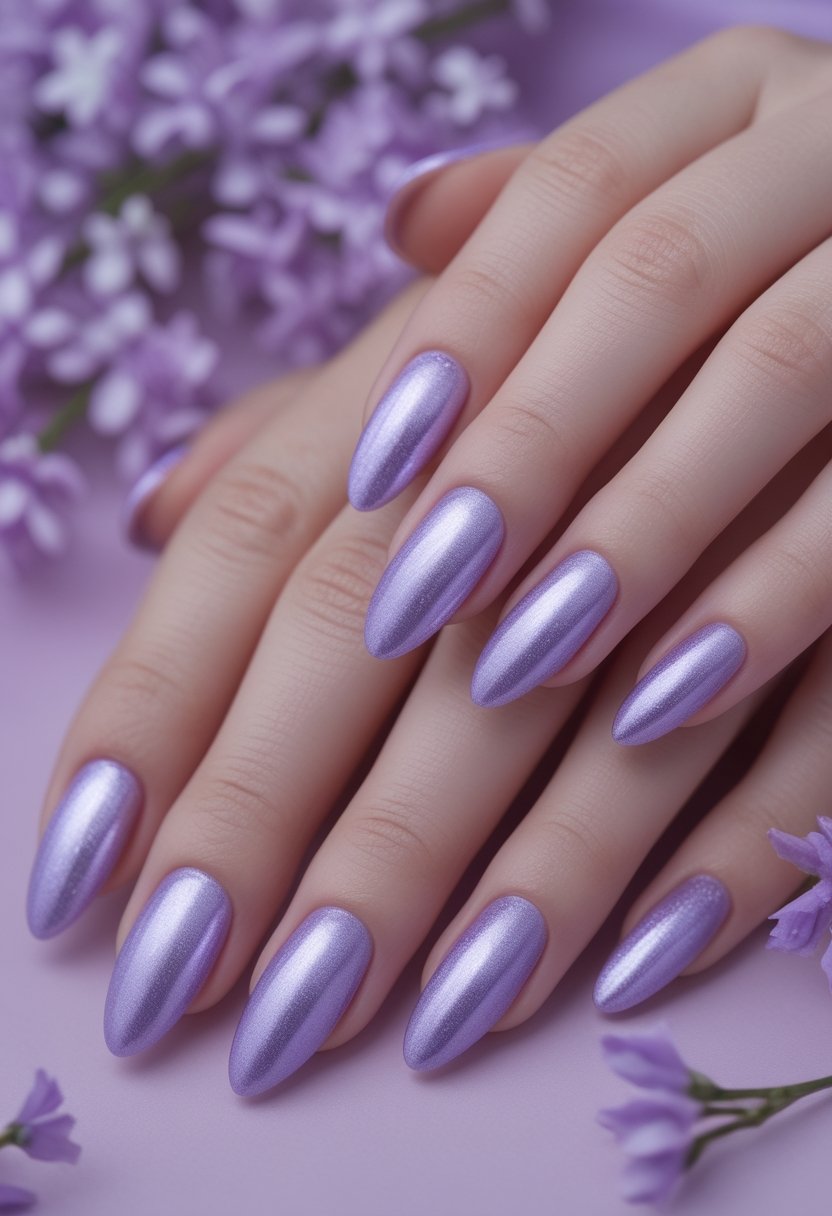
Lavender chrome nails offer a more polished Easter look for anyone who prefers shimmer over character art. A soft lavender base topped with a pearly chrome effect reflects light beautifully while still staying within a spring pastel palette. Almond, oval, and softly squared shapes enhance the smooth reflective finish and give the manicure a refined appearance.
If you want additional seasonal detail, add one or two tiny daisies to an accent nail instead of decorating the whole set. Chrome looks best over a smooth, evenly cured base, so any bumps or streaks should be corrected before applying the powder. A glossy sealing coat helps preserve the reflective surface and keeps the lavender color looking luminous.
6. Cadbury-Inspired Chocolate Nails

Chocolate-inspired Easter nails are a fun alternative to traditional pastel manicures. Combine rich purple with chocolate brown and small gold accents for a color palette that feels festive and slightly more dramatic. You can use glossy purple on most nails and reserve brown swirls, dripping chocolate effects, or metallic touches for one or two accents.
The key is keeping the design suggestive rather than overcrowded with literal candy details. A deep chocolate accent nail beside glossy purple can already create the theme, while thin gold lines add a more polished finish. This combination works particularly well on medium-length almond or square nails where there is enough room for decorative accents without making the design look cramped.
7. Chick Yellow Nails

Soft yellow nails capture the cheerful mood of Easter and spring while remaining easy to wear on their own. Choose a creamy butter yellow rather than an extremely neon shade if you want the manicure to feel softer and more versatile. One or two chick-inspired accent nails can add personality without turning the entire set into detailed character art.
Paint simple white or yellow chick shapes with tiny eyes, a small orange beak, and minimal outlining. Purple, lavender, or white stripes can be added to another accent nail for extra contrast. Keeping the majority of the manicure solid yellow helps the playful details stand out while maintaining a clean overall look.
8. Pistachio Green Nails

Milky pistachio green is a subtle spring shade that feels seasonal without looking overly themed. Its soft muted tone works beautifully on short rounded nails, almond shapes, or clean square manicures and pairs easily with cream, white, pale pink, and gold. A simple glossy pistachio set can be enough if you prefer minimalist Easter nails.
For extra detail, add tiny white daisies, delicate speckles, or thin French tips to one or two nails. Keep the decorative elements small so the calm green base remains visible. A sheer or milky finish can soften the shade further and give the manicure a fresh, almost translucent spring look.
9. Robin’s Egg Blue Nails
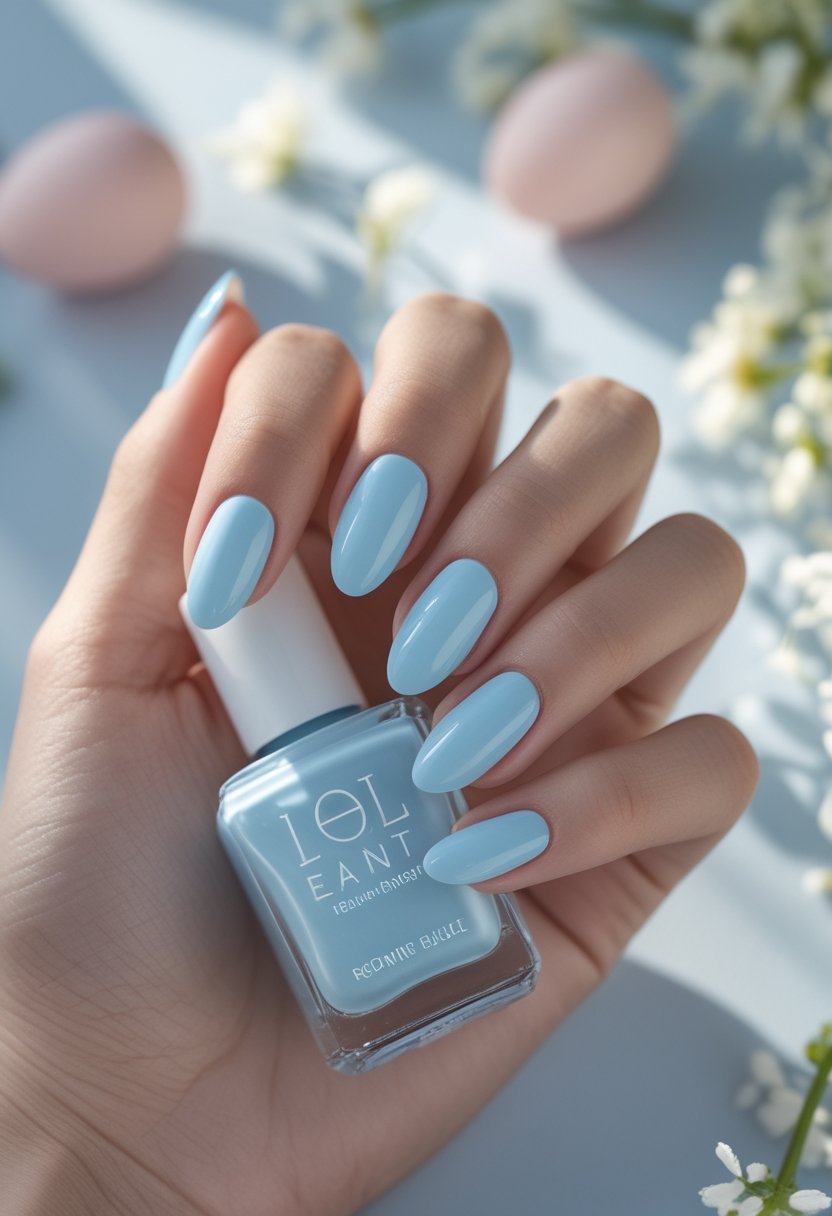
Robin’s egg blue nails combine a recognizable Easter color with a simple speckled texture that feels both playful and elegant. Begin with a muted pastel blue base, then scatter tiny brown or charcoal flecks across the surface. The speckles should look irregular and light rather than perfectly spaced, giving the nails a more natural eggshell appearance.
This design works well as a full set because the colors are soft enough for everyday wear. If you want more variation, pair several blue speckled nails with plain cream or pale yellow accents. A matte topcoat creates a realistic eggshell effect, while a glossy finish makes the same design appear cleaner and more polished.
10. Minimalist Bunny Line Art
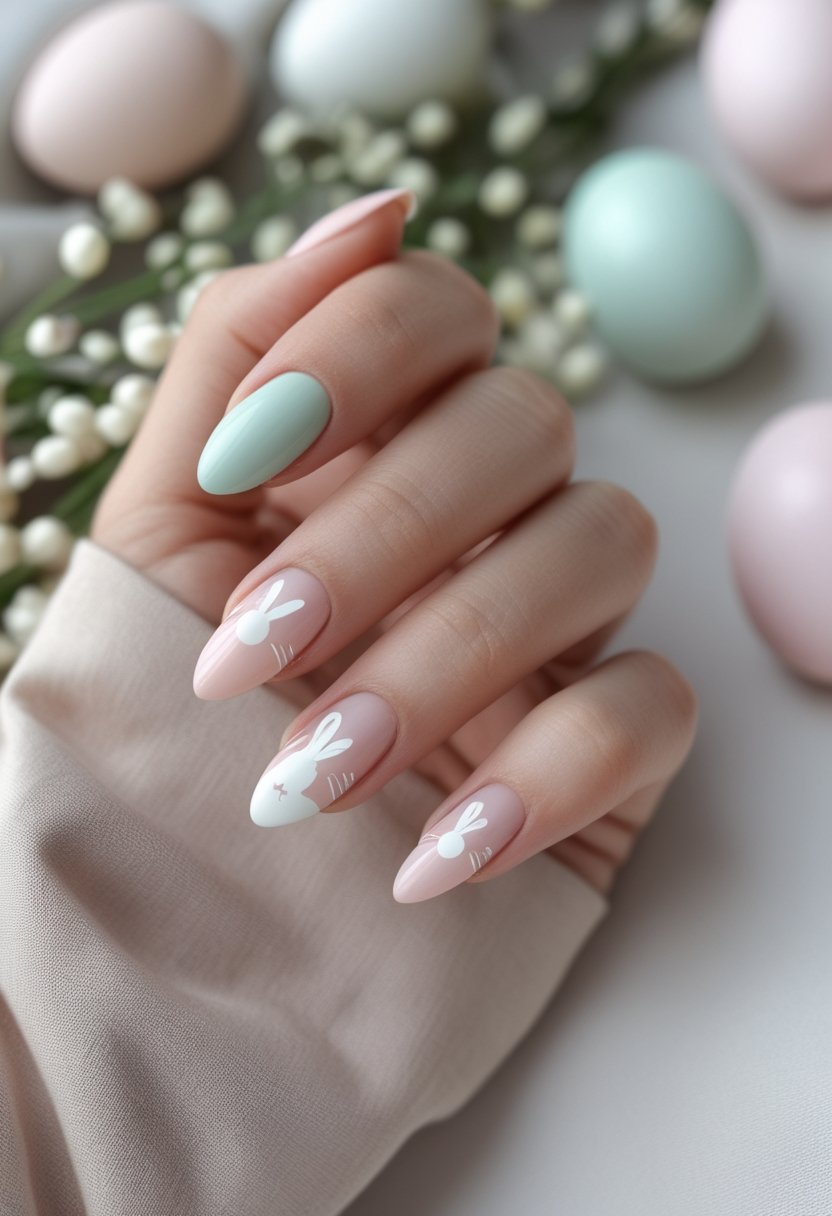
Minimalist bunny line art is ideal if you want an Easter theme without a cartoon-heavy manicure. Start with a sheer nude, blush, lavender, or pale blue base and use a very fine brush to draw a simple bunny outline. Two elongated ears, a curved head shape, or a tiny profile silhouette can communicate the theme without requiring detailed facial features.
Limit the bunny design to one accent nail and keep the others plain or finished with thin pastel tips. Fine lines look cleaner than thick outlines, particularly on short nails where space is limited. Leaving generous negative space around the illustration also prevents the manicure from feeling crowded and makes the small artwork more noticeable.
11. Pastel Rainbow Nails

Pastel rainbow nails offer an easy way to use several spring colors without committing to detailed nail art. Paint each nail a different muted shade such as blush pink, lilac, mint, pale blue, butter yellow, or peach. Keeping the finishes consistent across all nails helps the varied colors look coordinated rather than random.
For a more creative version, add thin white swirls or subtle curved lines to a few nails. Keep the spacing and line weight similar so the extra detail does not distract from the color palette. This manicure works particularly well when the pastels share a similar softness and opacity, creating a smooth gradient effect across the hand.
12. Floral Ombré Nails

Floral ombré nails combine two spring favorites: softly blended color and delicate flowers. Start with a neutral or milky base and fade lavender, pink, blue, or yellow toward the tips. The transition should remain soft and diffused, creating enough contrast to show the color without producing a harsh line.
Add tiny daisies or simple blossoms over one or two of the ombré nails once the gradient is smooth. Keep the flower placement light so the blended background remains visible. A few blooms near one corner or around the cuticle can provide enough detail, especially on shorter nails where a full floral pattern may feel too busy.
13. Easter Basket Weave Nails

Easter basket weave nails turn a familiar seasonal texture into creative nail art. Begin with a neutral cream, beige, or soft pastel base, then paint thin horizontal and vertical lines that cross to mimic woven strips. Keeping the lines narrow and evenly spaced helps the pattern feel polished instead of visually heavy.
Use pastel pink, blue, yellow, mint, or lavender for the woven accents, or keep the basket effect neutral and add a colored border. Because the pattern contains several intersecting lines, consider limiting it to one or two accent nails. Pairing the basket design with plain pastel nails creates enough contrast for the texture to stand out clearly.
14. Carrot Accent Nails

Carrot accent nails bring a cheerful Easter detail into an otherwise soft spring manicure. Start with a pastel or creamy neutral base, then paint small tapered orange carrots with fine green leafy tops. The design looks especially fresh over pale pink, lavender, pistachio, or sheer nude backgrounds.
Keep the carrots on one or two nails and use solid pastel polish on the rest for balance. Several tiny carrots can create a playful pattern, while one larger carrot near the edge or tip gives a cleaner look. Thin outlines and small leaf details help the artwork feel intentional rather than overly cartoonish.
15. Polka-Dot Pastel Nails
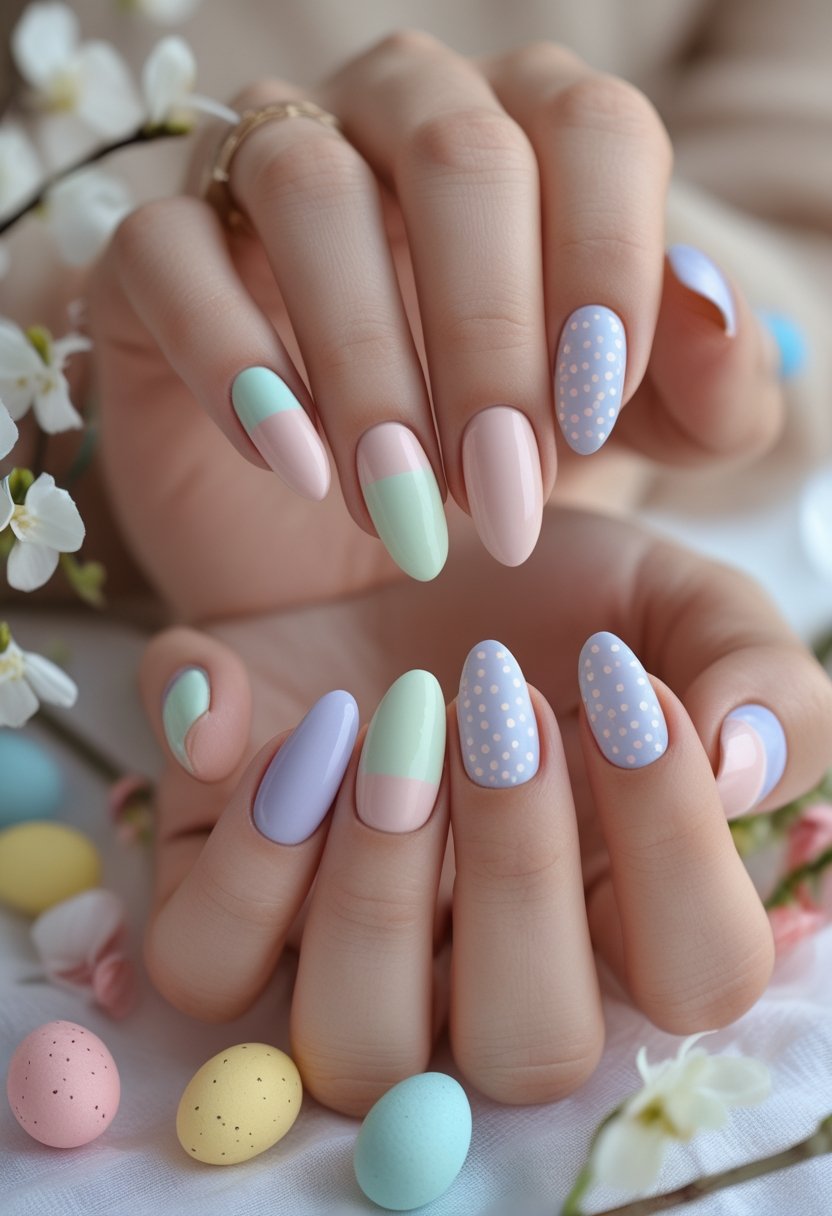
Pastel polka-dot nails offer an easy Easter manicure that does not require complicated drawing skills. Choose a different pastel shade for each nail or use one consistent base color, then add small white dots using a dotting tool or the rounded end of a fine brush. Even spacing gives the finished manicure a neat, playful appearance.
You can vary the design by using contrasting pastel dots instead of white or by keeping a few nails completely solid. Smaller dots generally feel more refined, especially on short nails, while larger dots create a bolder retro effect. A glossy topcoat smooths the surface and makes the colors appear brighter and more coordinated.
16. Pink and White Swirl Nails
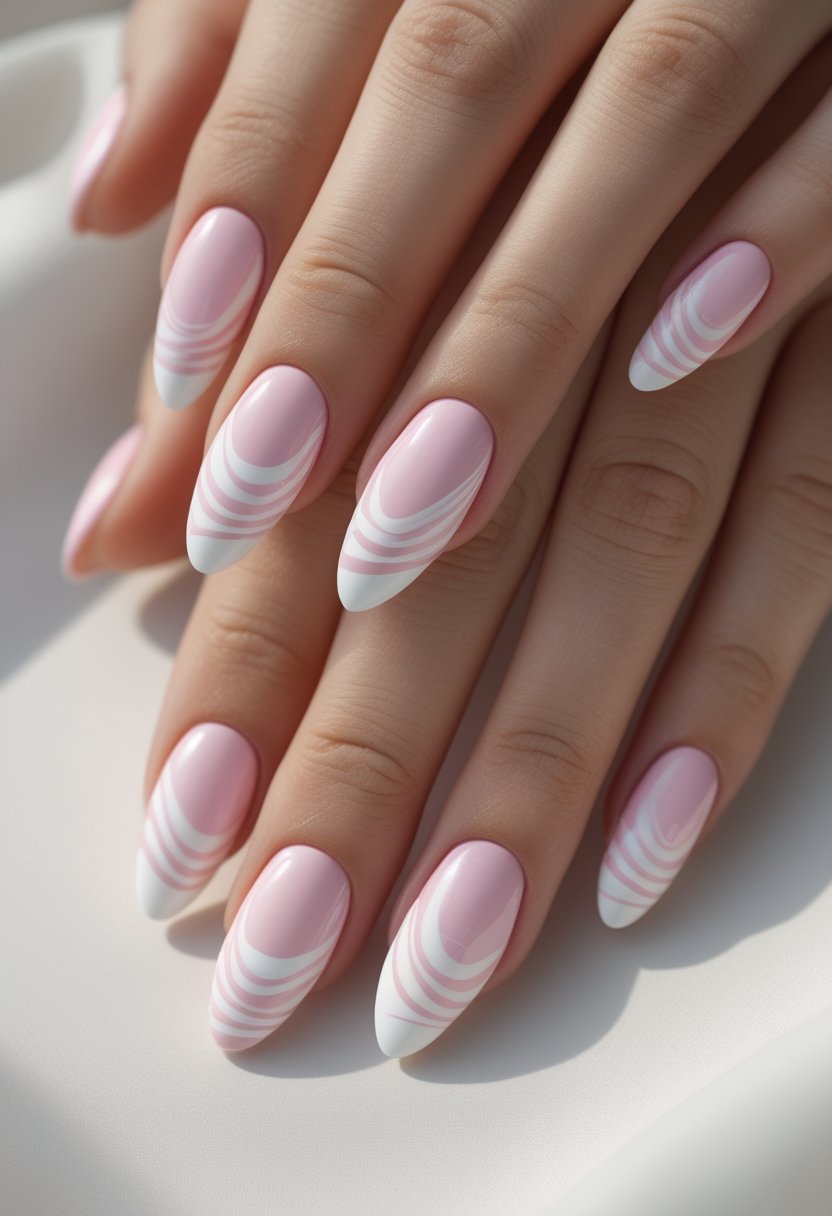
Pink and white swirl nails bring a soft, modern feel to Easter without using obvious holiday symbols. Start with a blush, milky pink, or sheer nude base, then paint thin flowing white lines across selected nails. The curves can travel diagonally, around the tip, or through the center depending on how much movement you want.
Vary the direction slightly from nail to nail so the pattern feels fluid rather than repetitive. Keep the white lines fine on shorter nails, where thick swirls can quickly overwhelm the available space. A glossy finish enhances the smooth curves and gives the manicure a fresh, polished appearance suitable for Easter and the rest of spring.
17. Confetti Glitter Nails
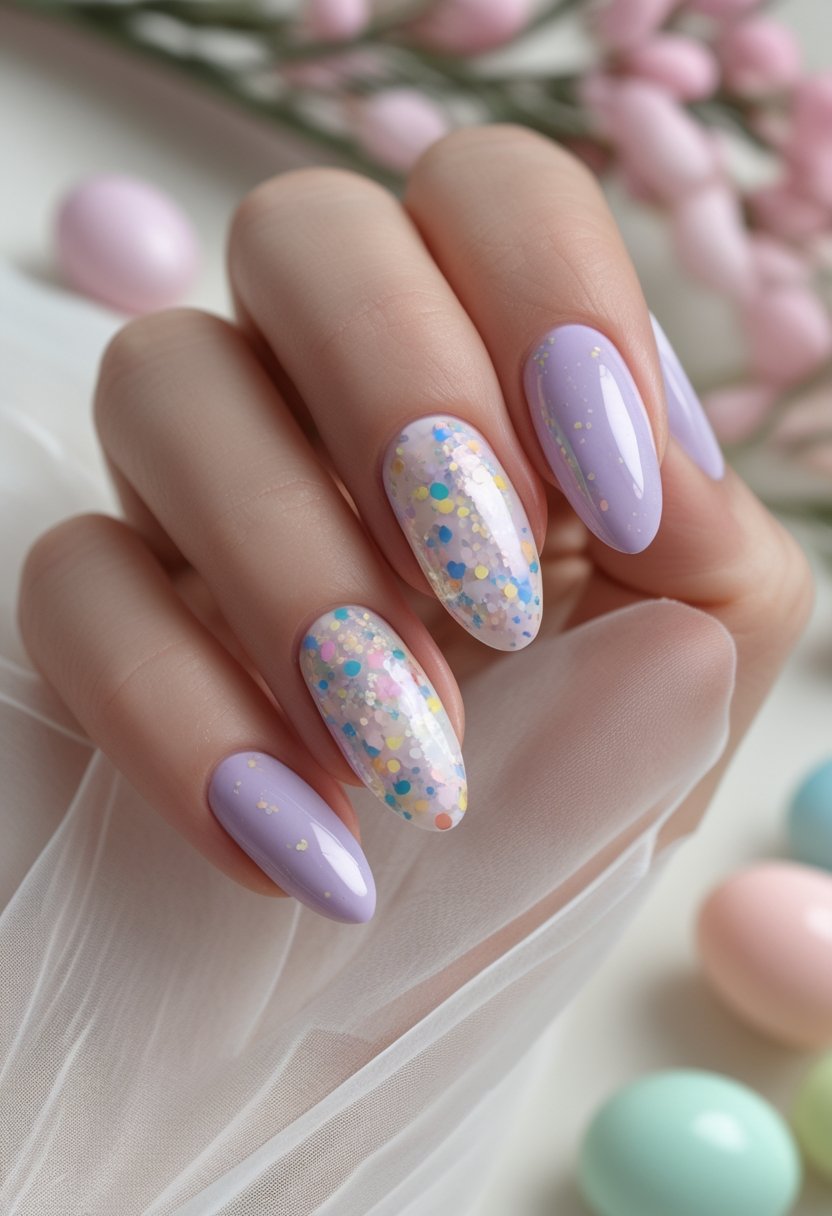
Confetti glitter nails are perfect when you want Easter color with a celebratory sparkle. Begin with a sheer nude, milky pink, or transparent base, then add pastel glitter pieces in lavender, yellow, mint, pink, and blue. Concentrating some of the confetti toward the tips can create a soft gradient while still leaving parts of the natural-looking base visible.
Use the glitter sparingly so individual pieces remain distinct instead of forming a crowded layer. A few tiny confetti pieces near the cuticle can add balance, but avoid packing them too densely around the edges. Finish with enough clear topcoat to smooth the glitter completely and create a glossy surface that catches the light without feeling rough.